Setting Random Spawn Rules for Palworld
Set random Pal spawns directly in the Panel, or bring an existing world with you using the upload instructions below.
Set random spawns in CreeperPanel
- Stop Palworld and open Settings.
- Select Pals & Progression and find Pal Spawn Randomizer.
- Choose Randomize Within Each Region or Randomize All Spawns. Choose Disabled for normal spawns.
- Set Pal Randomizer Seed if you want a particular seed. Turn on Fully Randomize Wild Pal Levels if you also want to randomise levels beyond their normal area ranges.
- Save your changes and start the server.
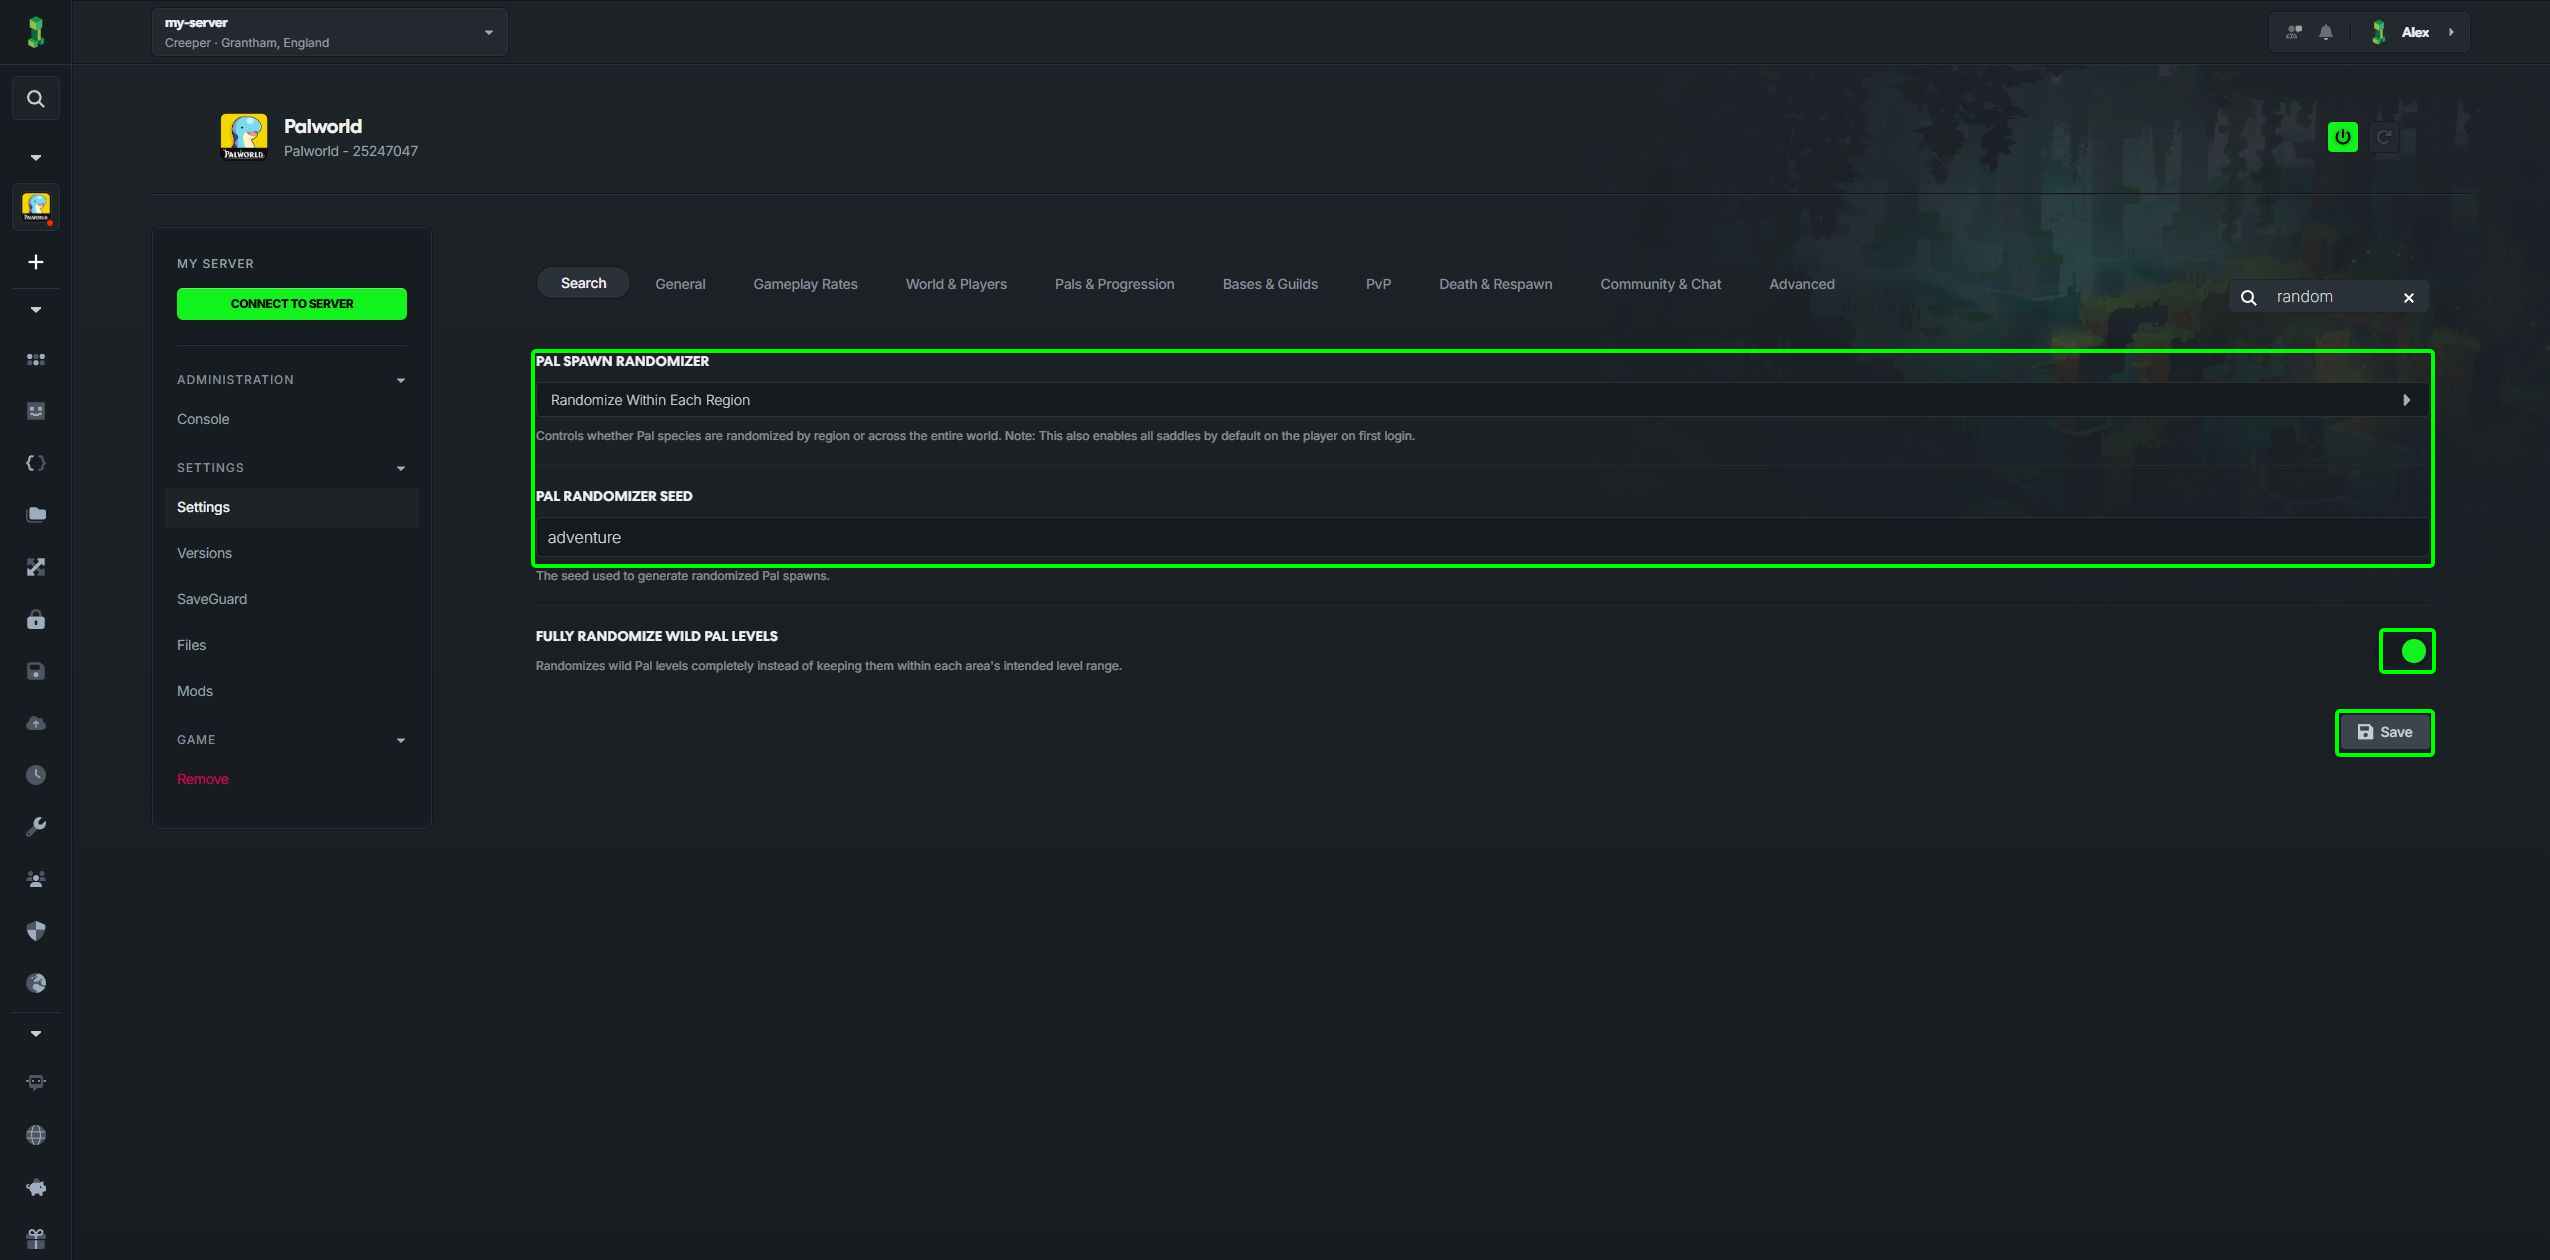
The seed and level controls become available when a randomiser mode is selected. Use these controls on a current supported Palworld server.
Bring an existing random-spawn world
You can still upload a world created on your computer. Start the server once to create its folders, then stop it before uploading. Keep copies of both worlds first. If your local world is already ready, skip to Uploading your Random Spawn World.
Creating your Random Spawn World
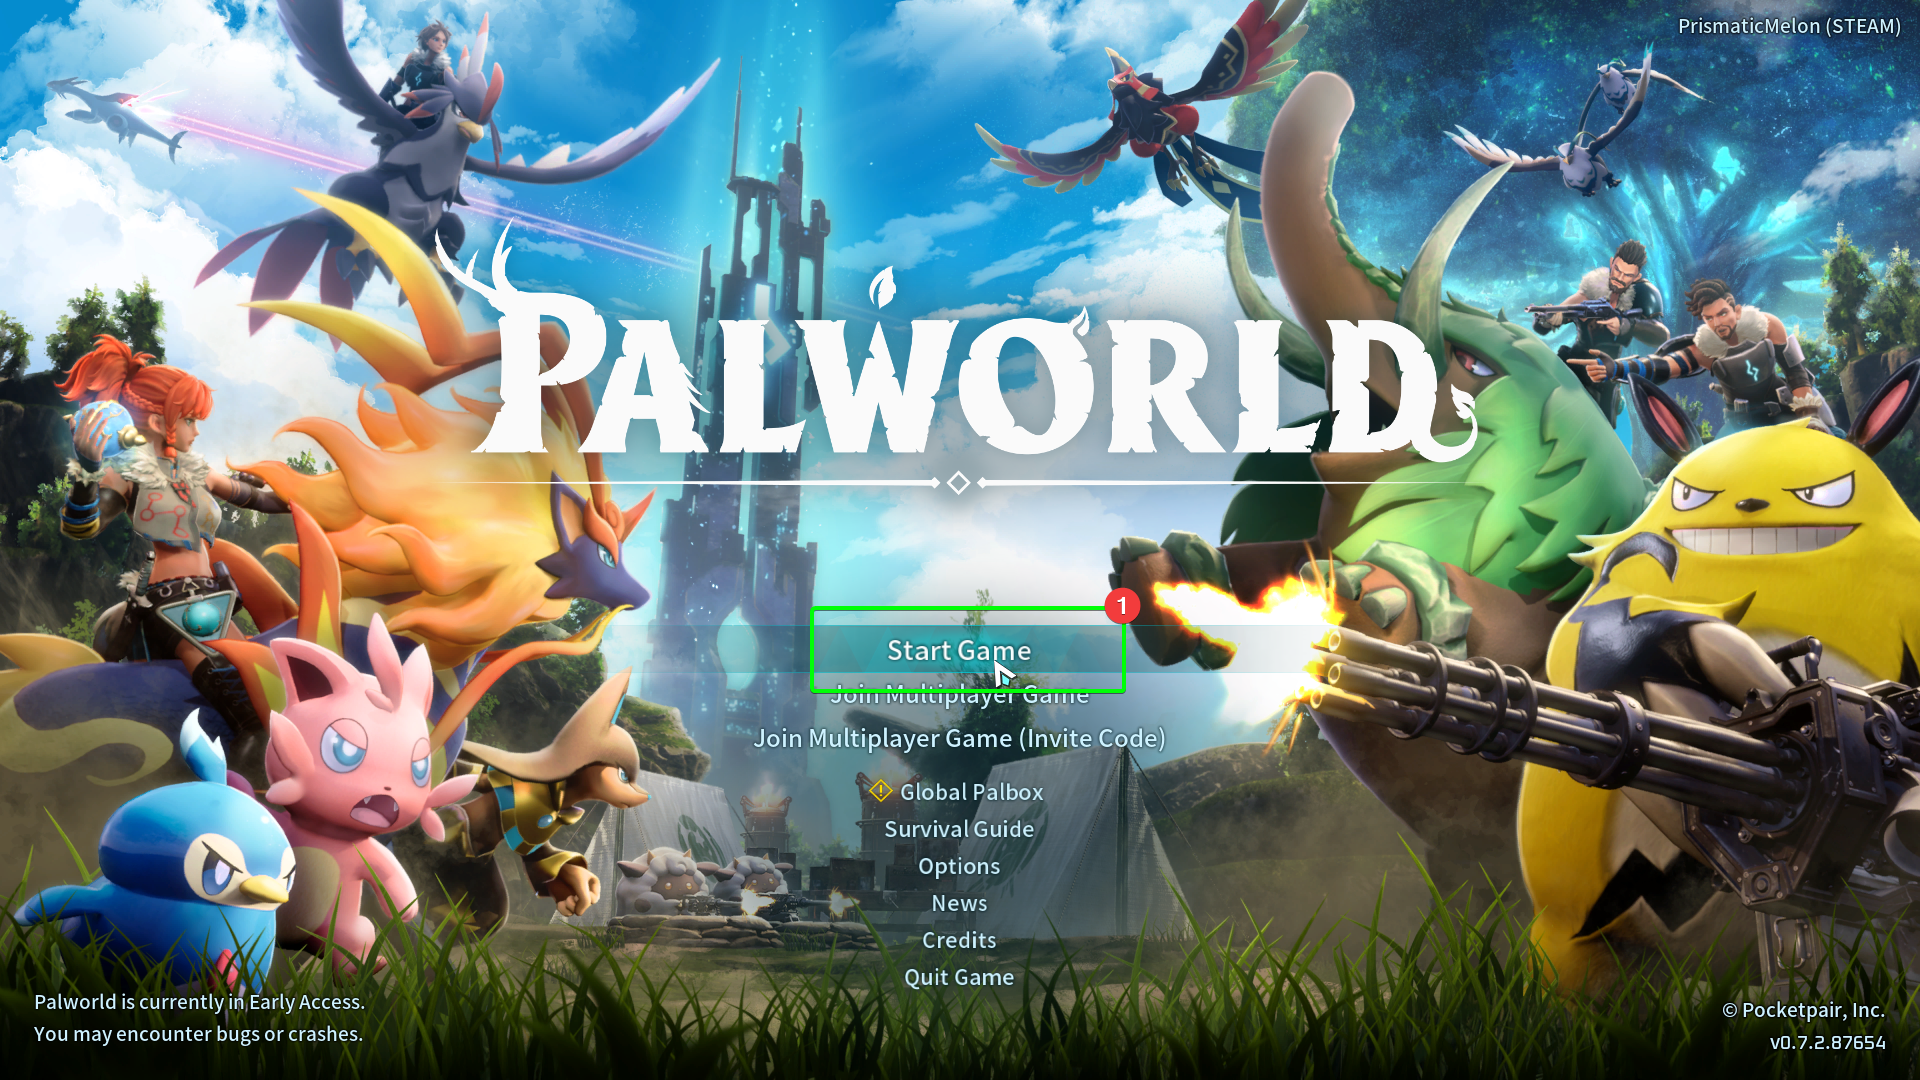
- Load up Palworld on your client machine, and click
Start Gameat the main menu.
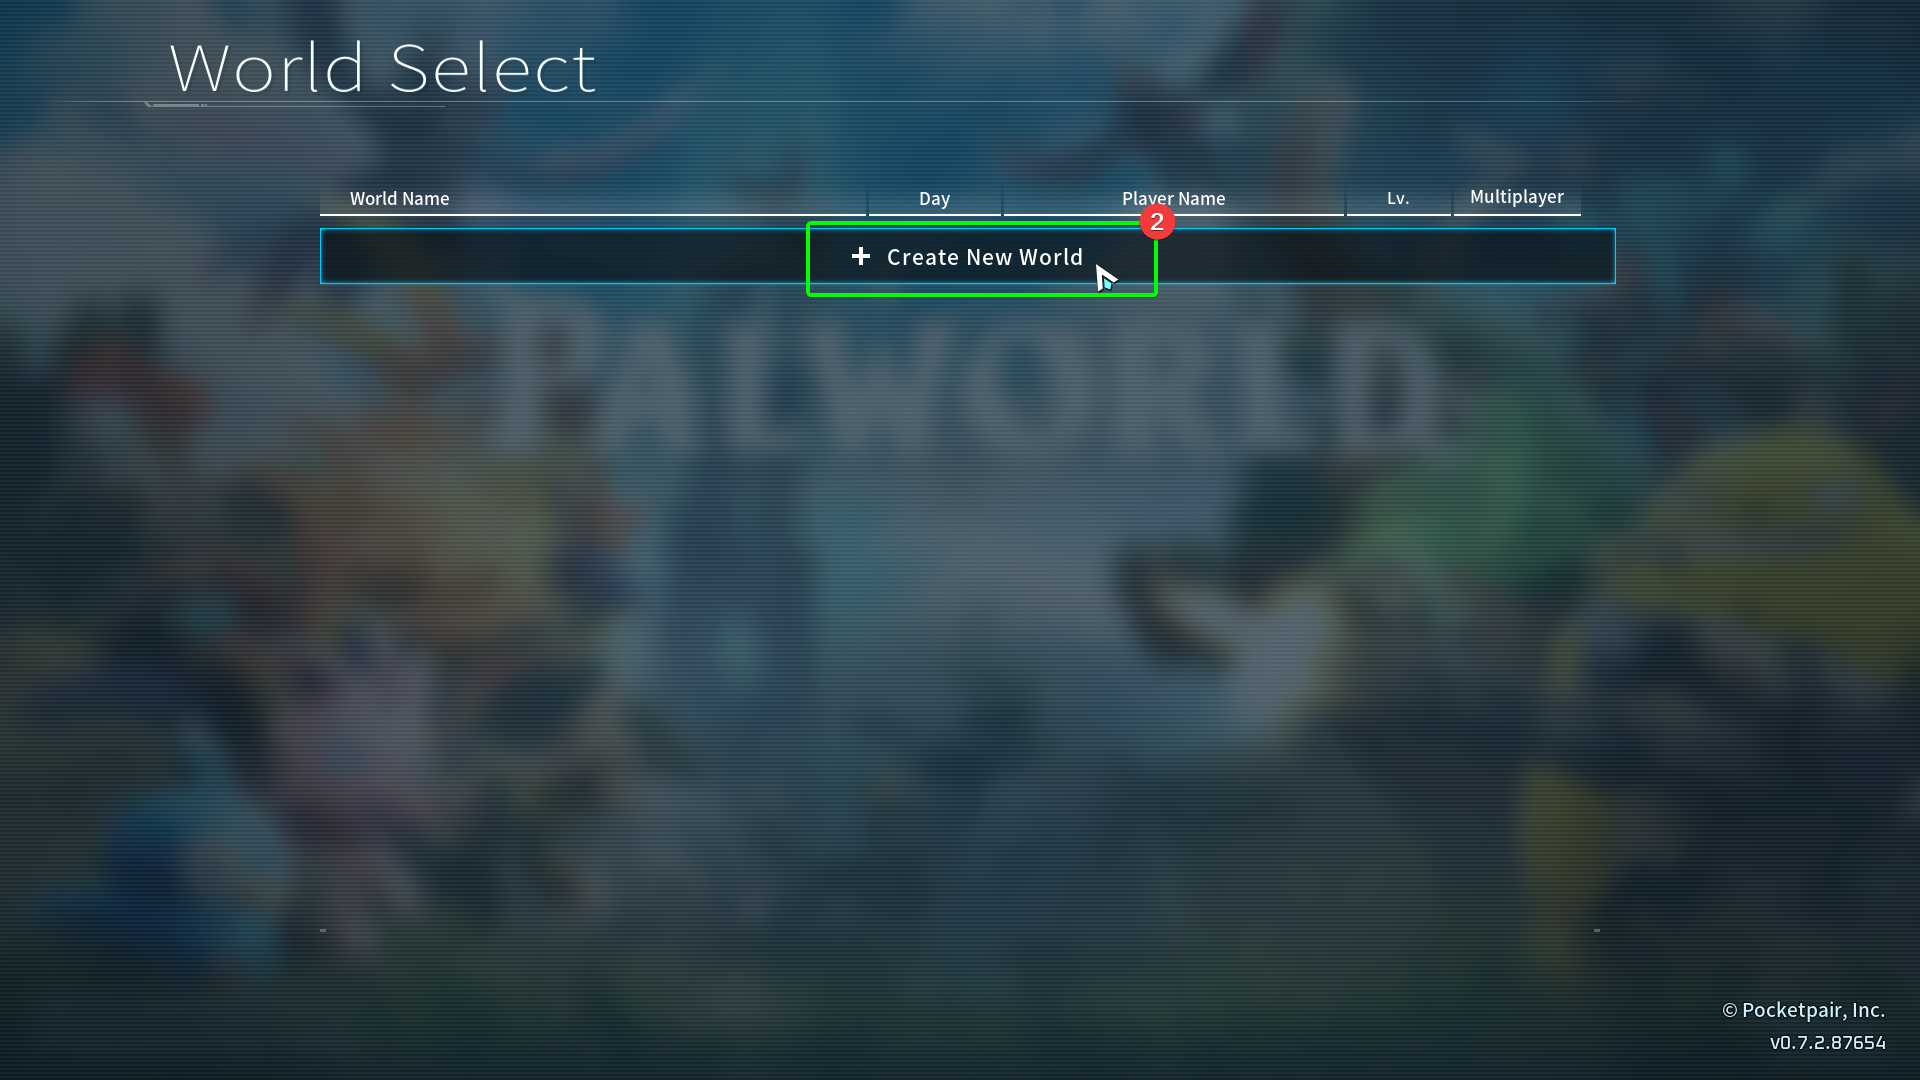
- Select
Create New World.
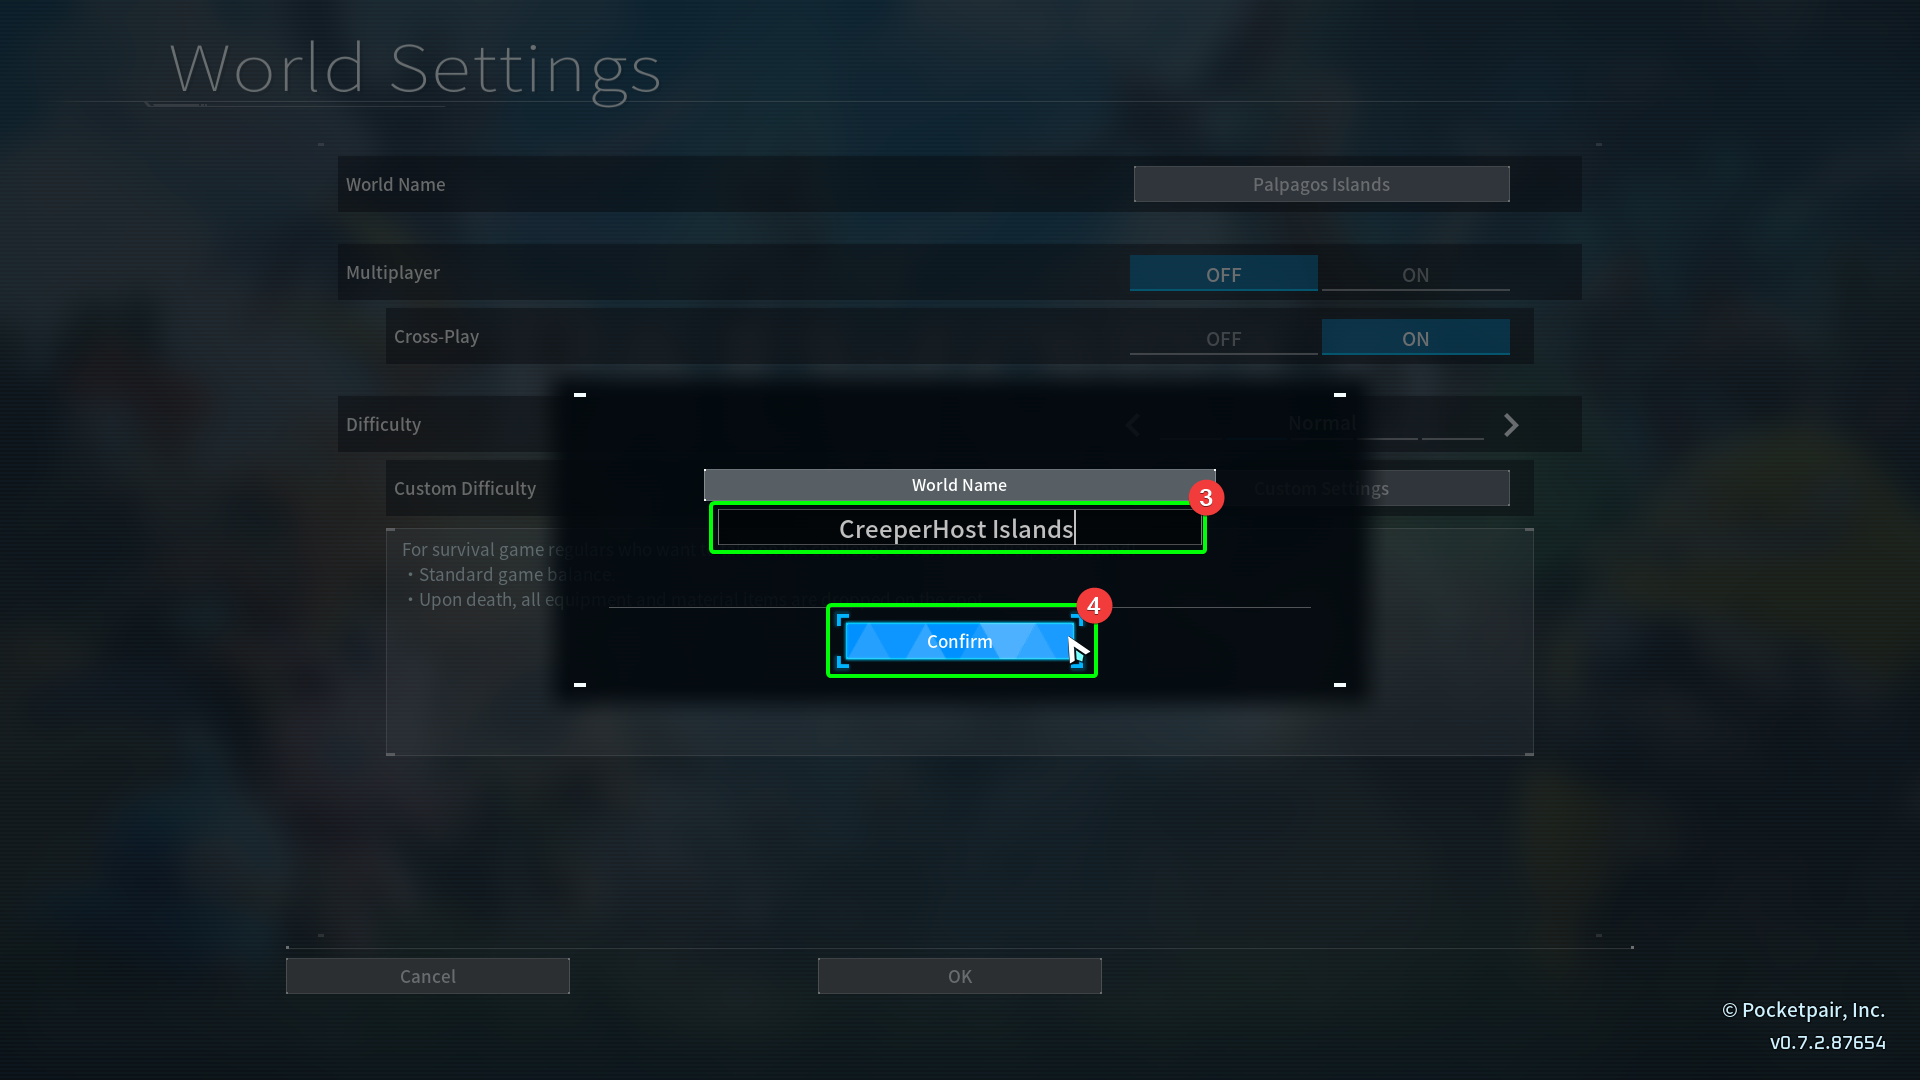
- Set your world name, then
- Select
Confirm.
- Select
Custom Settingsin the world creation menu.
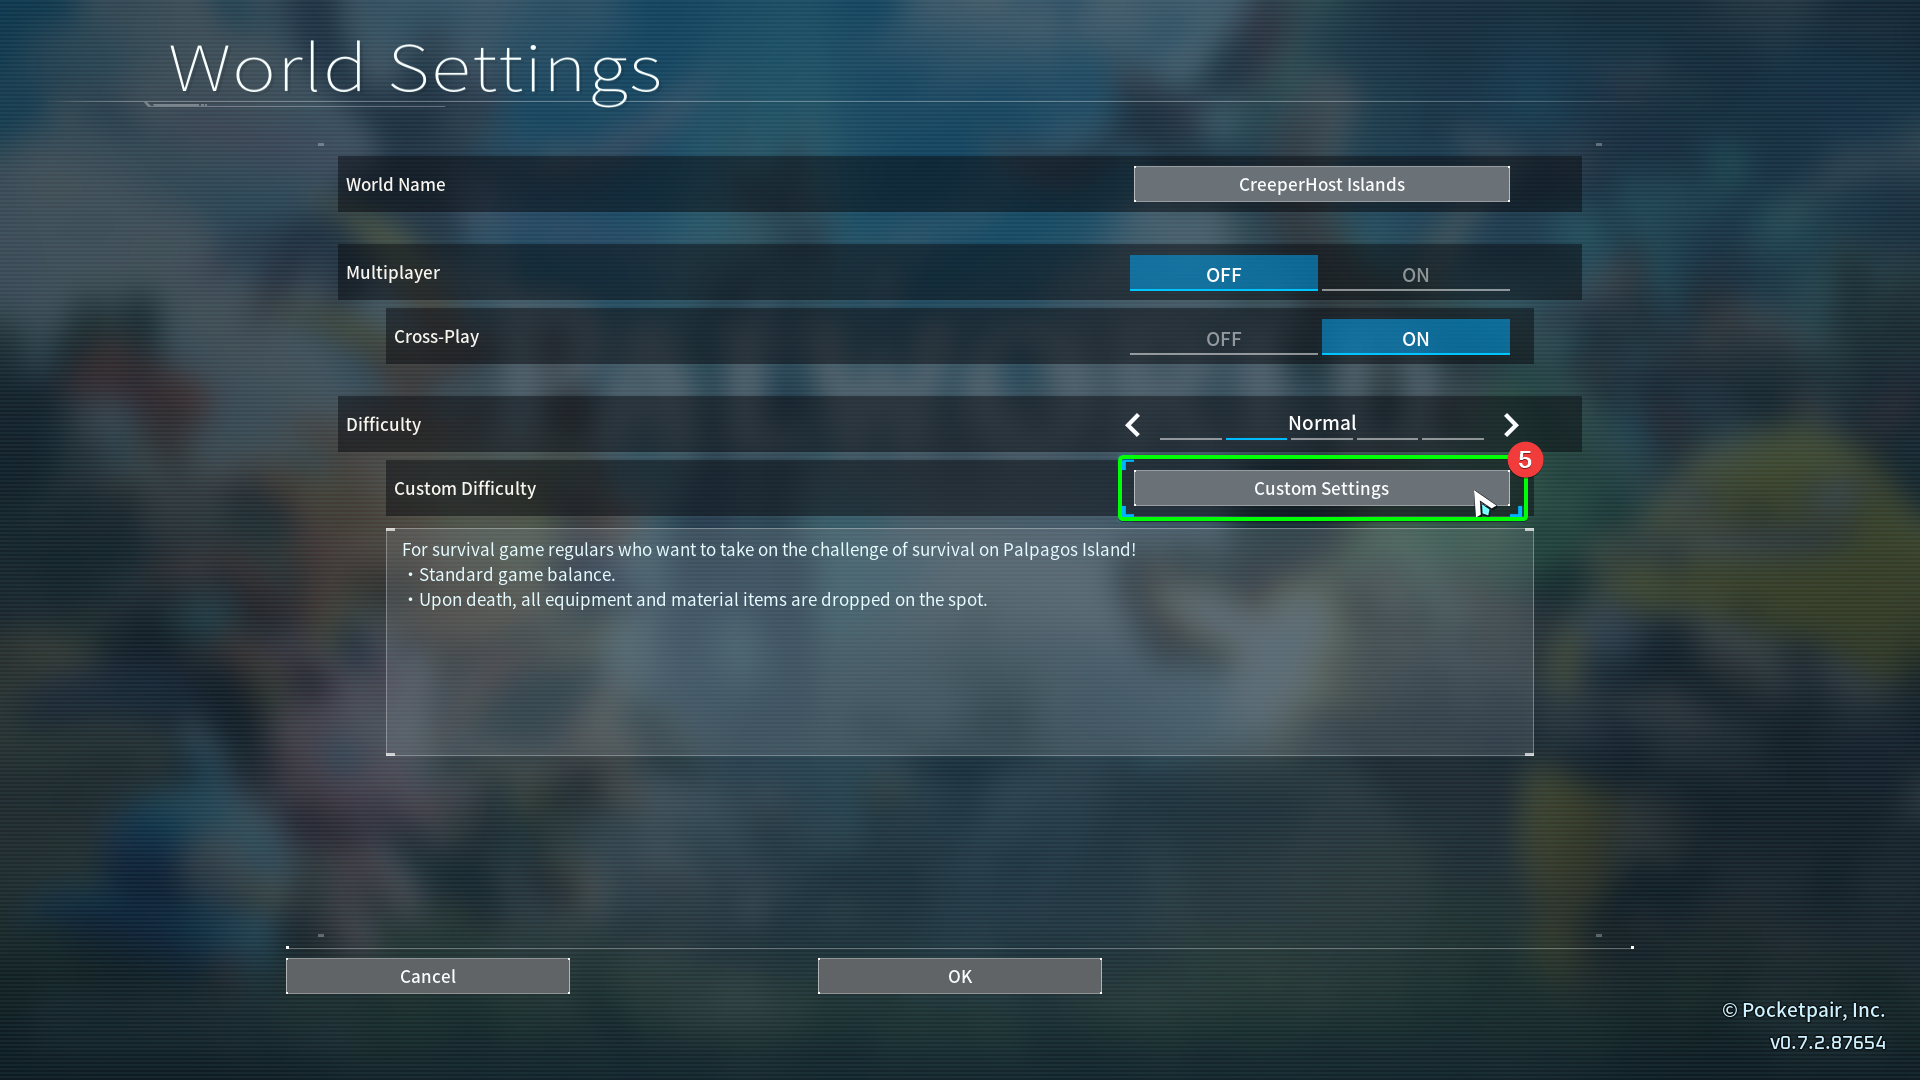
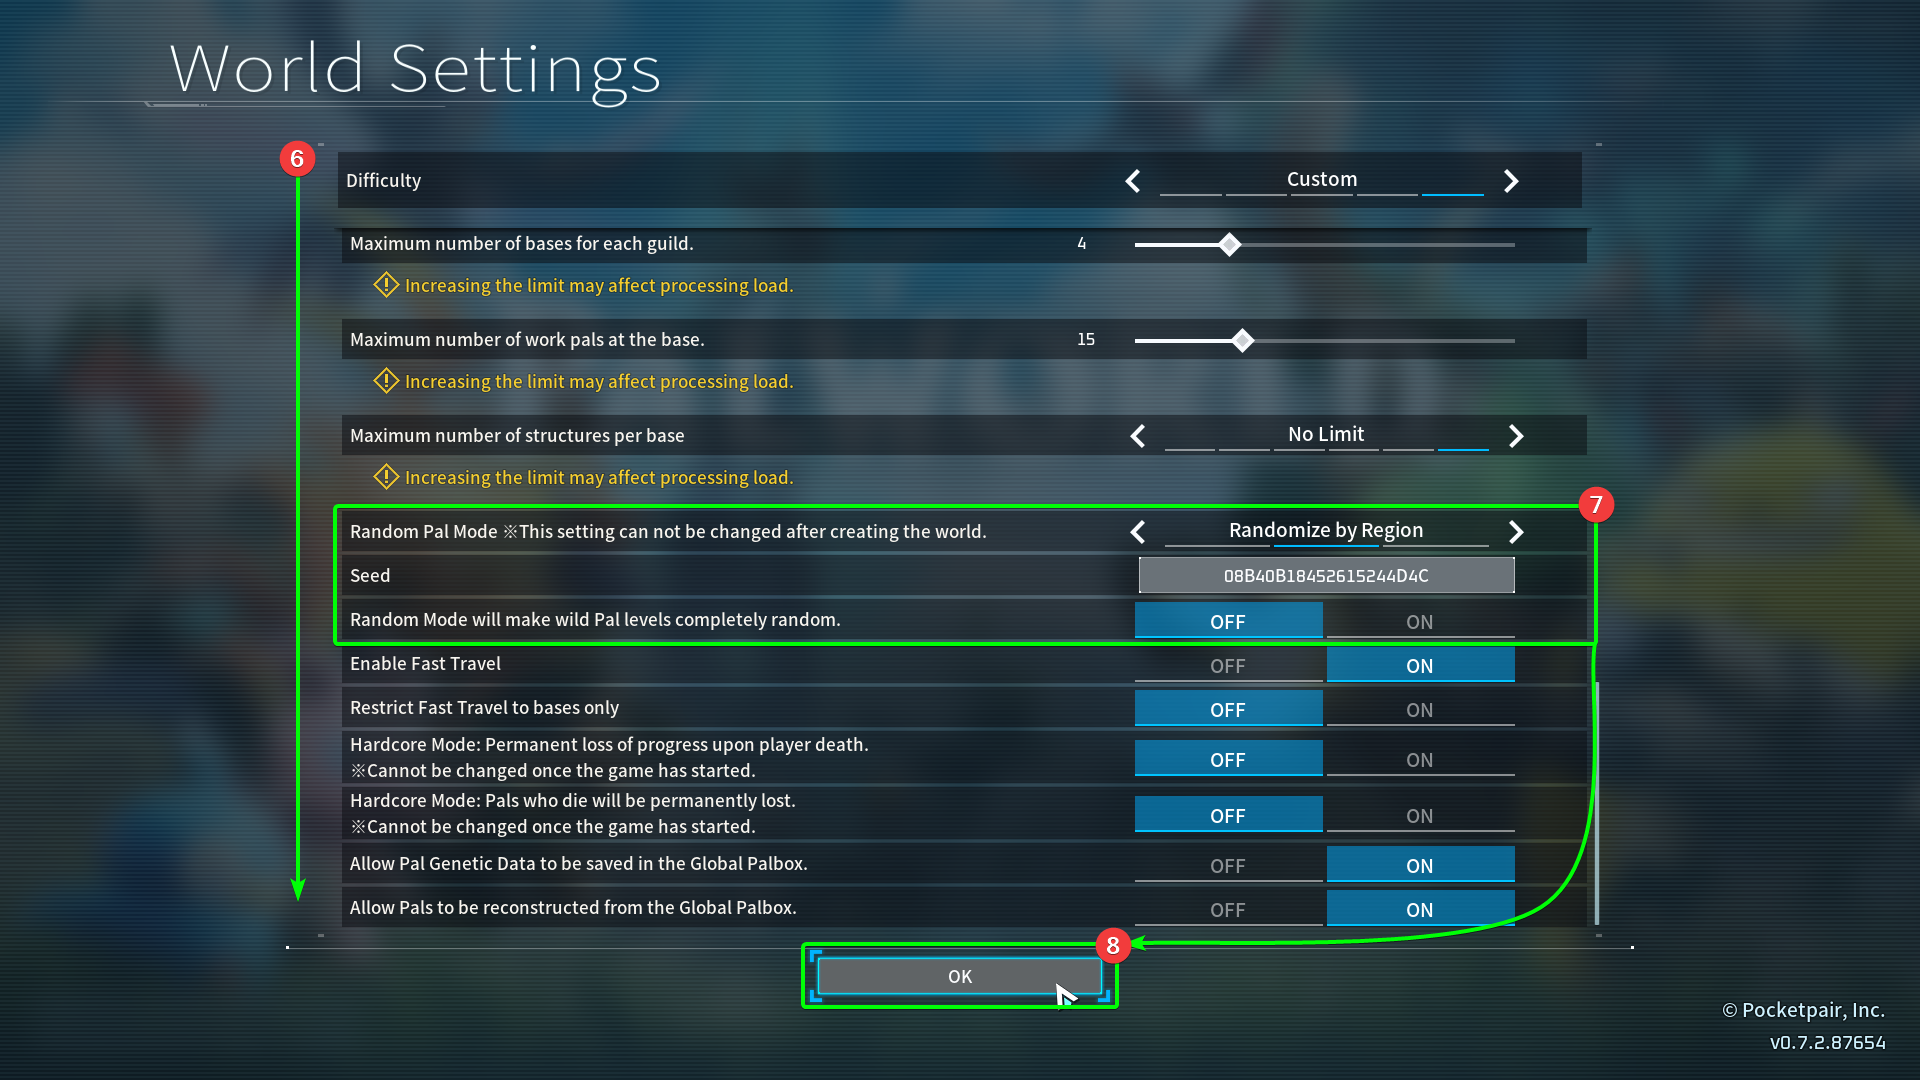
- Scroll down until you see the
Random Pal Modesettings. - Select your random spawn setting -
Randomize by Regionwill randomise the set list of Pals that will spawn in a region;Completely Randomwill randomise all Pals no matter what region you are in. You can also set your seed for Pal generation, and choose to randomise wild Pal levels. - Select
OKto save your customisations.
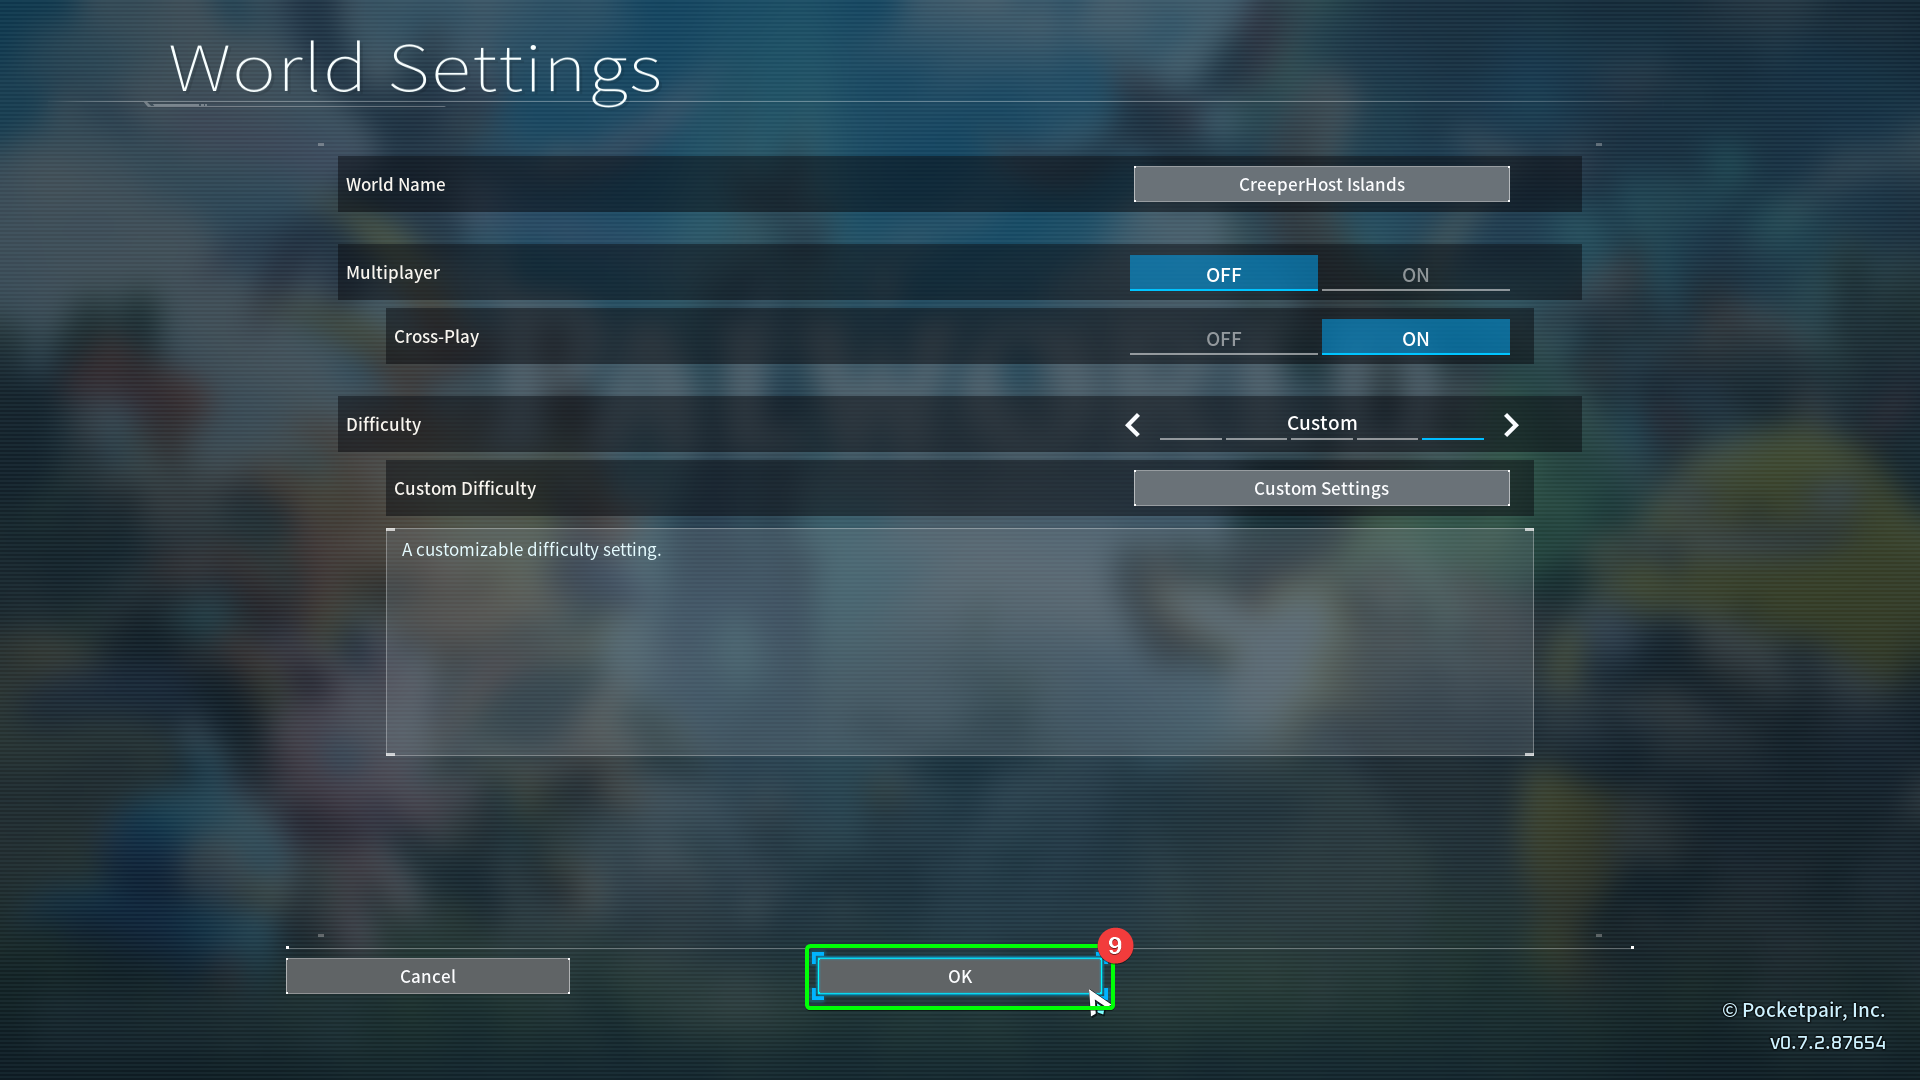
- Select
OK.
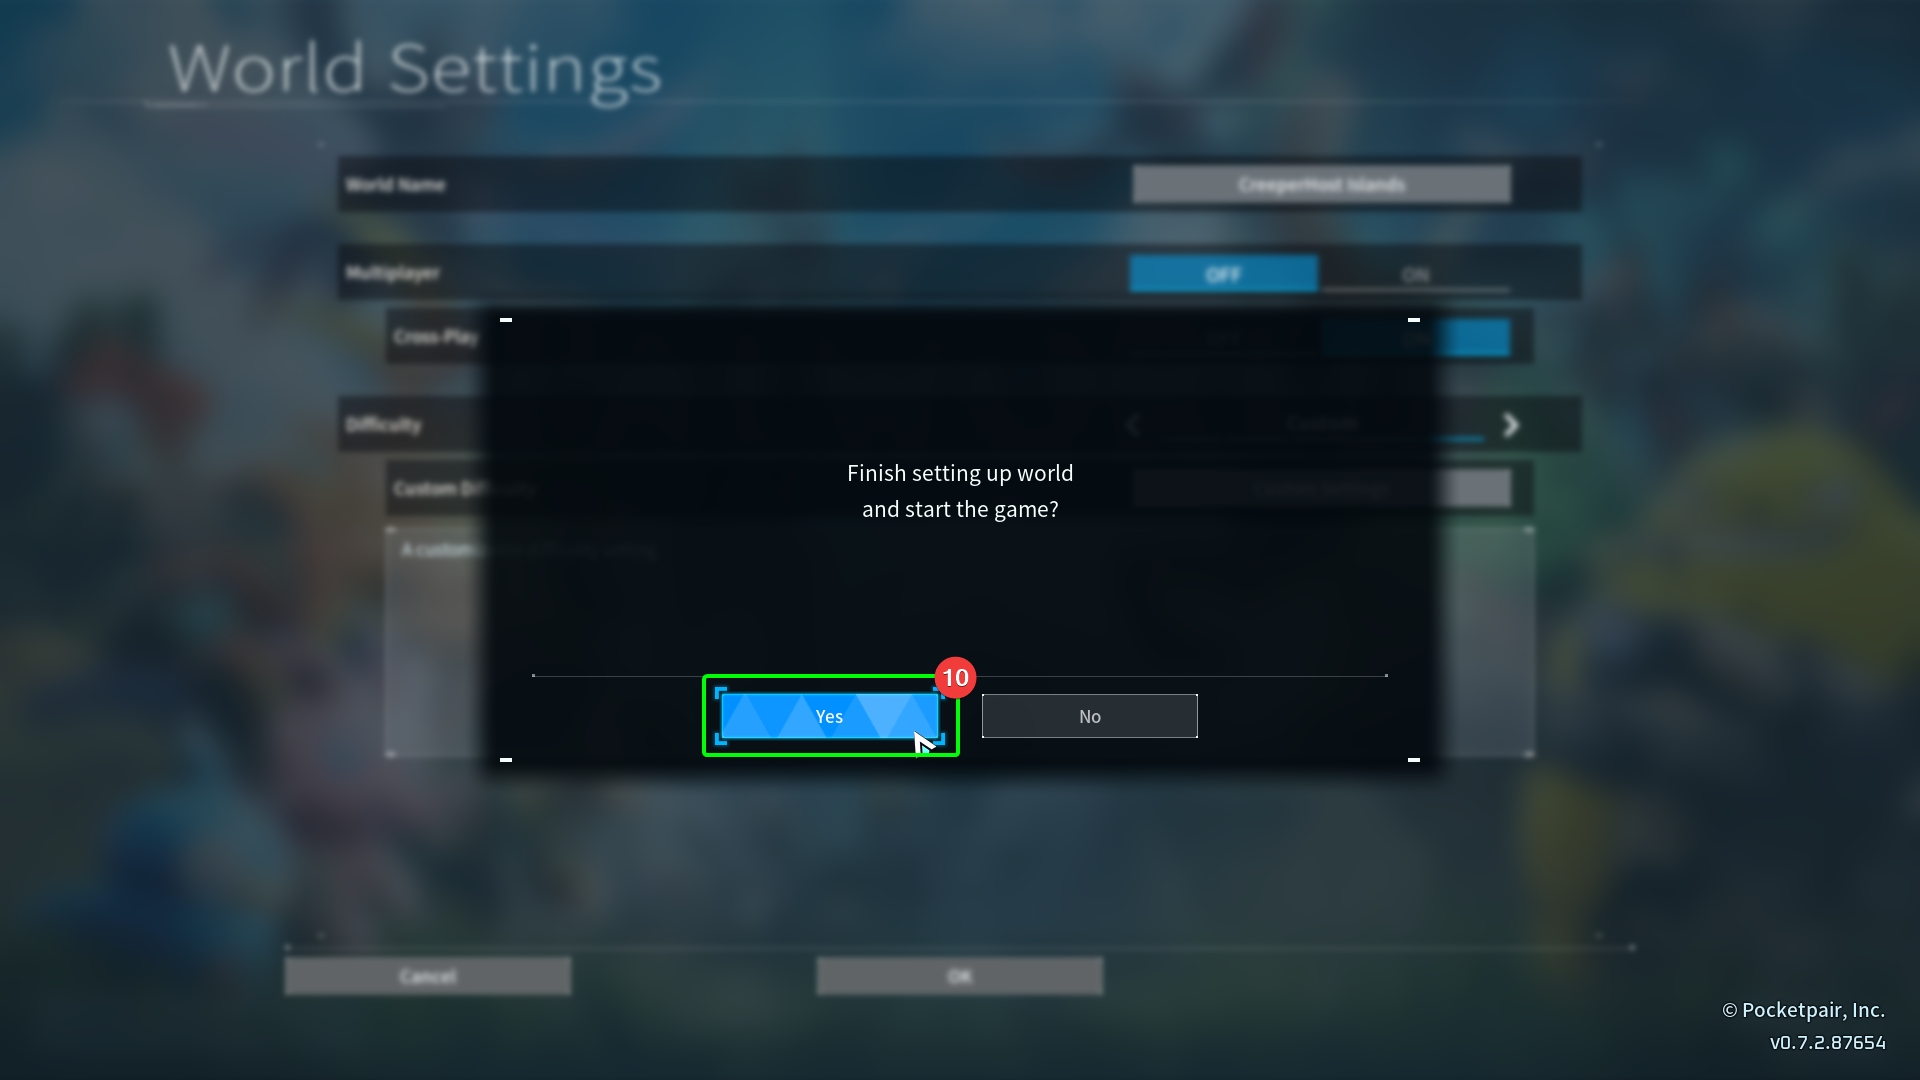
- Select
Yesin the pop-up to continue.
- Create your character, and select
Start Game.
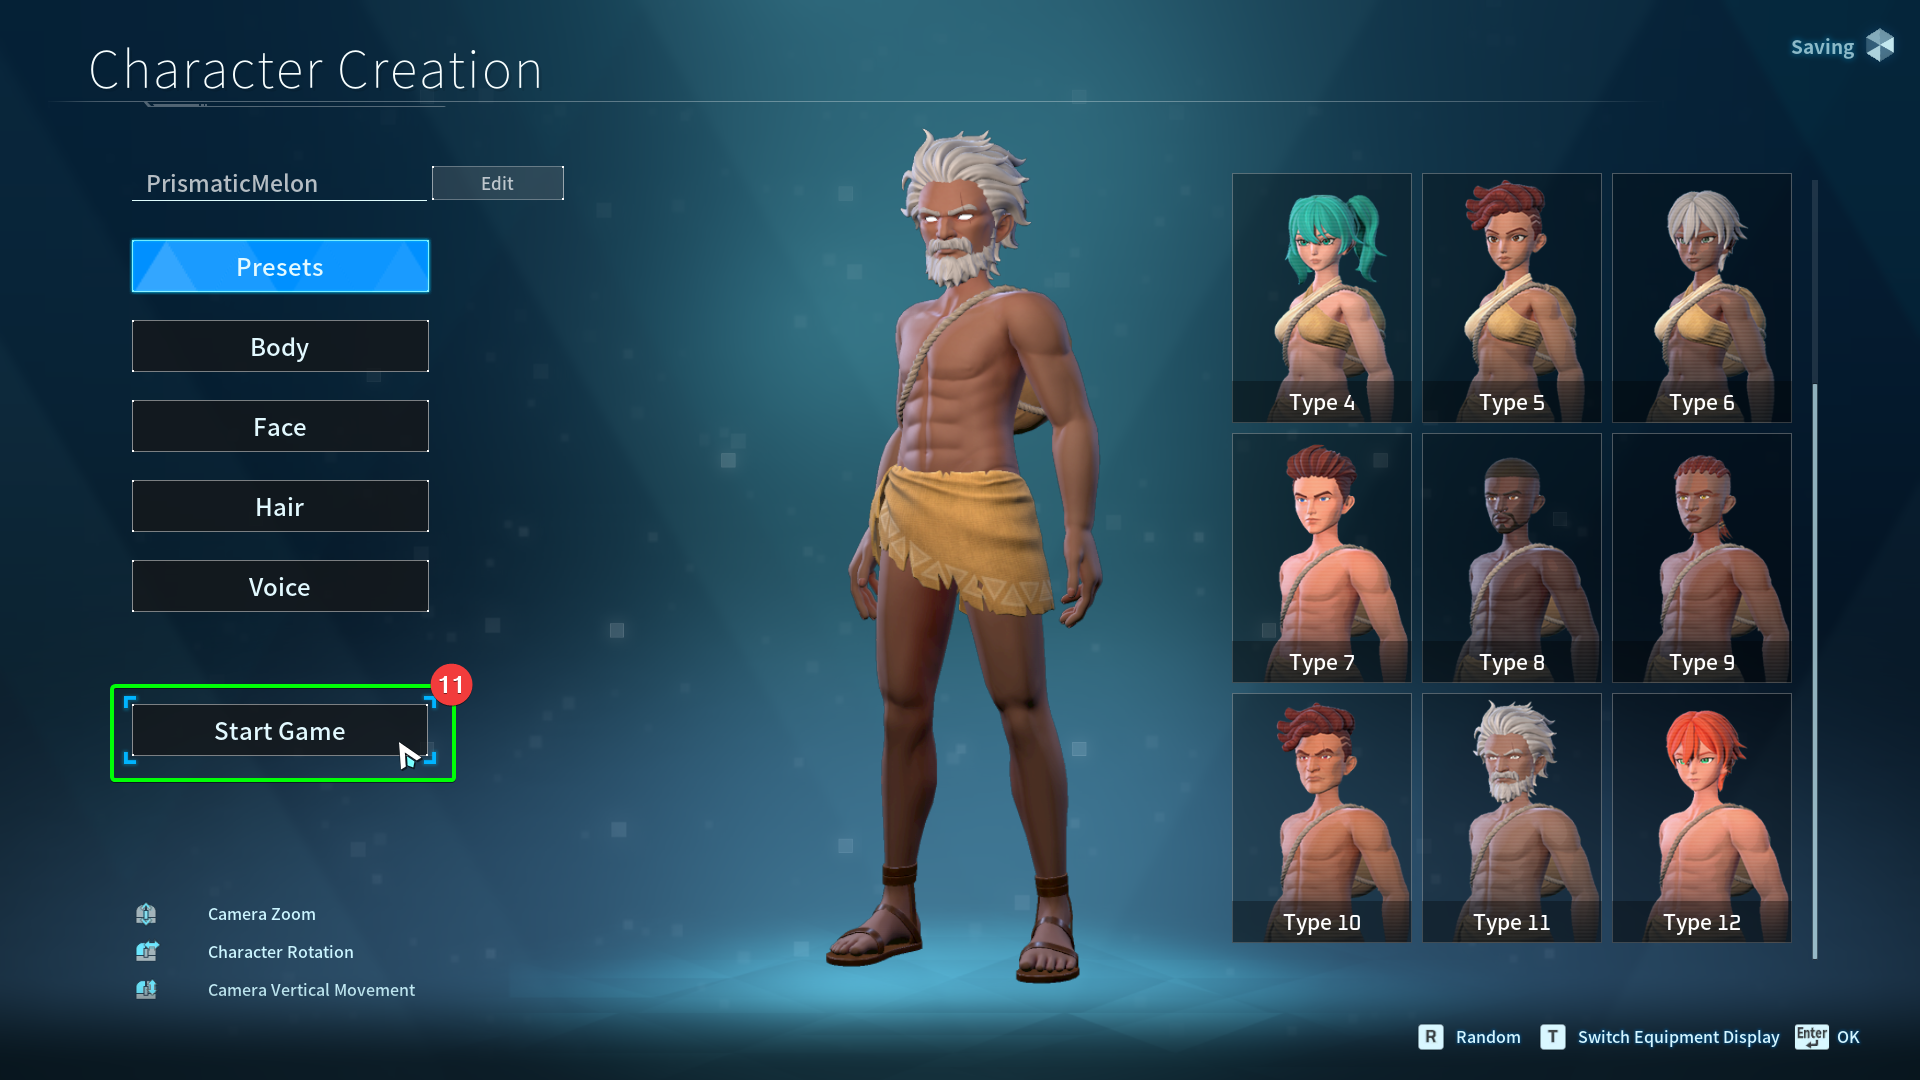
- Select
Yesin the pop-up to continue.
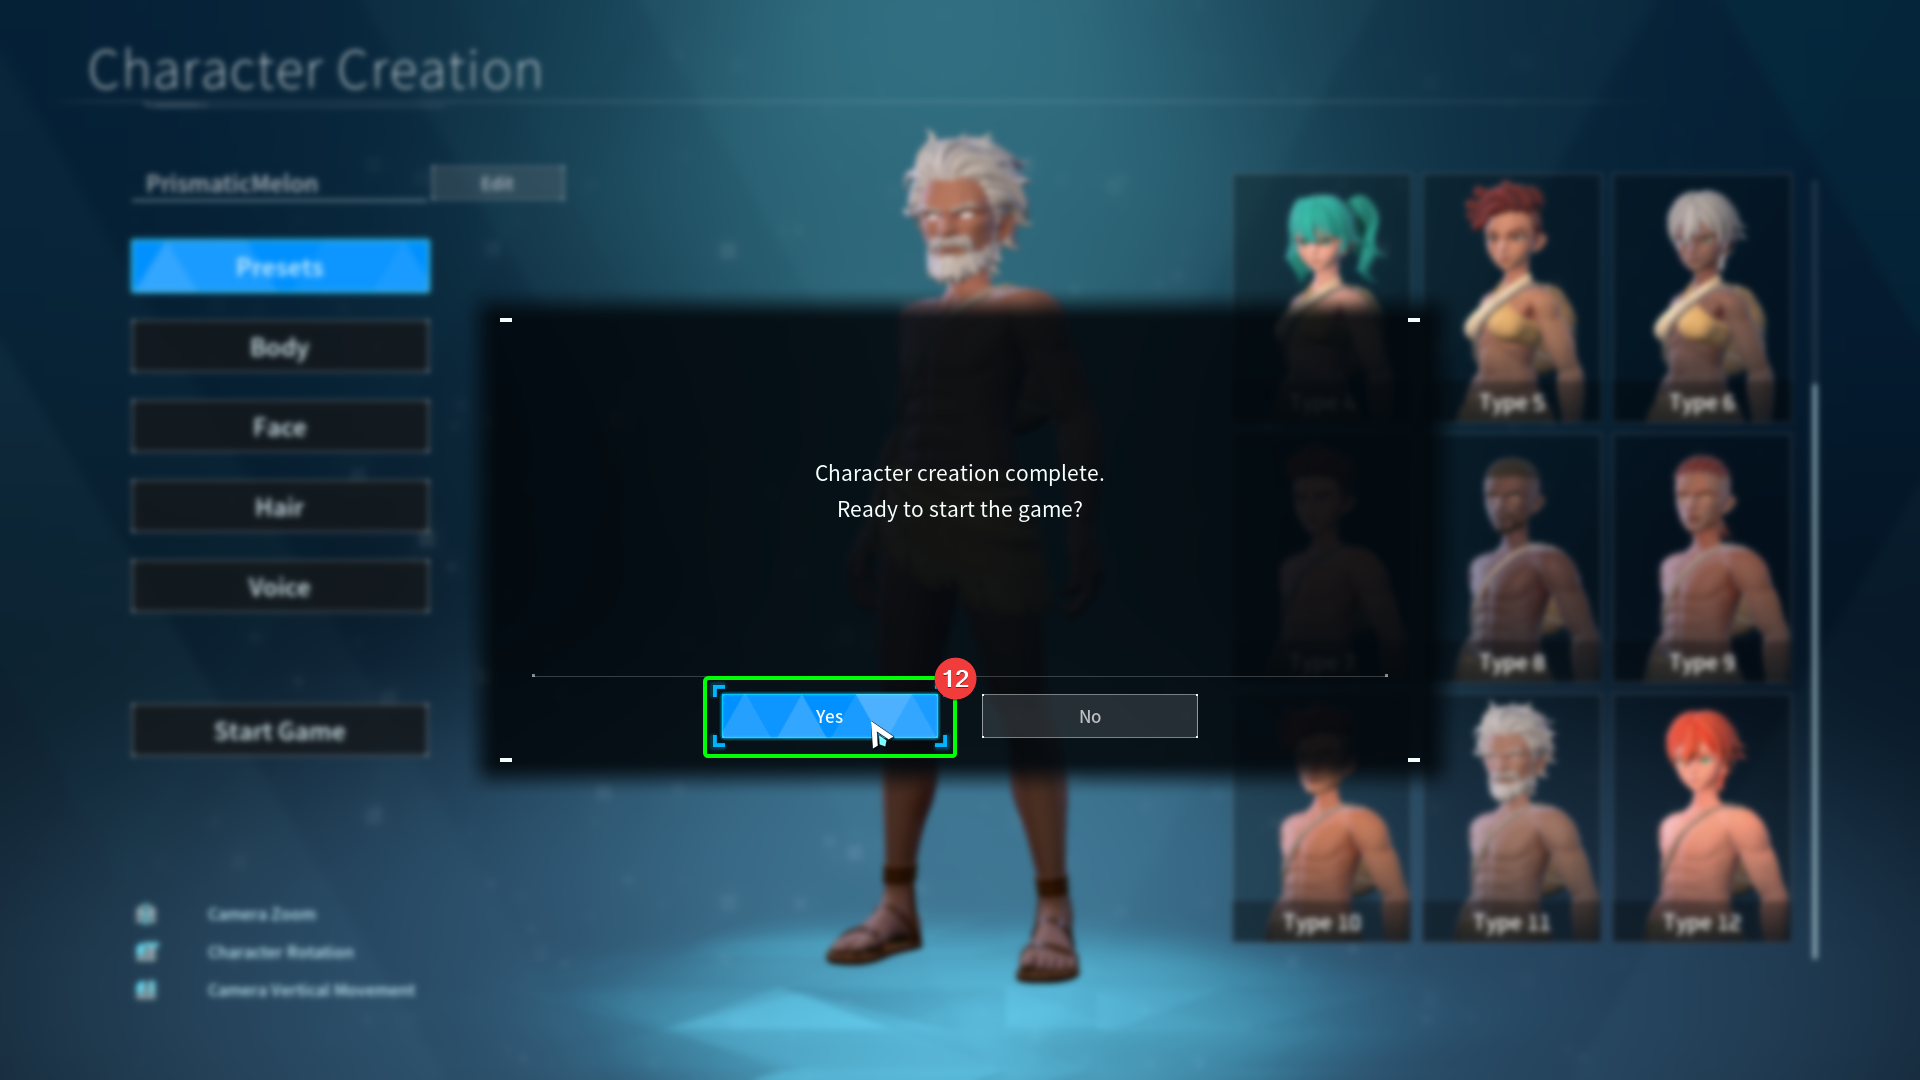
Uploading your Random Spawn World
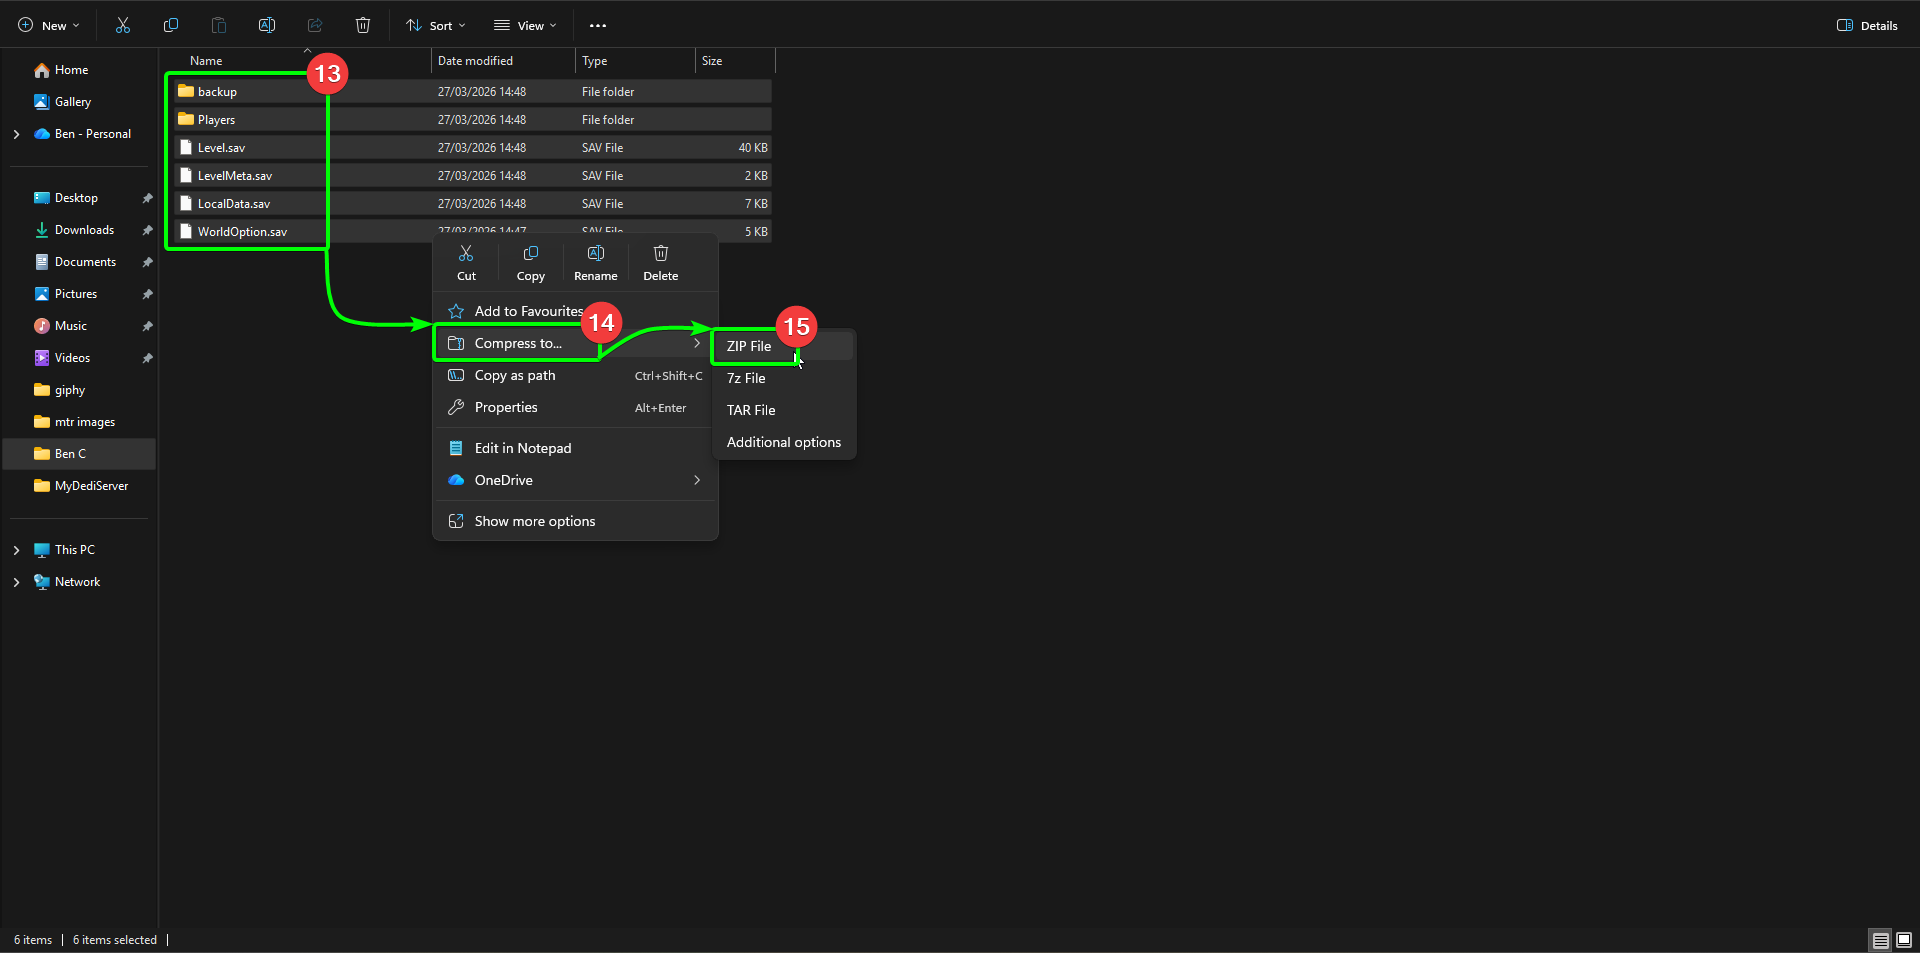
Now the world is created, you'll need to upload it to your server. Open an explorer window, and locate your local Palworld saves. The directory path is C:\Users\YourProfile\AppData\Local\Pal\Saved\SaveGames\, replacing YourProfile with your own account name. Inside this directory, locate the files for the world you wish to upload.
- Highlight the files for the world you want to upload. This will include the
backupandPlayersdirectories. Right click them, then - Select
Compress to...from the menu, and - Select
.ZIP Fileto keep the world files together in a ZIP archive. The archive name does not matter.
Now we need to locate the directory we need to upload the world files to. On the Panel:
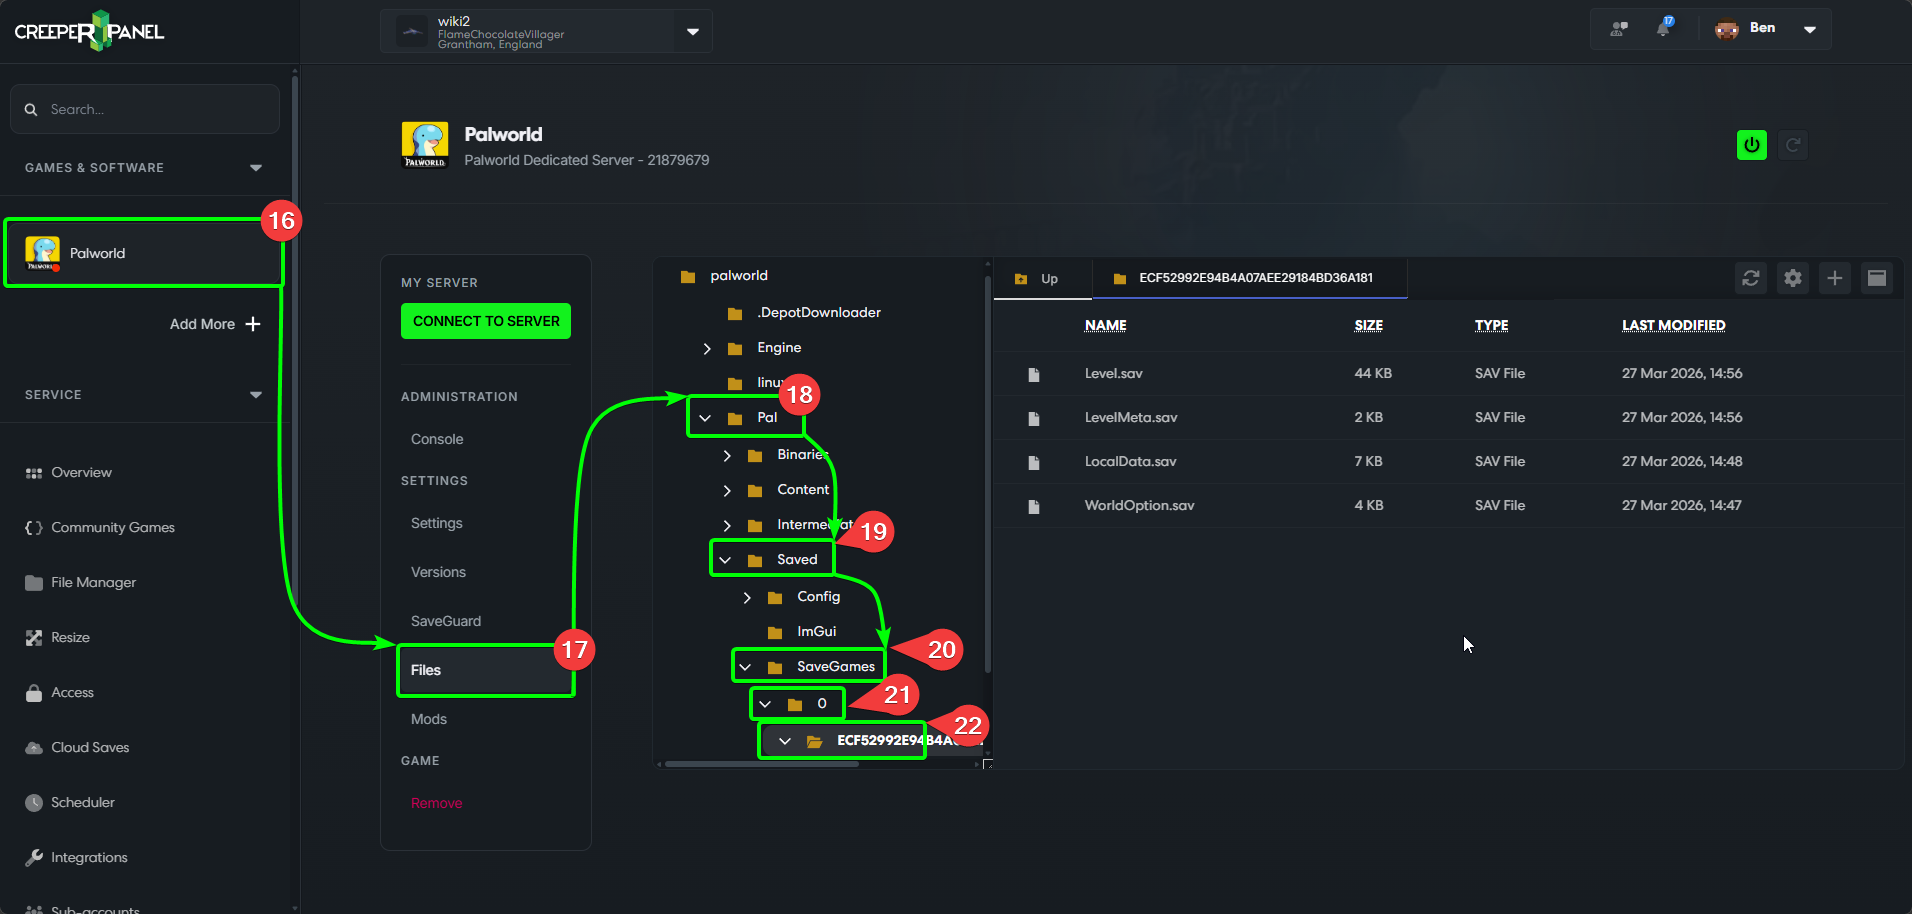
- Select your Palworld instance, then
- Select
Files, found underSettingsin the sub-menu. - Expand the
Paldirectory, then - Expand the
Saveddirectory, then - Expand the
SaveGamesdirectory, then - Expand the
0directory, and - Select the alphanumerical directory inside to open it in the Panel. This directory contains the files we need to replace.
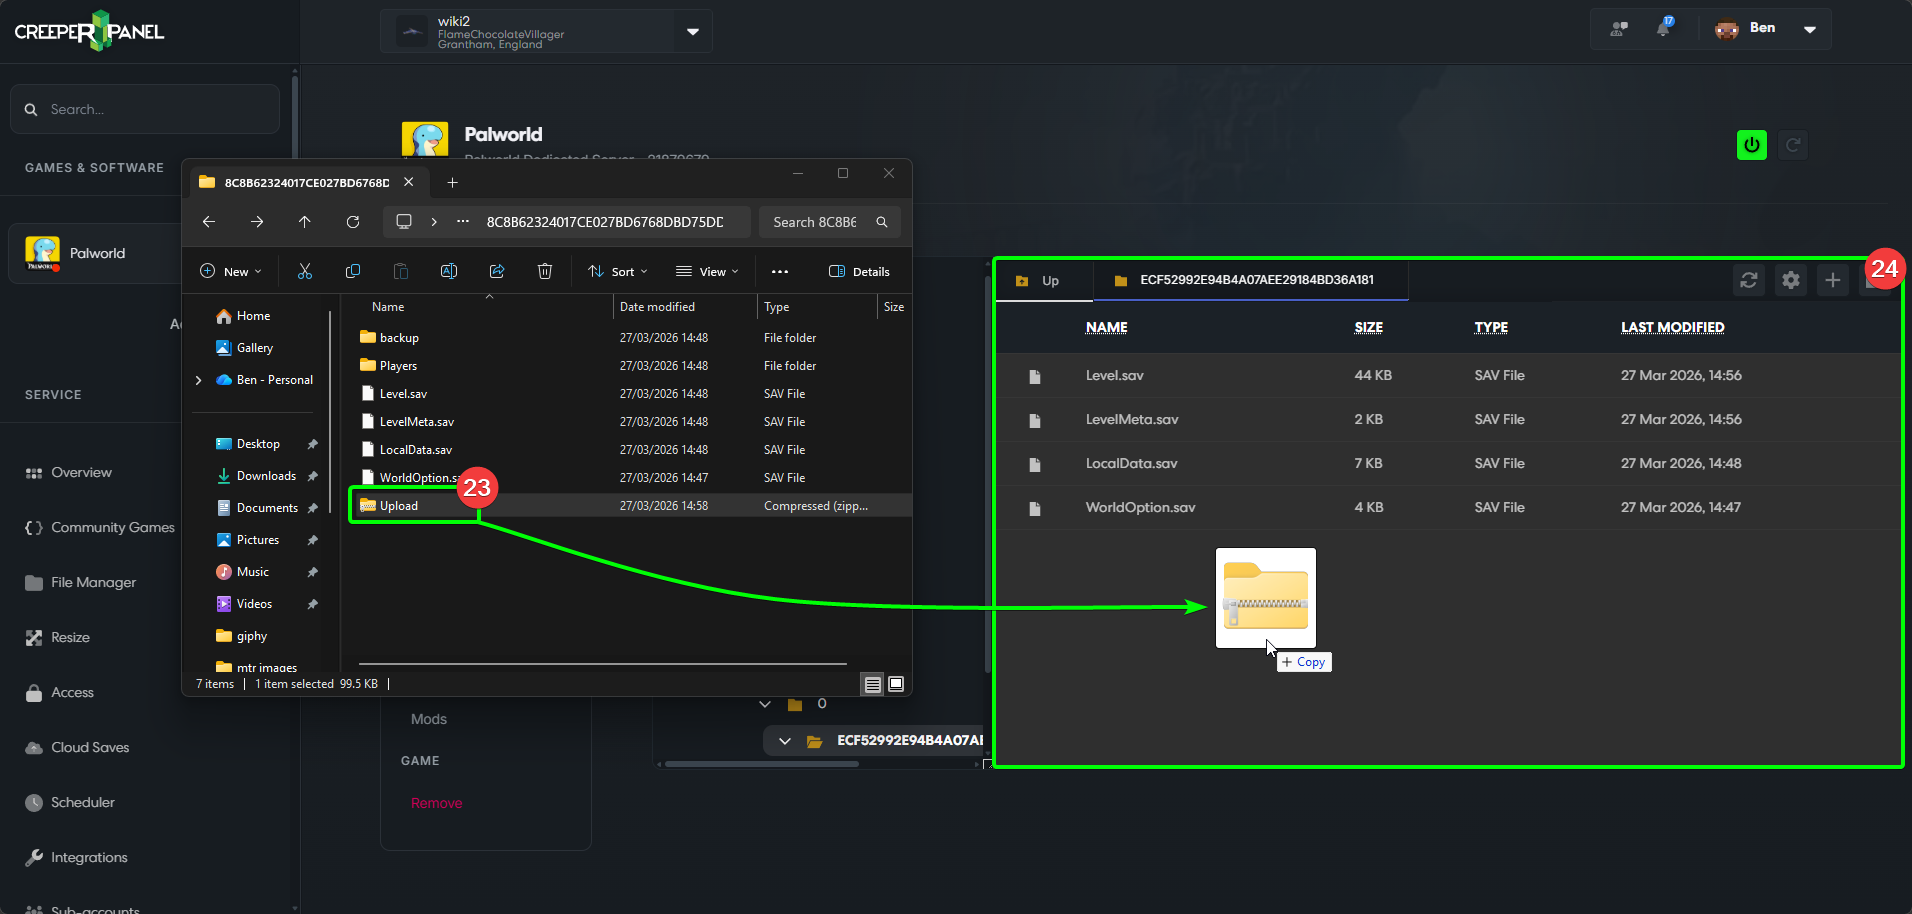
- Now, select the
.ZIParchive you've just created, then - Drag and drop it into the alphanumerical directory that you've opened on the CreeperPanel.
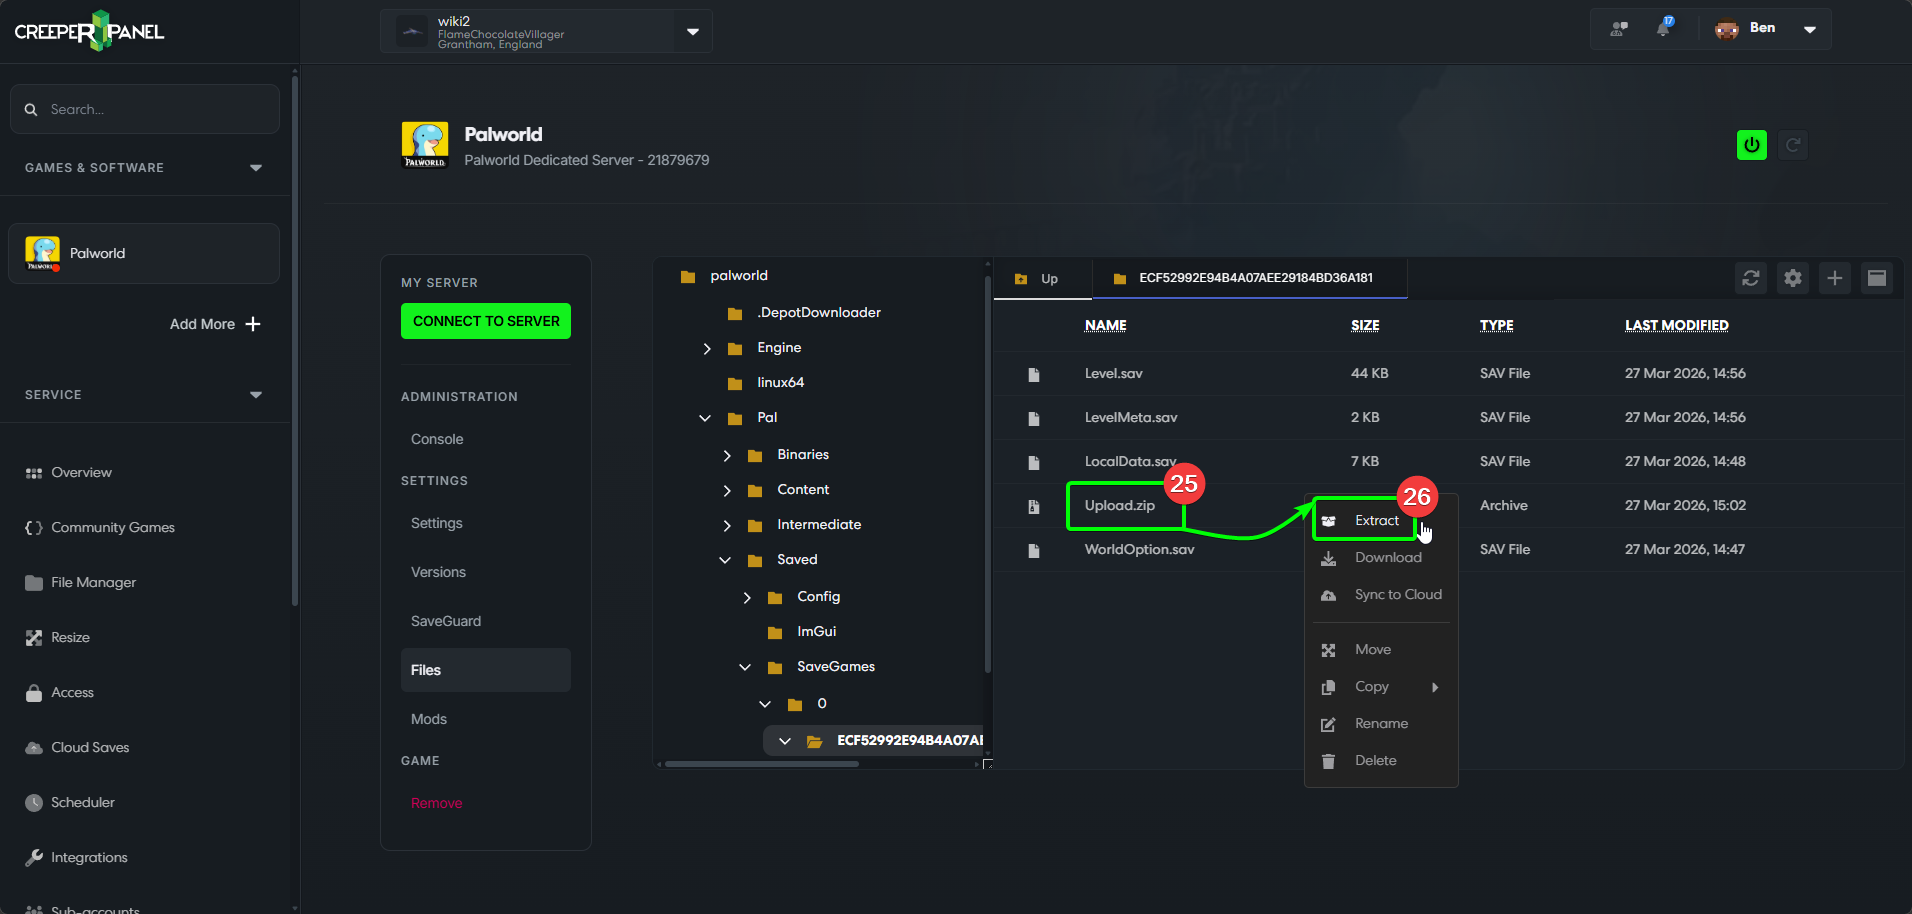
- Right-click your uploaded .ZIP archive in the Panel, then
- Select
Extract.
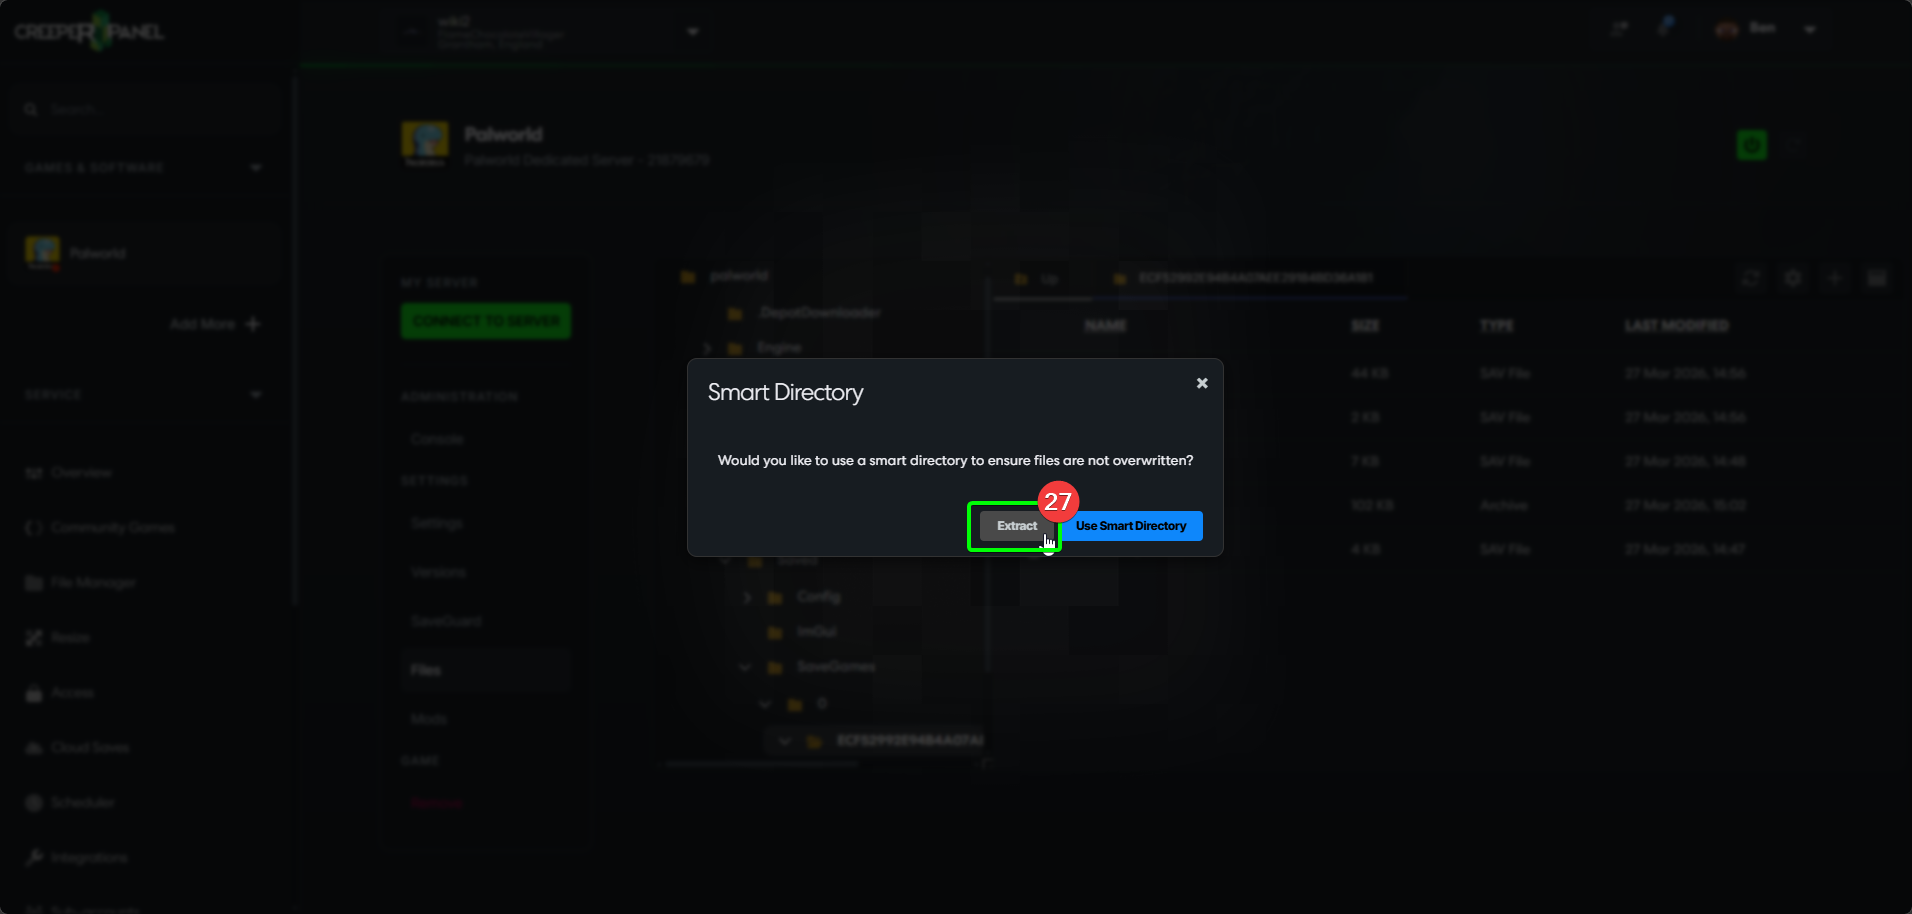
- Select
Extractto extract the files into the alphanumerical directory. This will overwrite the existing world files with your new ones.
That's it! You've uploaded your pre-configured Palworld world, and are free to start your server! Be careful - those Pals can be dangerous!