Changing your 7 Days to Die Settings
warning
Before making any changes to your settings, first ensure your instance is switched OFF - this will prevent data loss/corruption
The CreeperPanel allows you to change your instance's settings quickly and easily. It's best to familiarise yourself with the available settings for your instance so you can manage it to the best of your abilities. To find the settings:
Finding your Settings, and the General Tab
- Select your
7 Days to Dieinstance in the side-bar of the CreeperPanel, then - Select
Settings, found underSettingsin the instance's sub-menu. - You'll be taken to the
Generalsettings tab. - You'll see your settings in the main window.
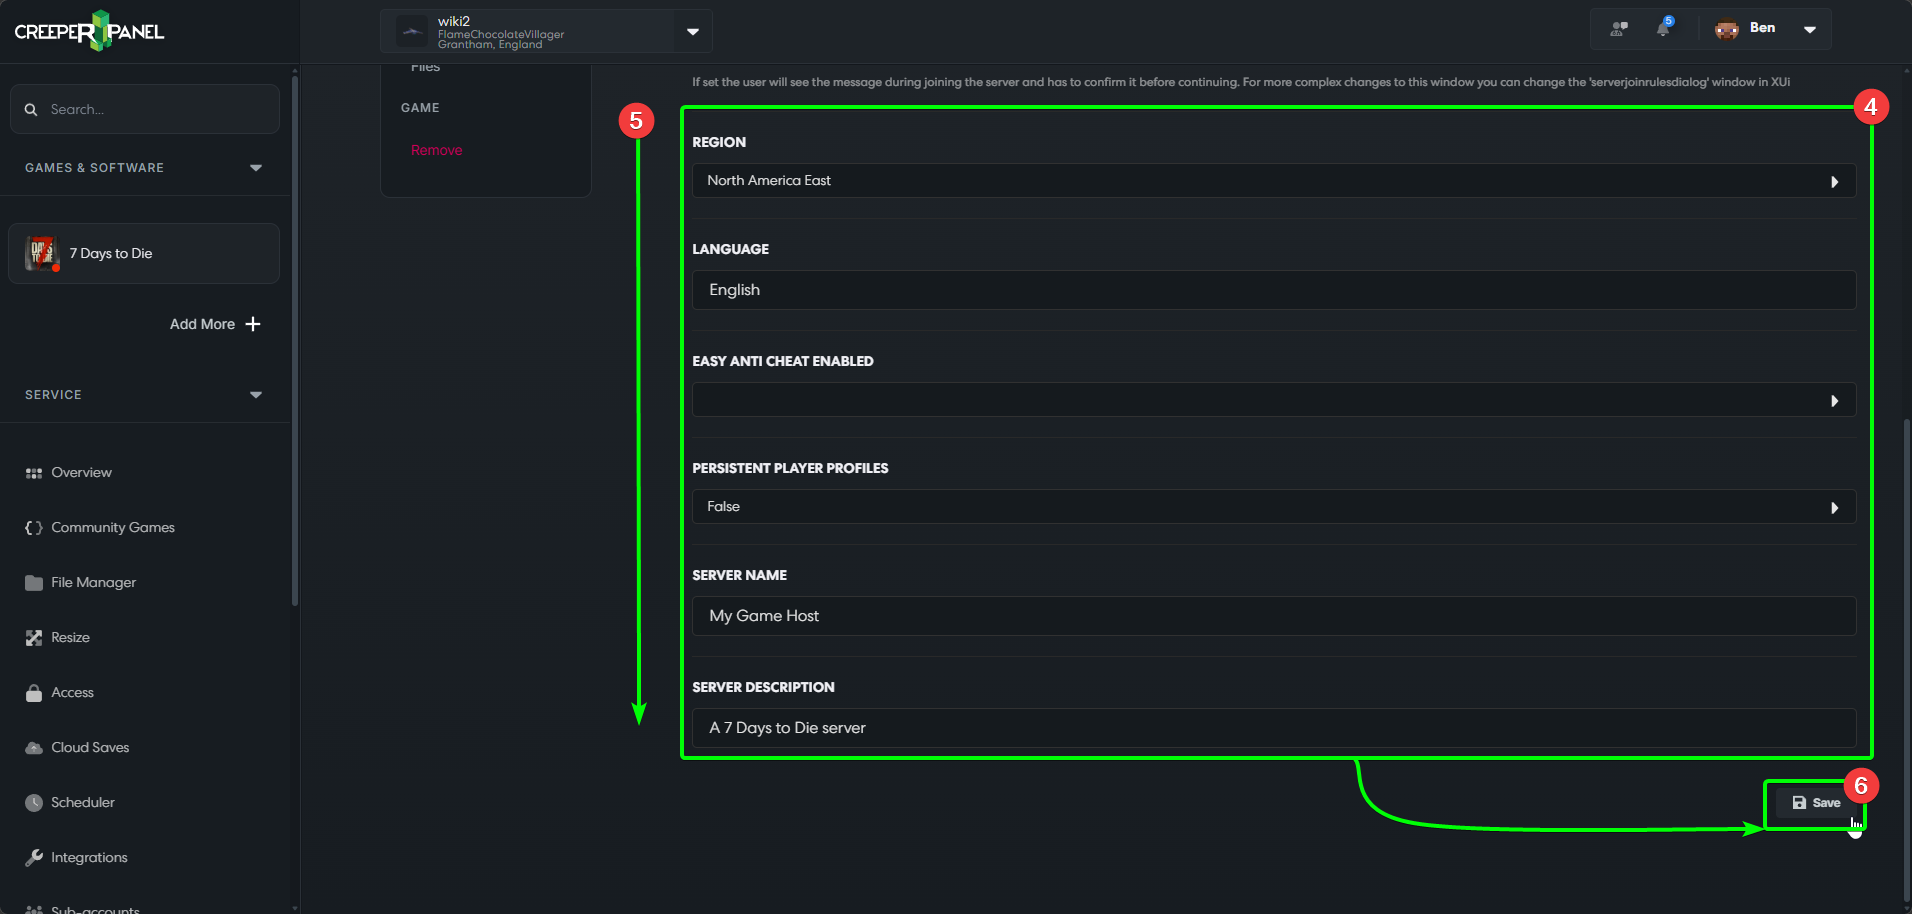
- Scroll down to view all the settings.
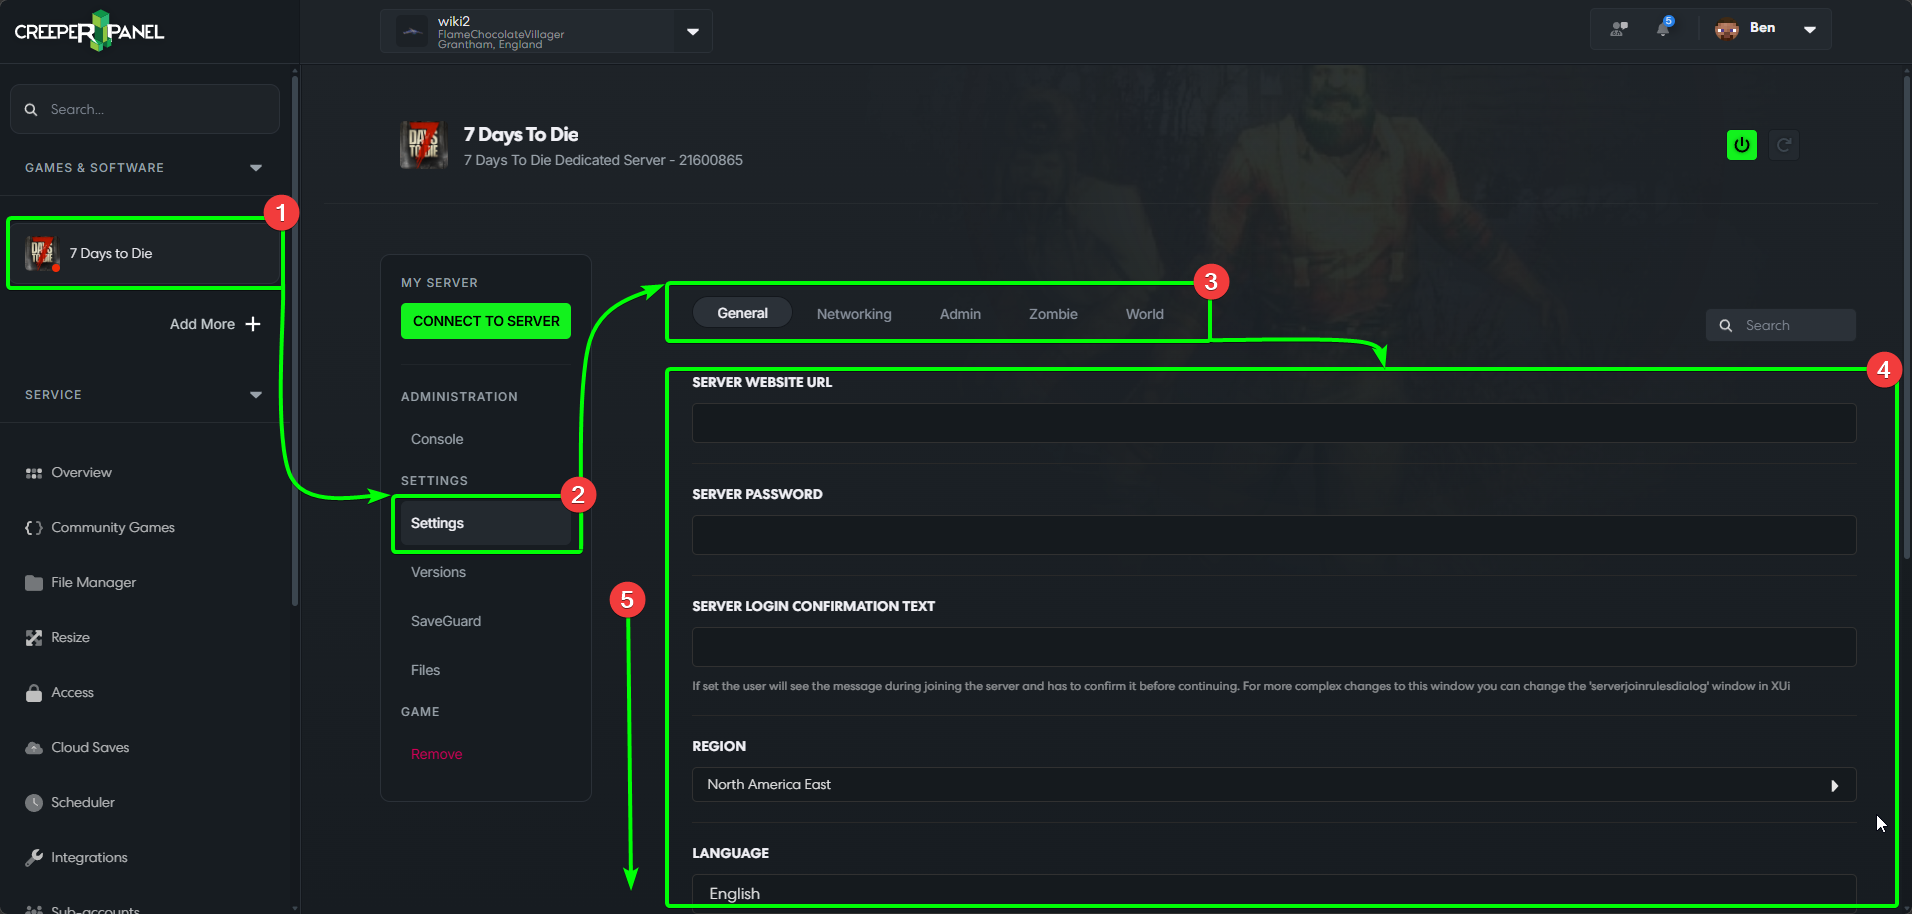
- At the bottom of each settings page, you will see a
Savebutton - you MUST save all changes before navigating away from your current settings page, else your changes won't take effect.
The Network Tab
- The
Networktab contains all settings related to your instance's network. - The settings will be visible in the main window.
- Scroll down to see the rest of the settings. Don't forget to save before navigating away!

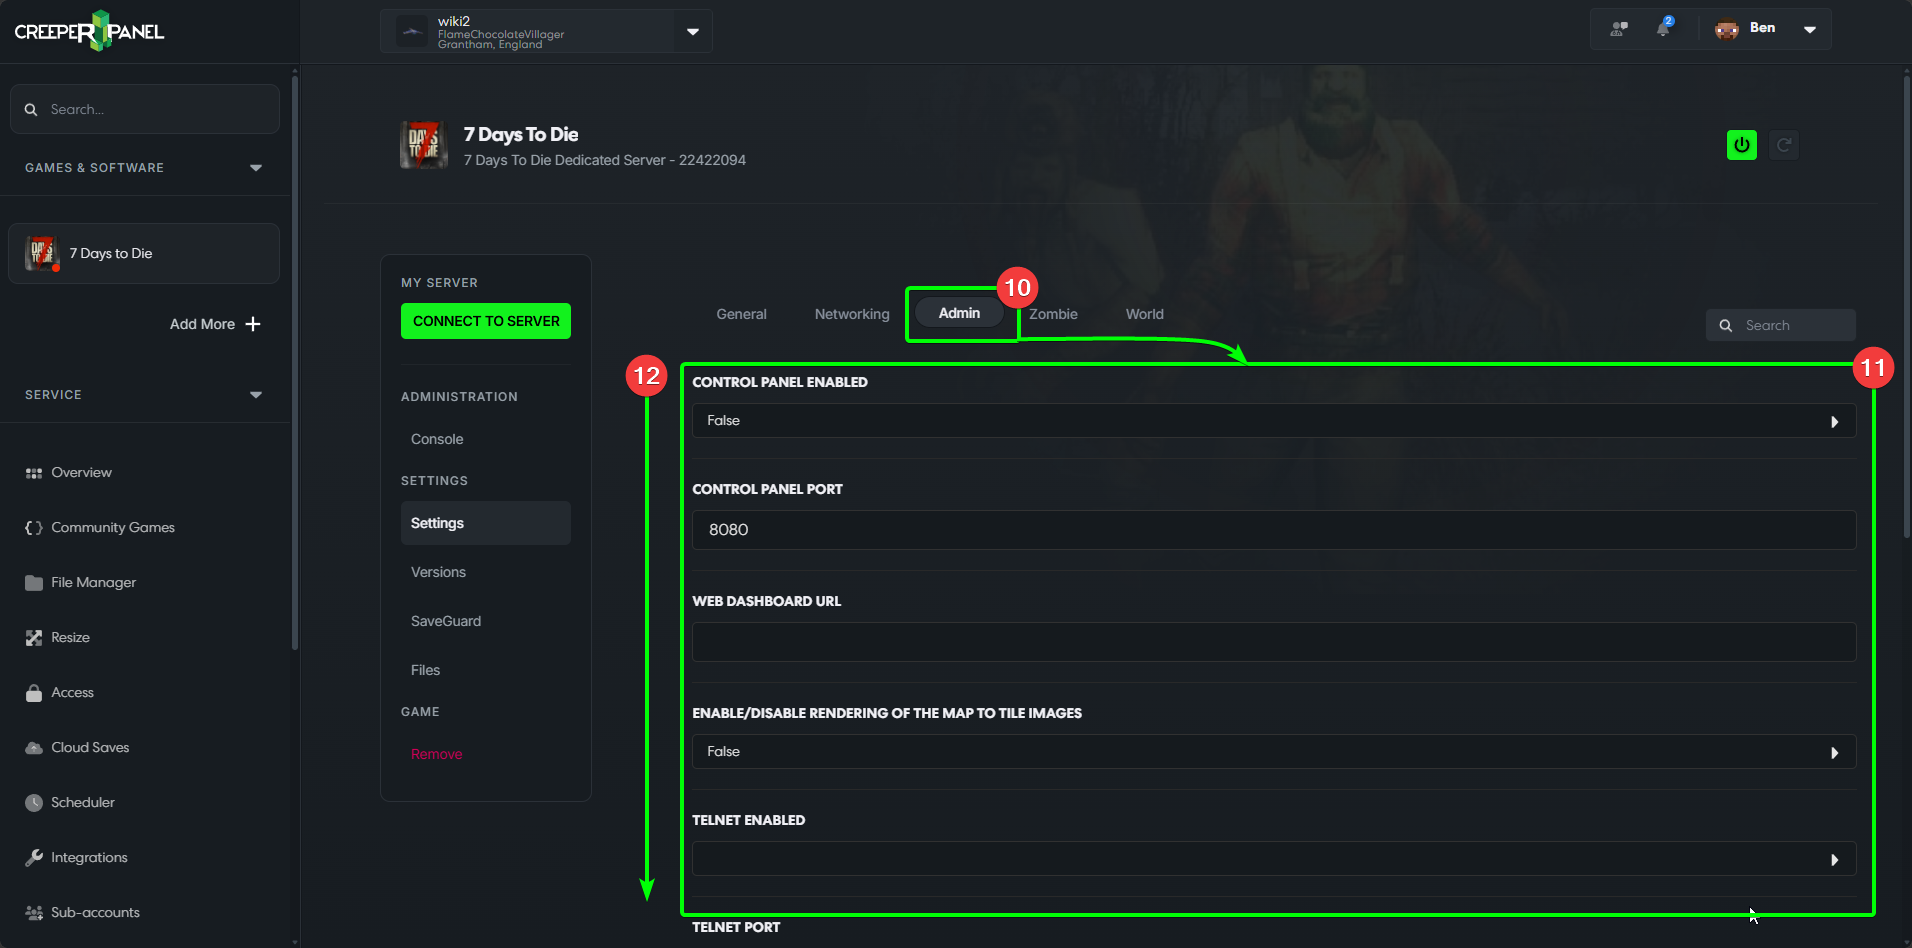
The Admin Tab
- The
Admintab contains Telnet and Terminal settings, among others. - You can see the settings in the main window.
- Scroll down to see more settings. Remember to save your changes!
The Zombie Tab
- The
Zombietab contains all settings related to zombies in7 Days to Die. - All available settings will be shown in the main window.
- Scroll down to see more settings - don't forget to save your changes.

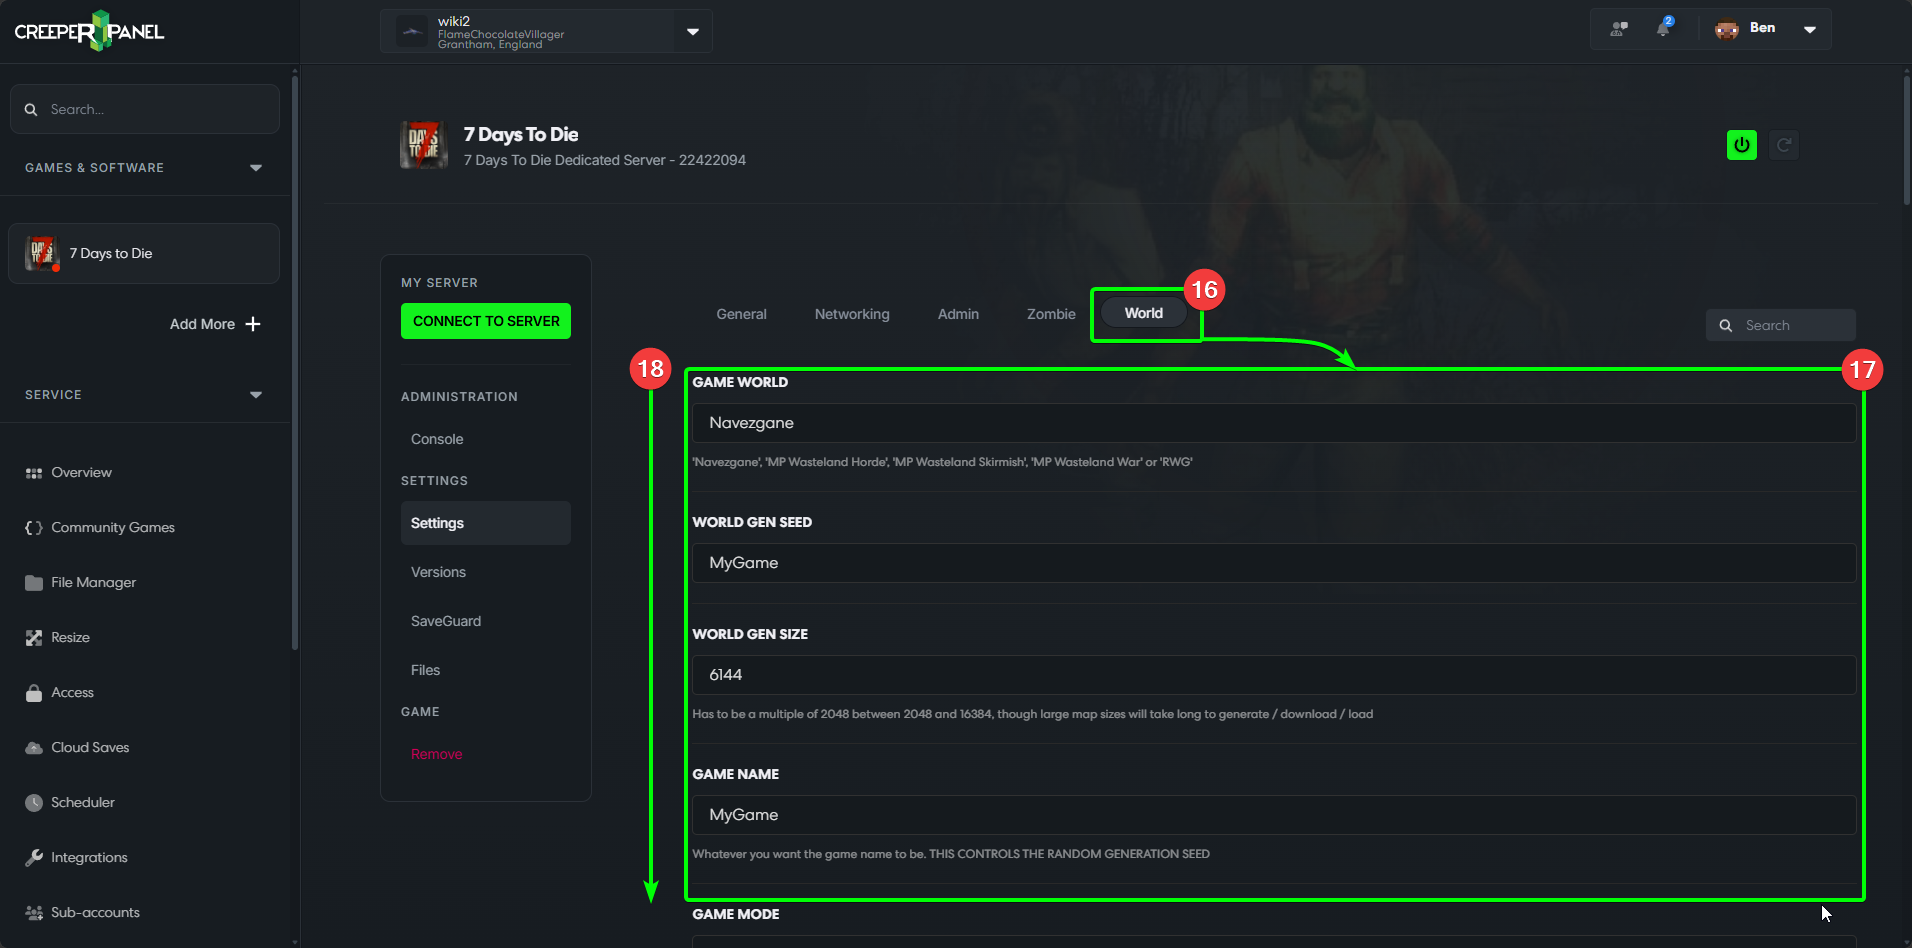
The World Tab
- The
Worldtab is where you can find all settings relating to difficulty, game mode, etc. - All available settings will be visible in the main window.
- Scroll down to view all the settings. Remember to save any changes before navigating away.
That's it - you now know where to find, how to change, and how to save your settings for 7 Days to Die!