Exporting a CurseForge Mod Pack Profile
As always, before making any changes to your mods please ensure your service is switched OFF to prevent corruption or data loss.
Sometimes it's nice to customise your experience a little further than using a pre-built mod pack. Maybe you would like to add or remove additional features, or perhaps simply disable unused or unwanted mods. It can be a pain making sure that everything matches between client and server, but this is where the CreeperPanel becomes your new best friend.
To begin:
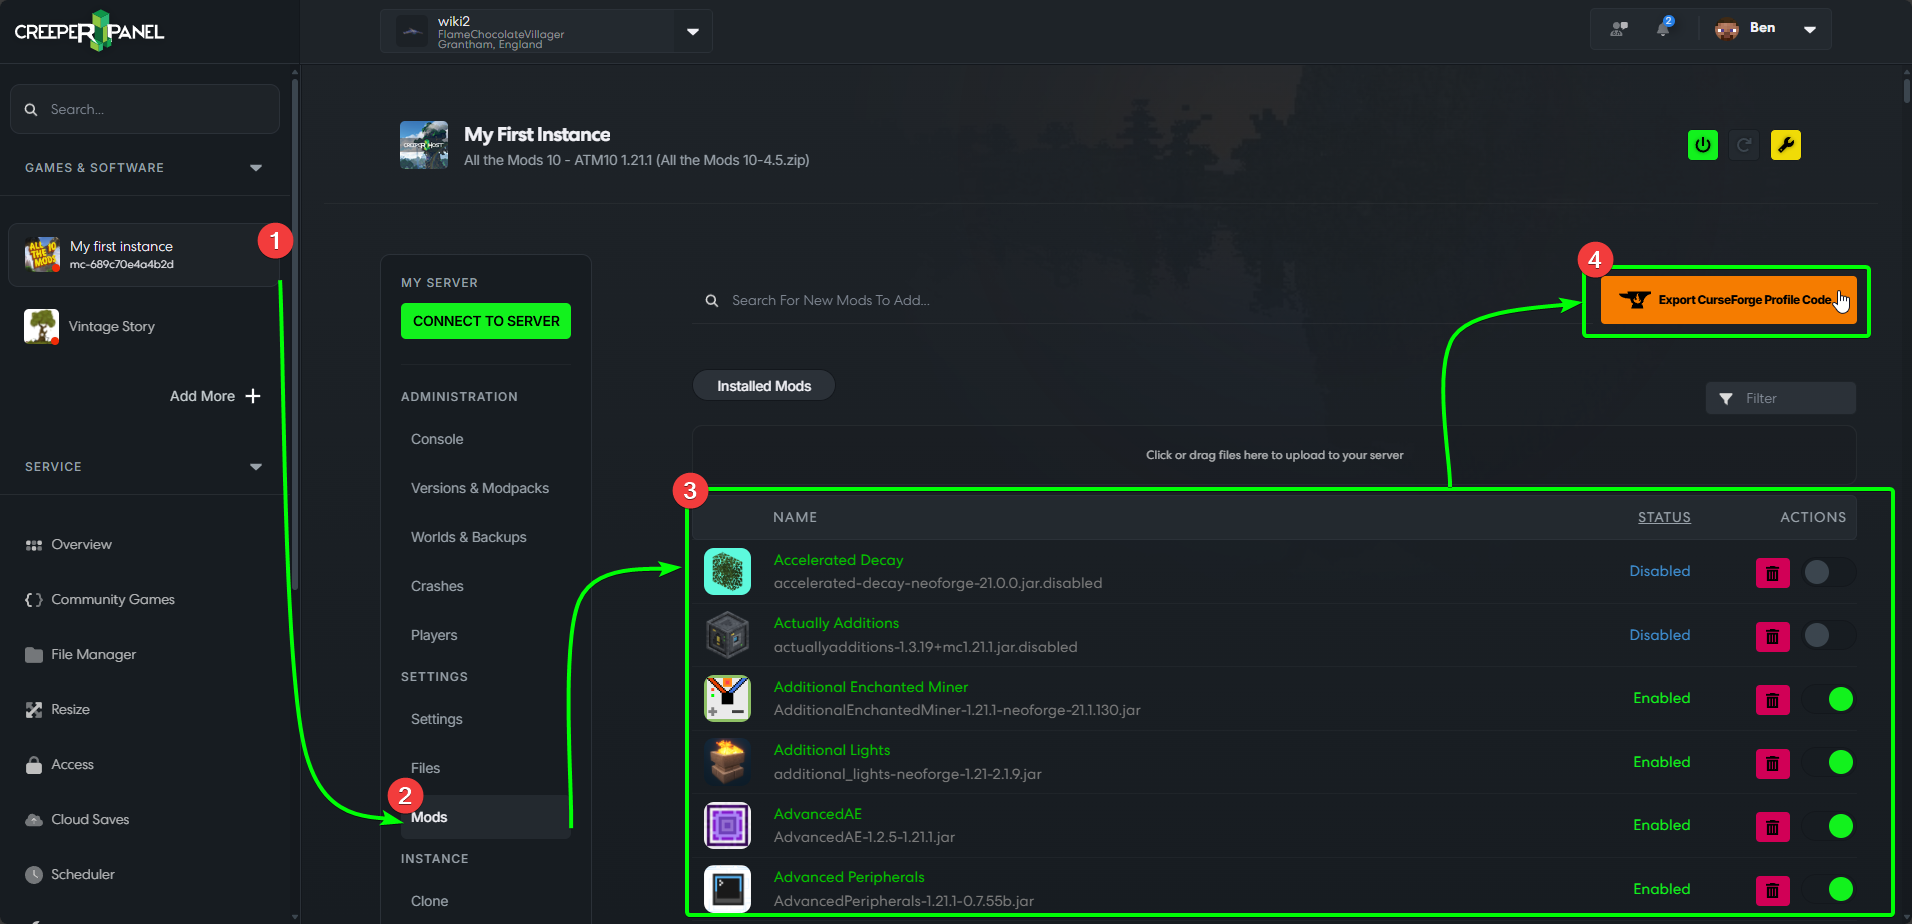
- Select your CurseForge-modded instance.
- Navigate to the
Modstab underSettings. - Add or remove/ disable your chosen mods. For simplicity, we will remove
Accelerated DecayandActually Additions. Both disabling and removing a mod will mean it is not included in the Profile4. ClickExport CurseForge Profile Codeabove the mod list, on the right-hand side.
Once you click the export button, there will be a short delay. You will then be presented with a pop-up which will provide you with a unique code:
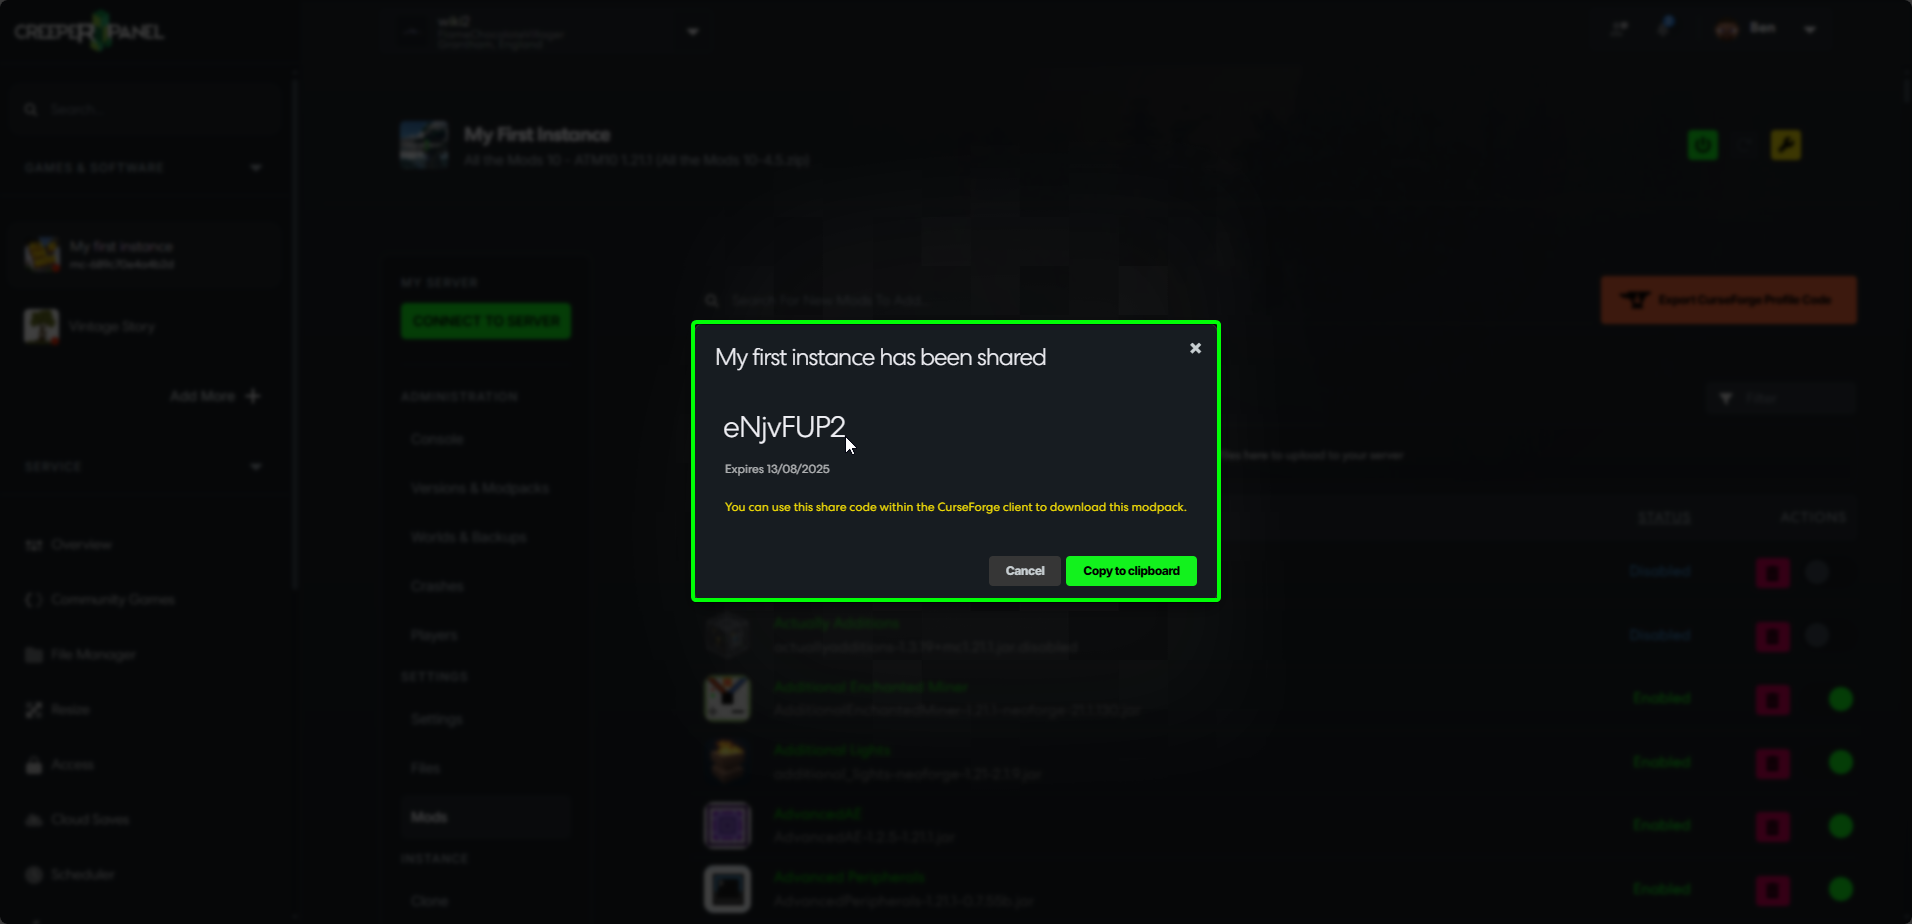
Click Copy to Clipboard to copy the code.
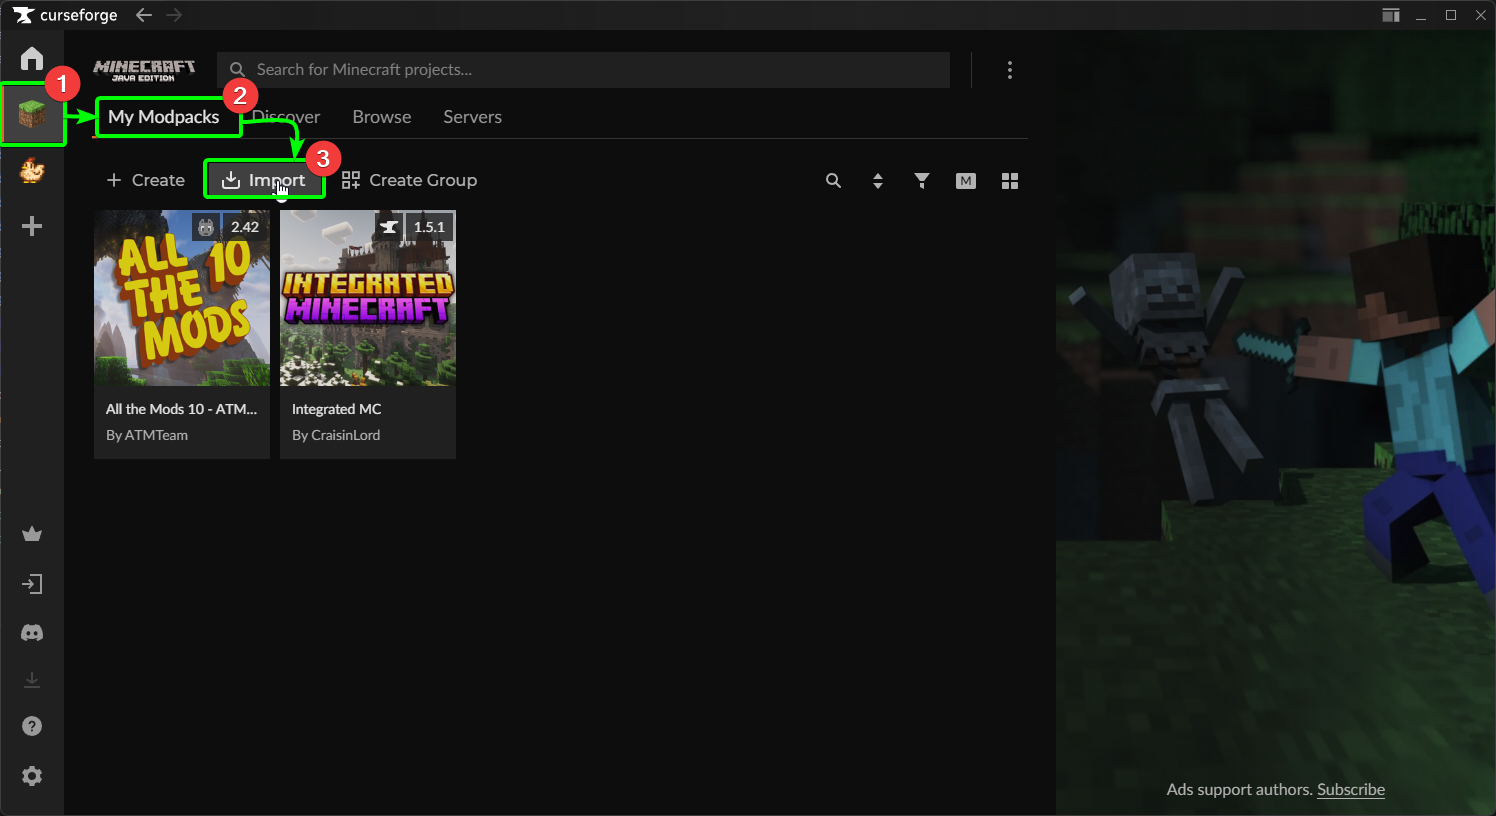
Next, open the CurseForge app, then:
- Select
Minecraftfrom the list on the left. - Select
My Modpacks. - Select
Import.
CurseForge will open a pop-up where you can either import a pack via a .zip file, or by using a profile code. Enter the code the CreeperPanel gave you into the Profile Code box, and click import.
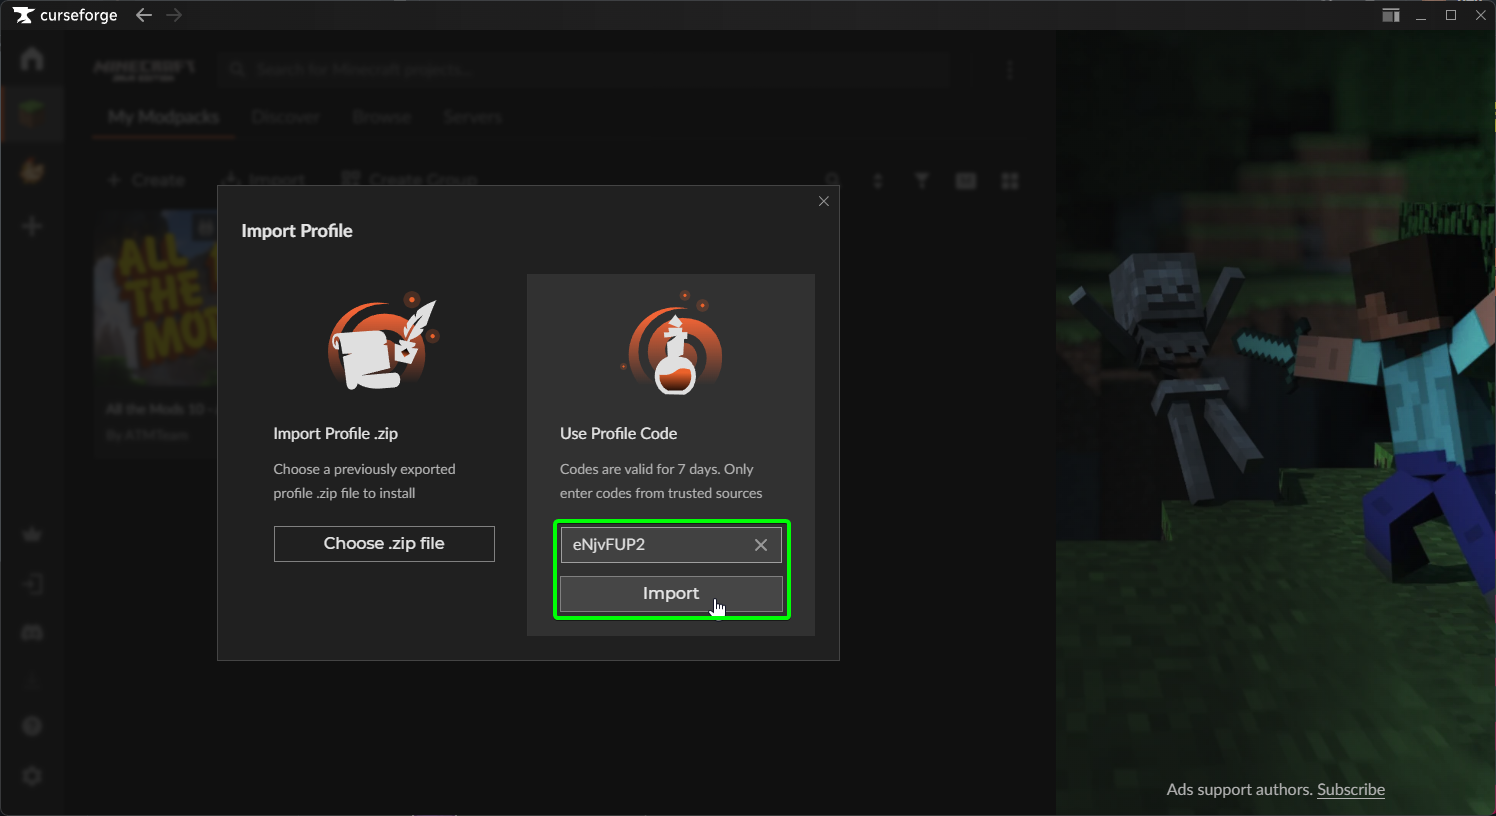
After entering the code, CurseForge will handle the download and installation of your shared mod pack to the client.
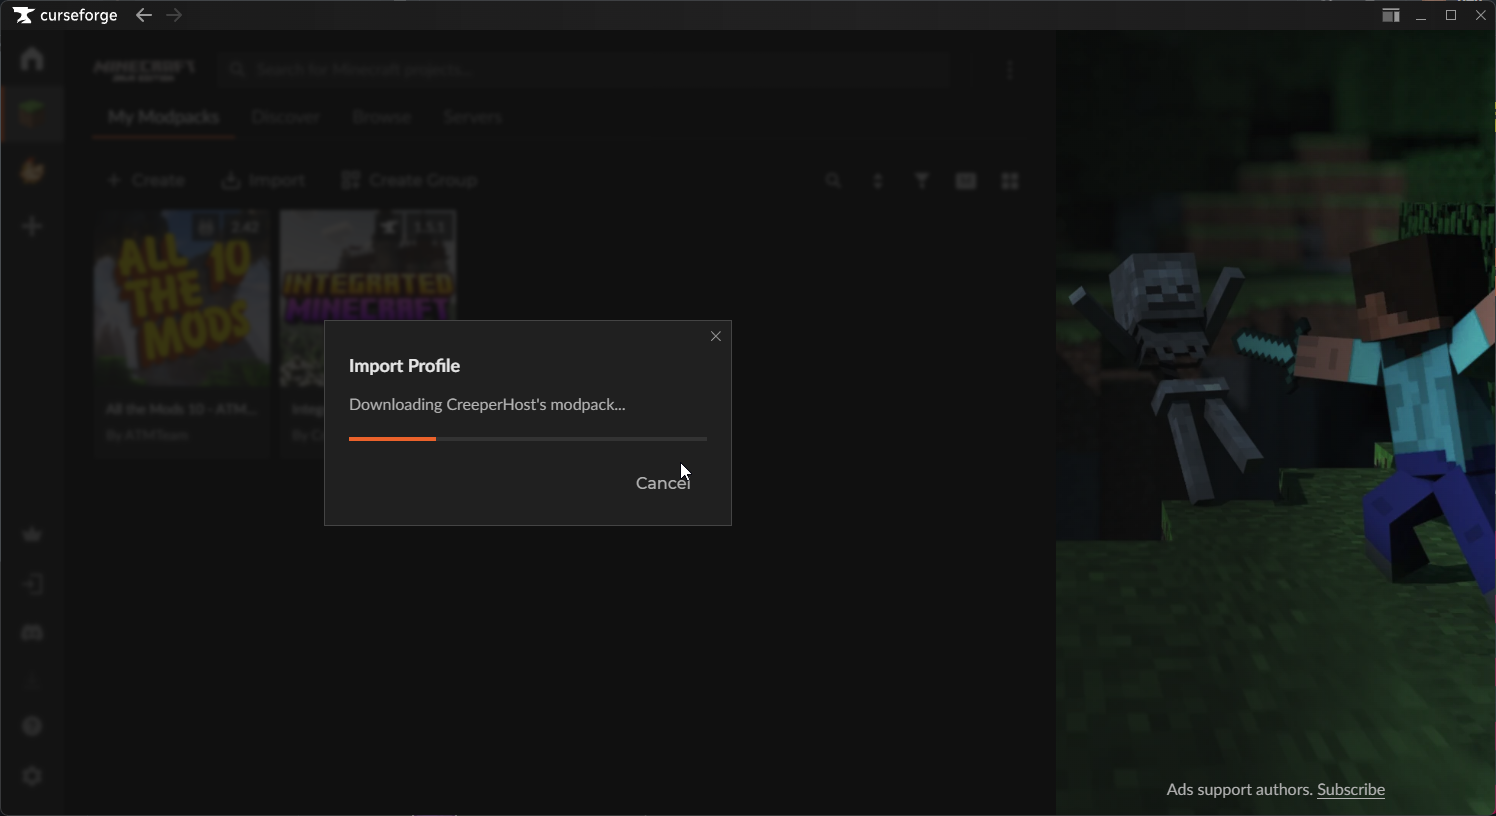
Once the download has finished and installed, you're all set! You'll see your modpack saved under the same name as your instance on your server!
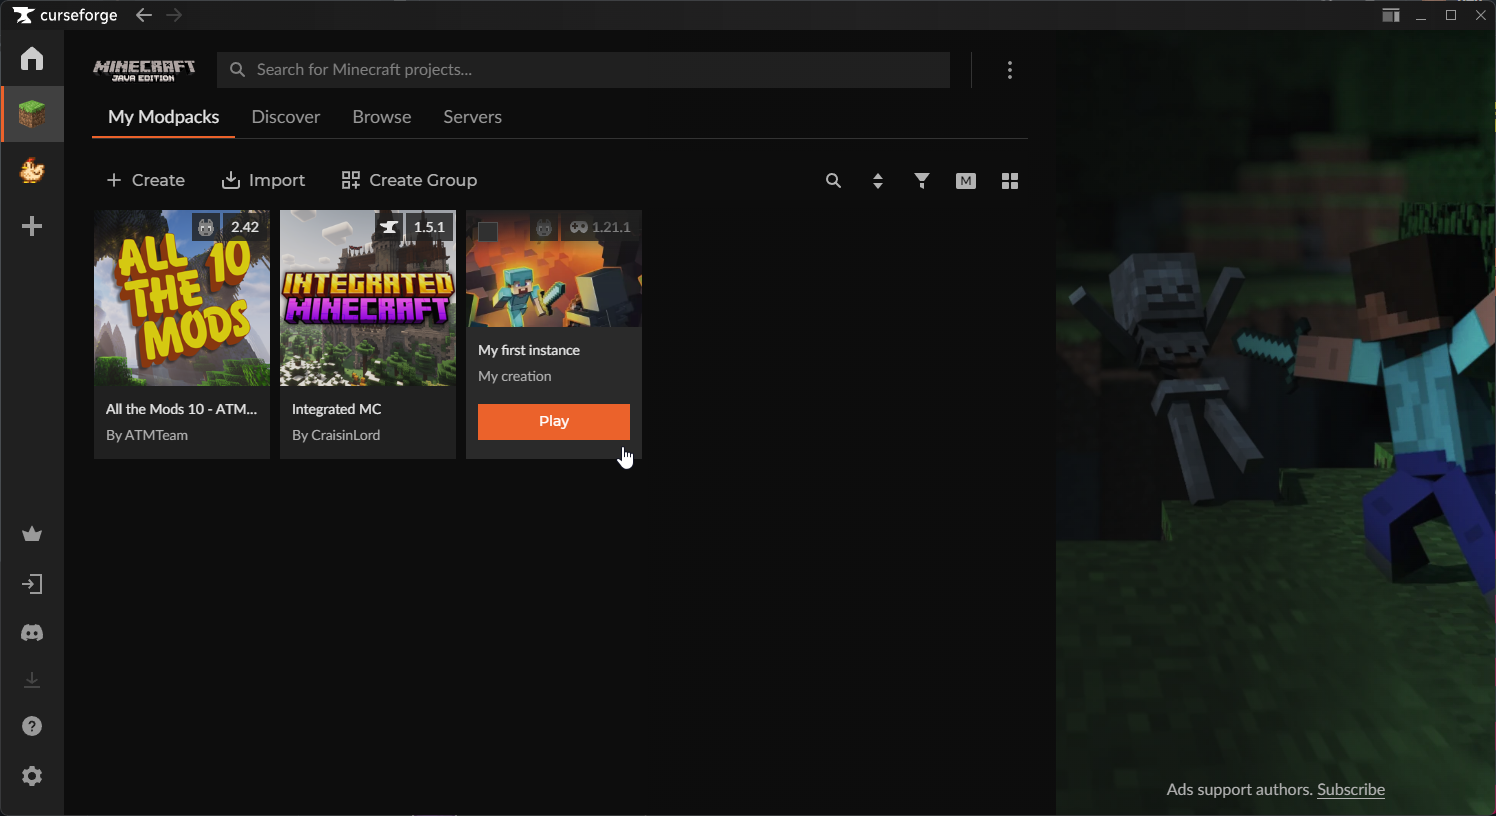
Sharing your mod pack with your friends is now easier than ever before!