Installing BungeeCord/Waterfall
BungeeCord and Waterfall no longer receive updates for Minecraft, and should be restricted to older versions. Velocity is a replacement service by the creators of Waterfall; instructions for installation can be found here: Installing Velocity
So you are interested in running a BungeeCord/Waterfall proxy server to connect your Minecraft servers together. BungeeCord and Waterfall are services that allow you to link multiple Minecraft servers together for seamless transition, without the need to disconnect and reconnect between your servers.
Differences between BungeeCord and Waterfall
The most significant difference between BungeeCord and Waterfall is performance and stability improvements. Waterfall was forked from BungeeCord, and changed to provide better performance and stability while maintaining full compatibility with BungeeCord. As a result, everything that works with BungeeCord works with Waterfall. More information on Waterfall can be found here: https://papermc.io/software/waterfall
Where to download
BungeeCord
BungeeCord can be downloaded from https://ci.md-5.net/job/bungeeCord/lastSuccessfulBuild/artifact/bootstrap/target/bungeeCord.jar. This link will pull the most recent release and download it automatically.
Waterfall
Waterfall can be downloaded at the following page https://papermc.io/downloads/waterfall
Installing
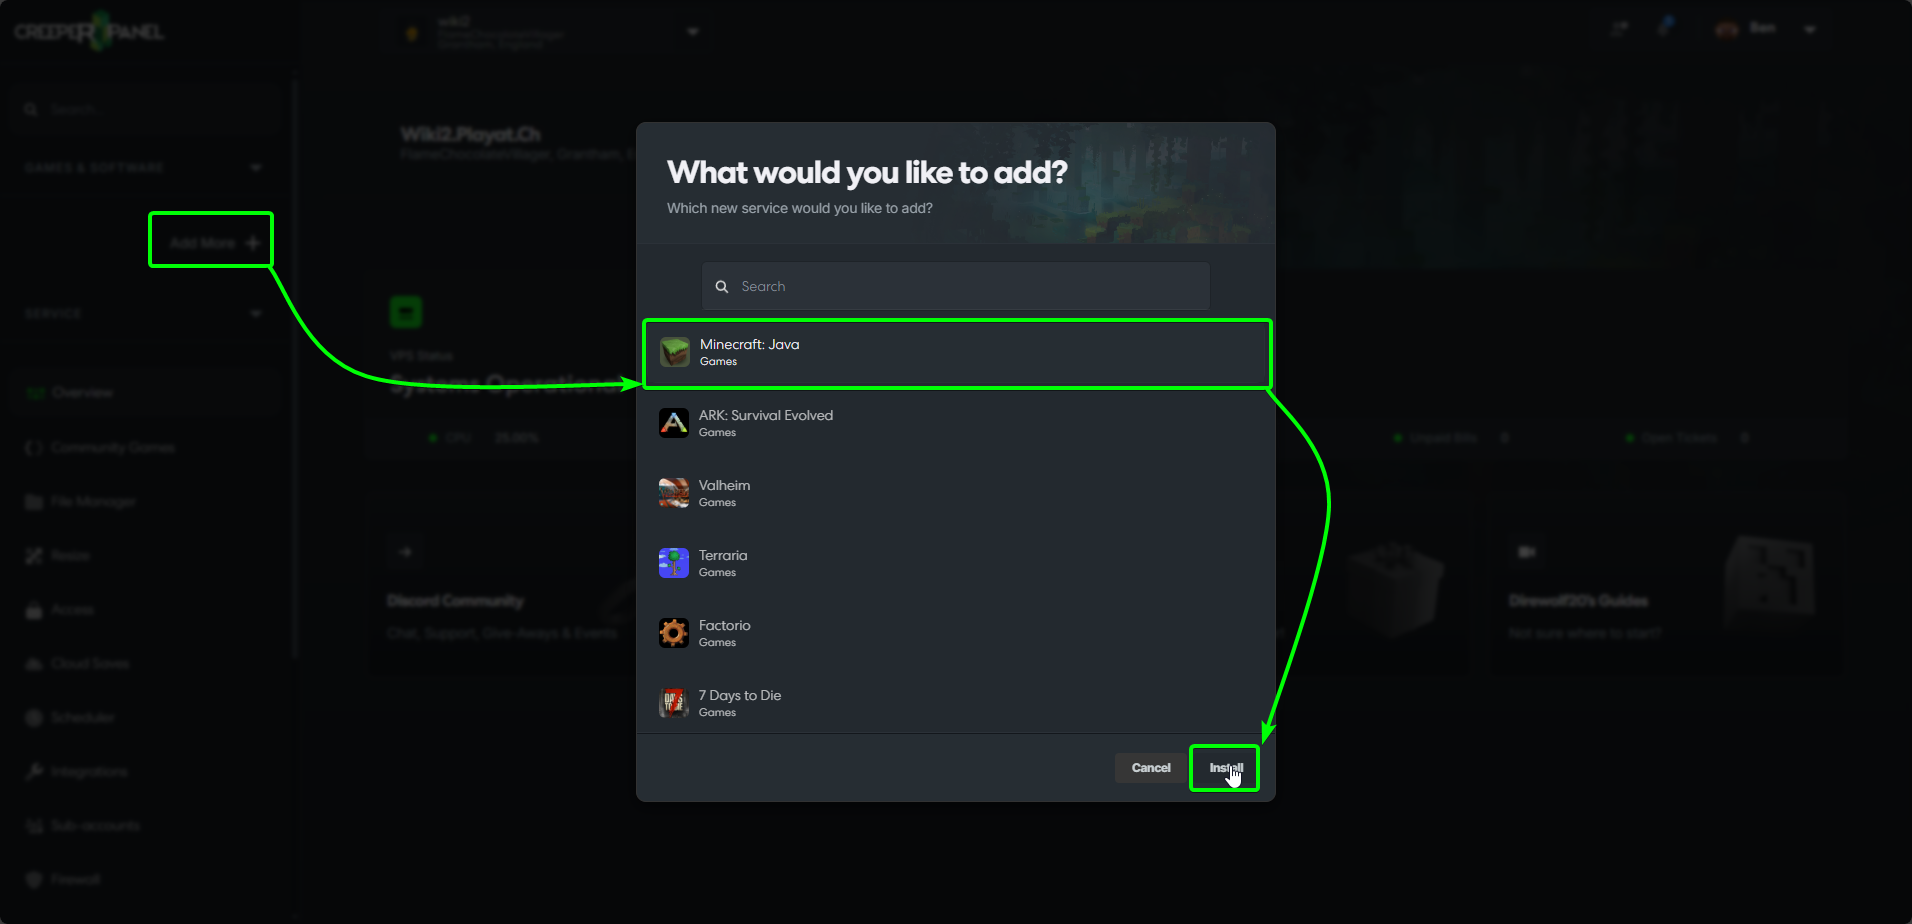
Creating an instance
After downloading your chosen proxy server, you will need to create a new Minecraft Java instance on the CreeperPanel (a guide can be found here. If you are following the guide to create a new server, the final step (choosing a modpack/ version) can be skipped, as you will be manually uploading the required files..
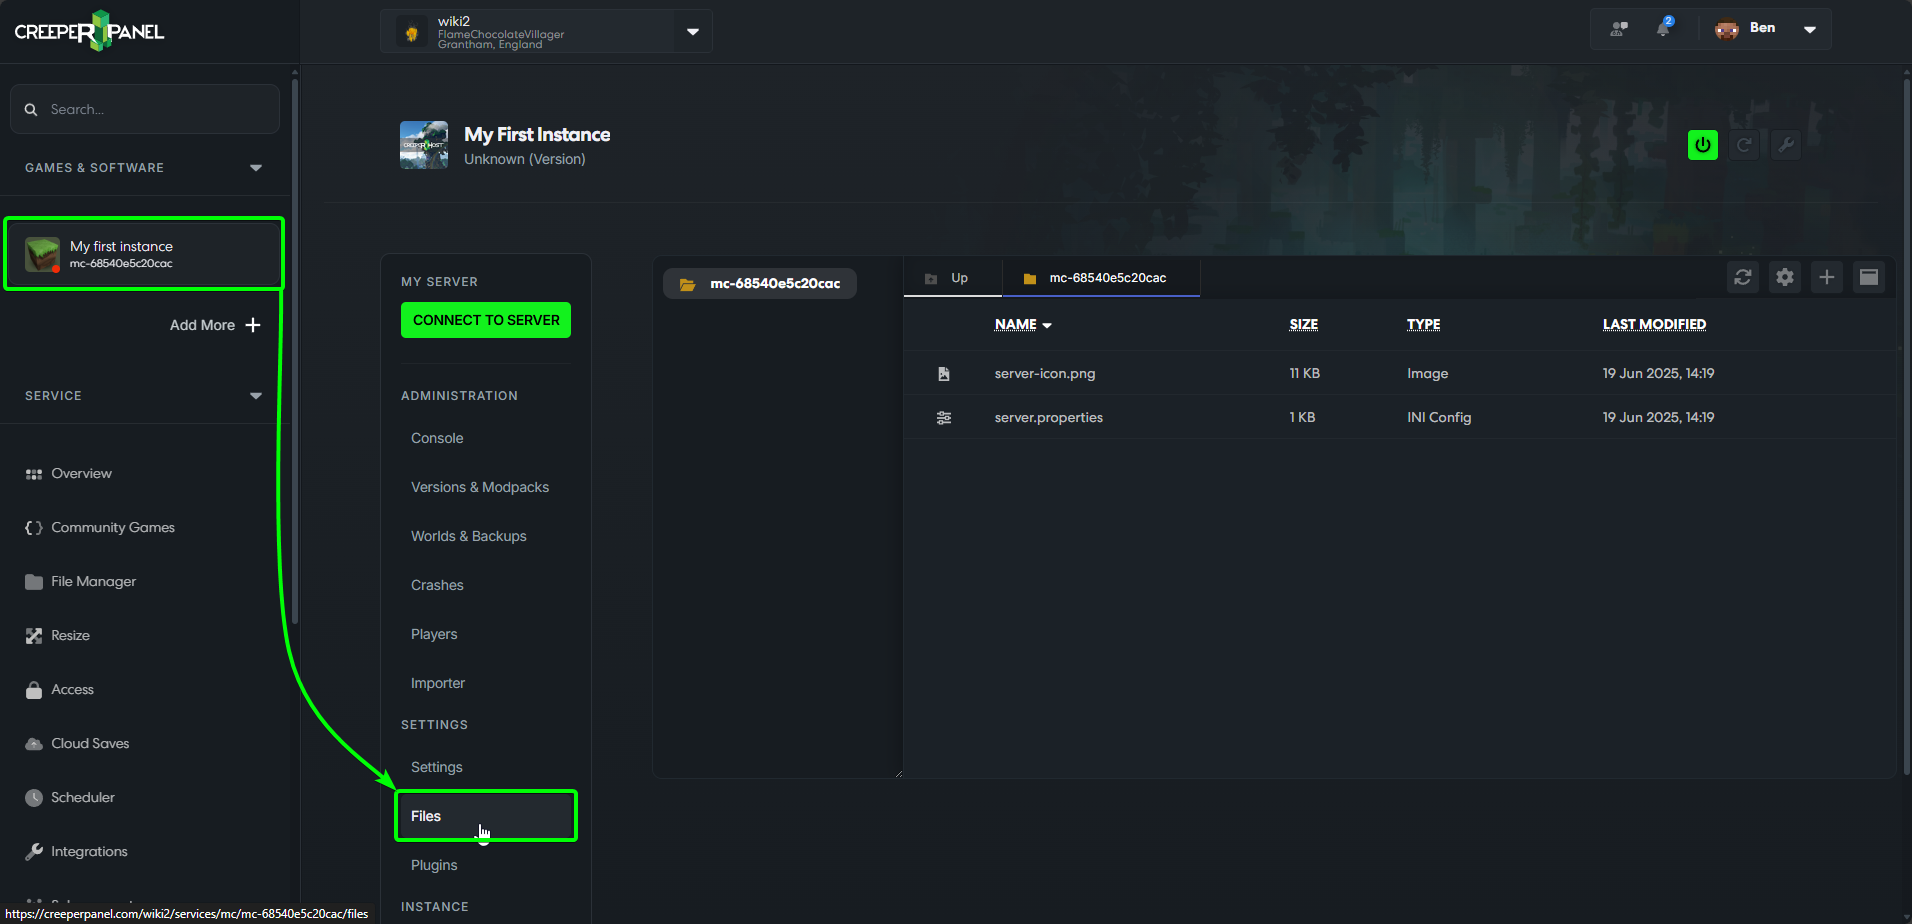
Uploading the files
Now the instance has been created, click on the instance, and navigate to the Files tab under Settings.
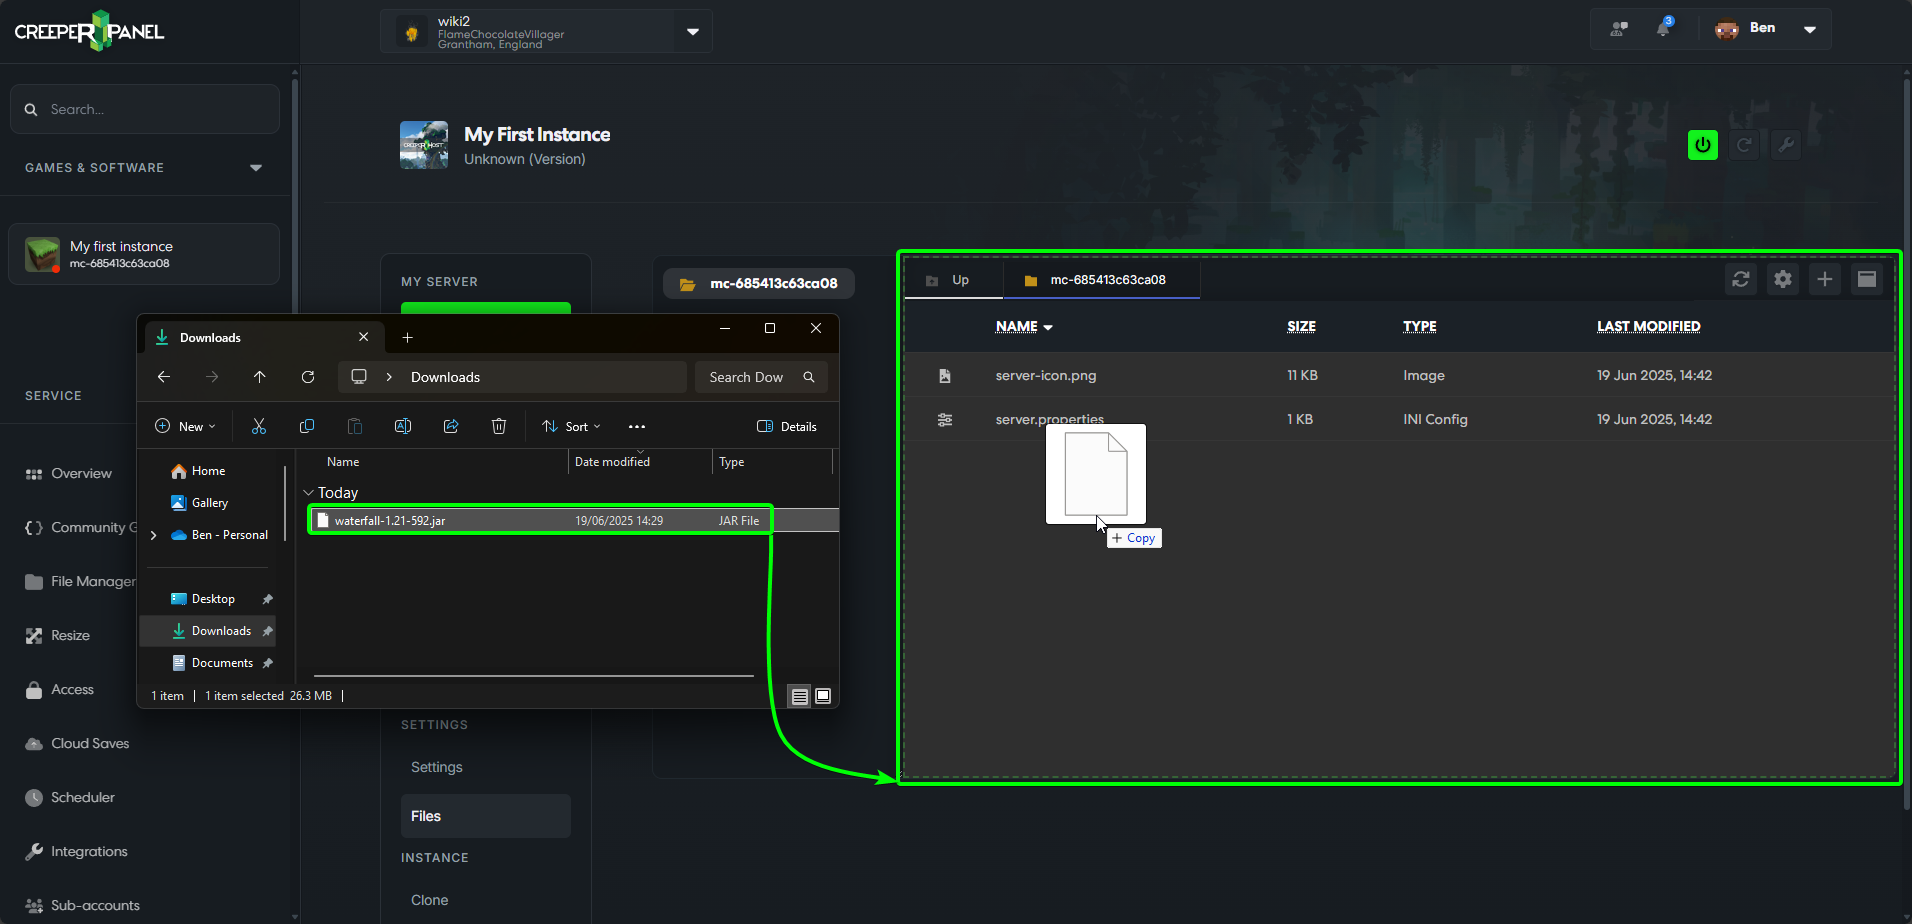
 Navigate to the download location for either BungeeCord or Waterfall. Select the
 .jar file, and drag and drop into the main directory on the CreeperPanel to upload it.
Starting
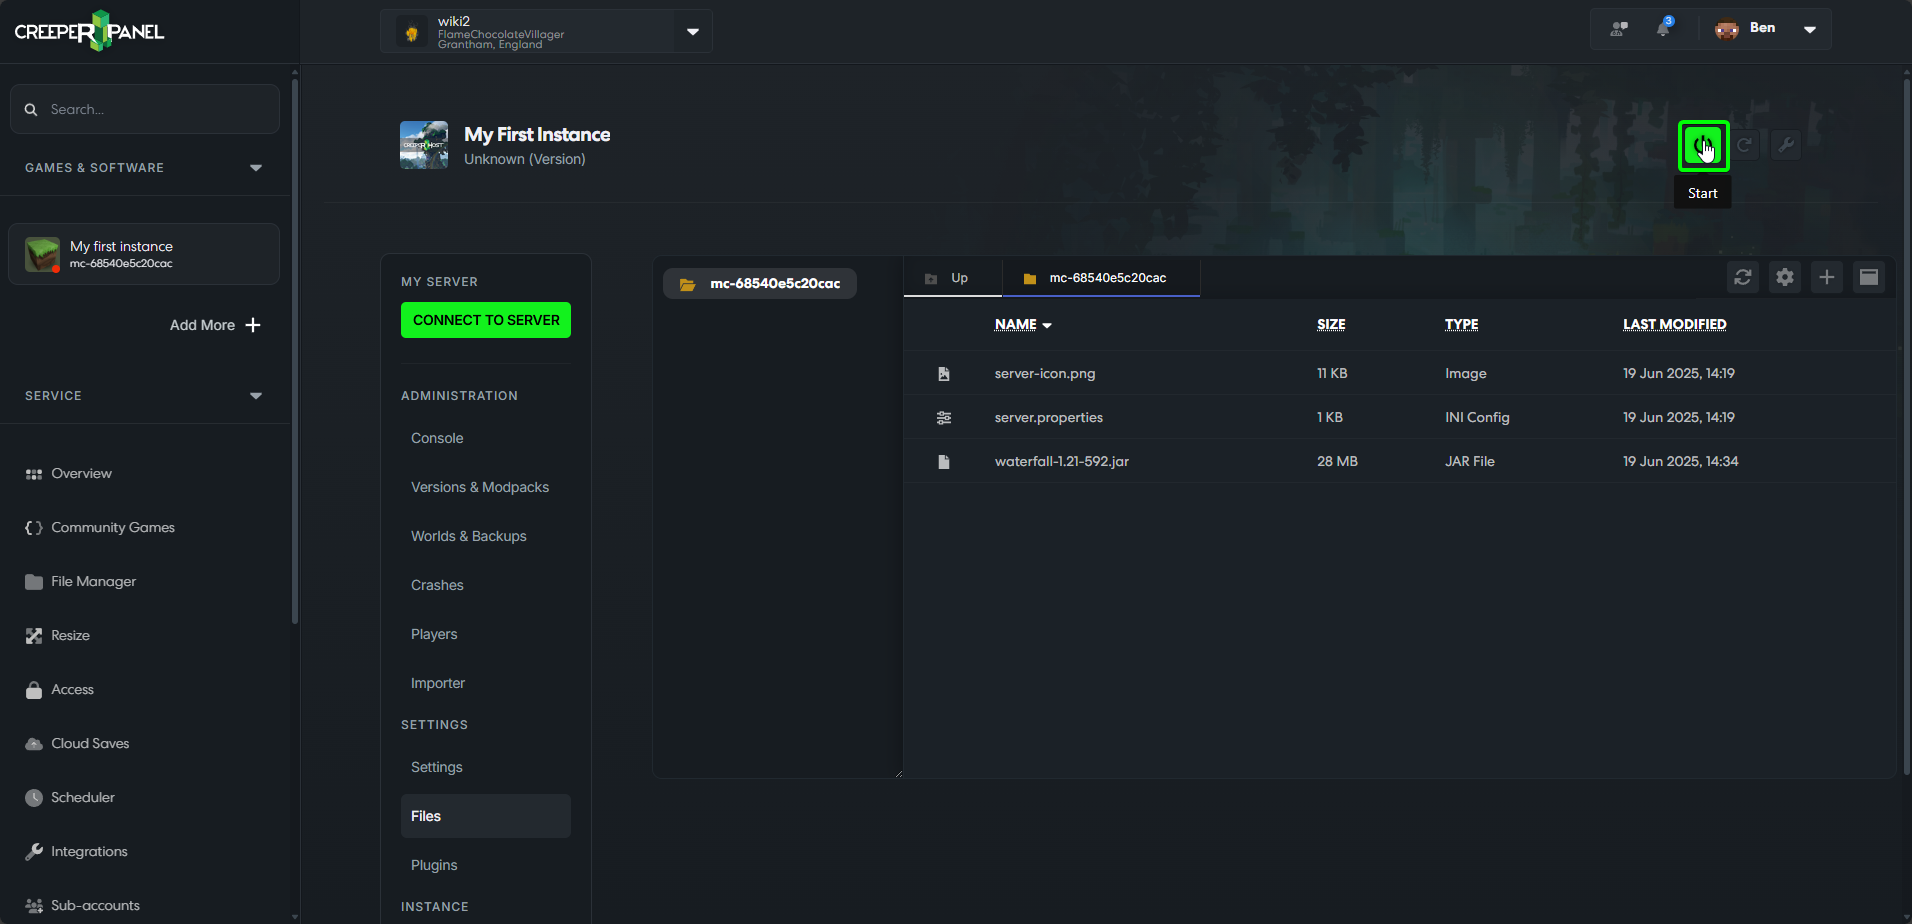
With the file installed as shown below, you can start your server as you normally would from either the File Manager page, or the Overview tab.
Settings
Before altering any settings or config files, please ensure your service is turned off.
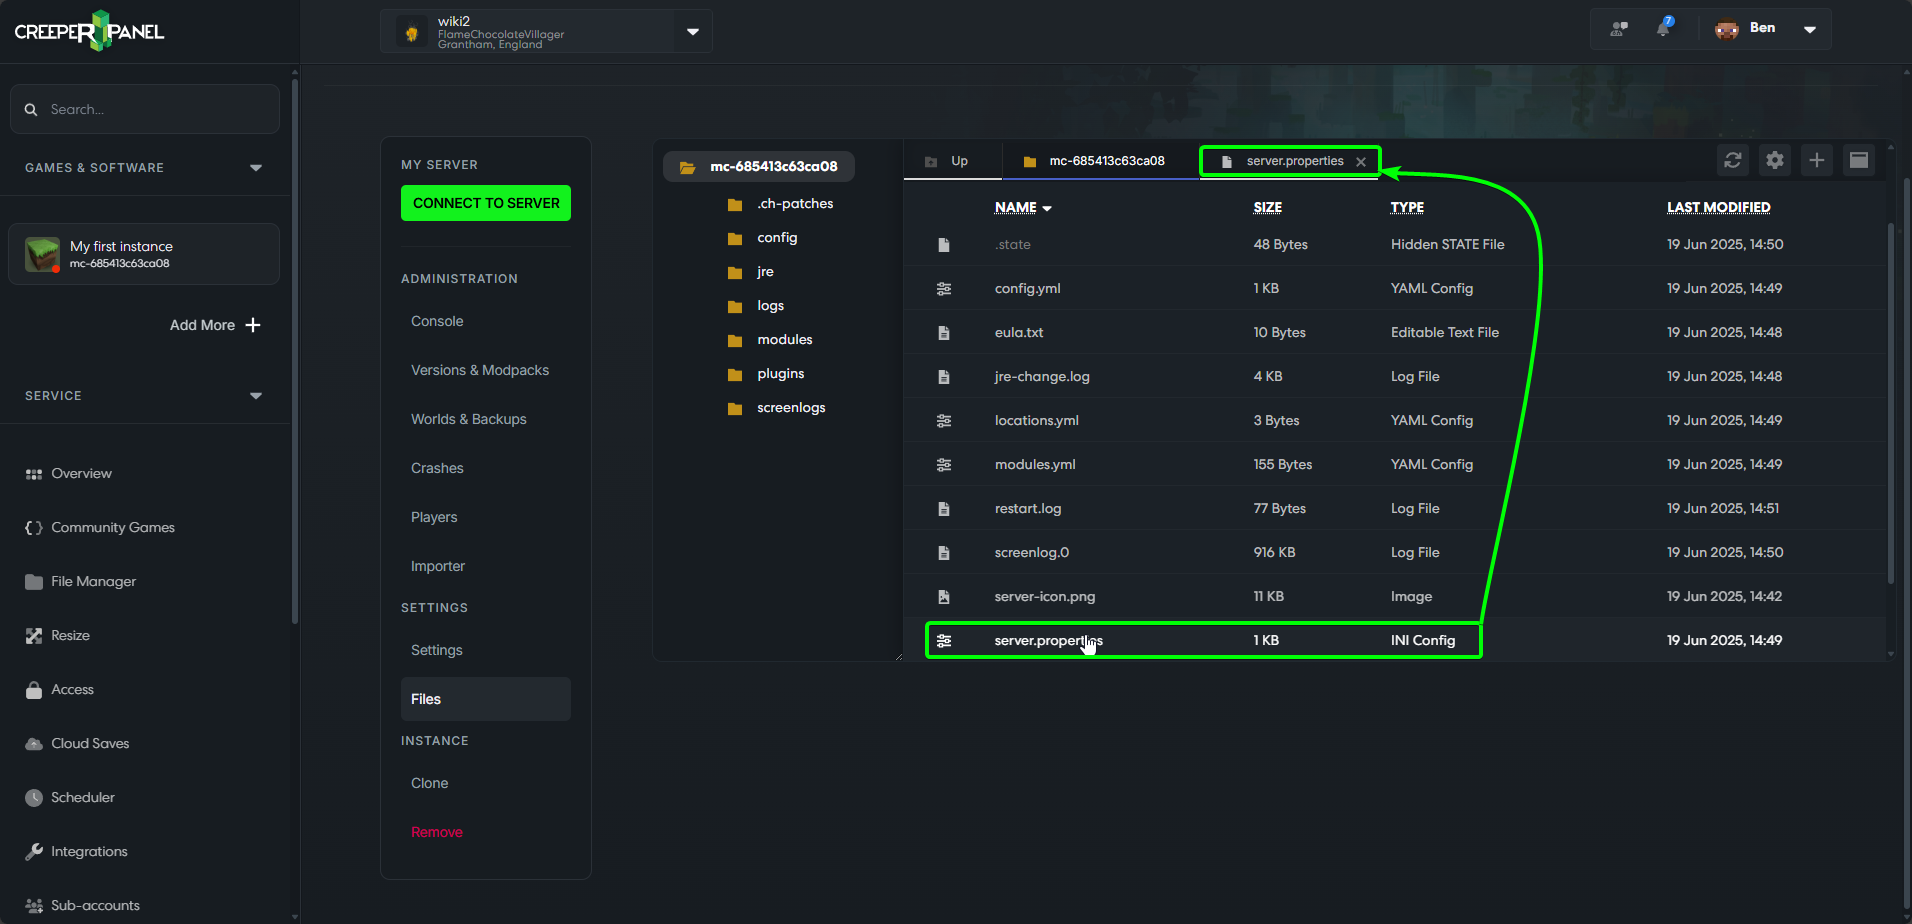
Proxy server-specific settings need to be generated before they can be altered. Once your server has been started for the first time, these will be generated automatically. To edit them, navigate back to the Files tab, and double-click on the file you want to edit. This will open in a new tab at the top of the console UI.
 You will be presented with a text string; values in green can be changed within parameters.