Connecting to your Nightingale Server
Before trying to connect to your Nightingale Server, please ensure it is switched ON in the Panel, using the green power button on the console page
Now Nightingale is installed on your service, you can get ready to connect! To begin:
-
Proceed to the Console page for your Nightingale instance. When on the Console page;
-
Select the green
Connect to Serverbutton. This will open a pop-up with your connection info.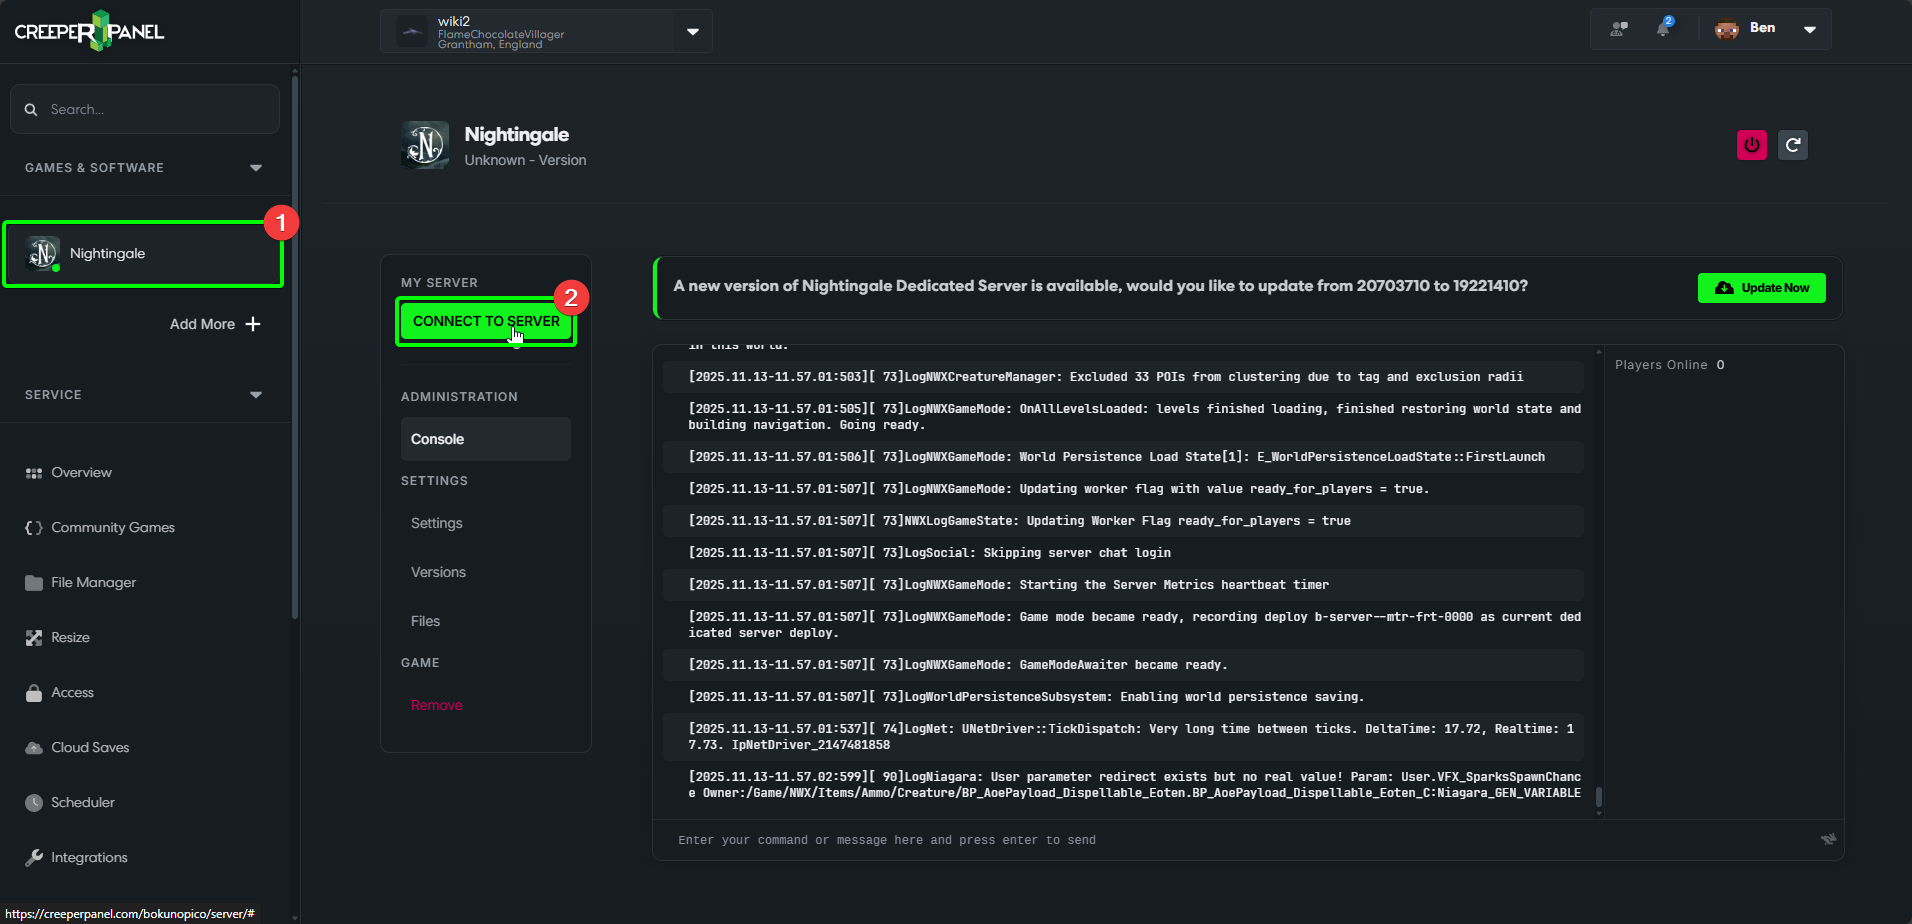
-
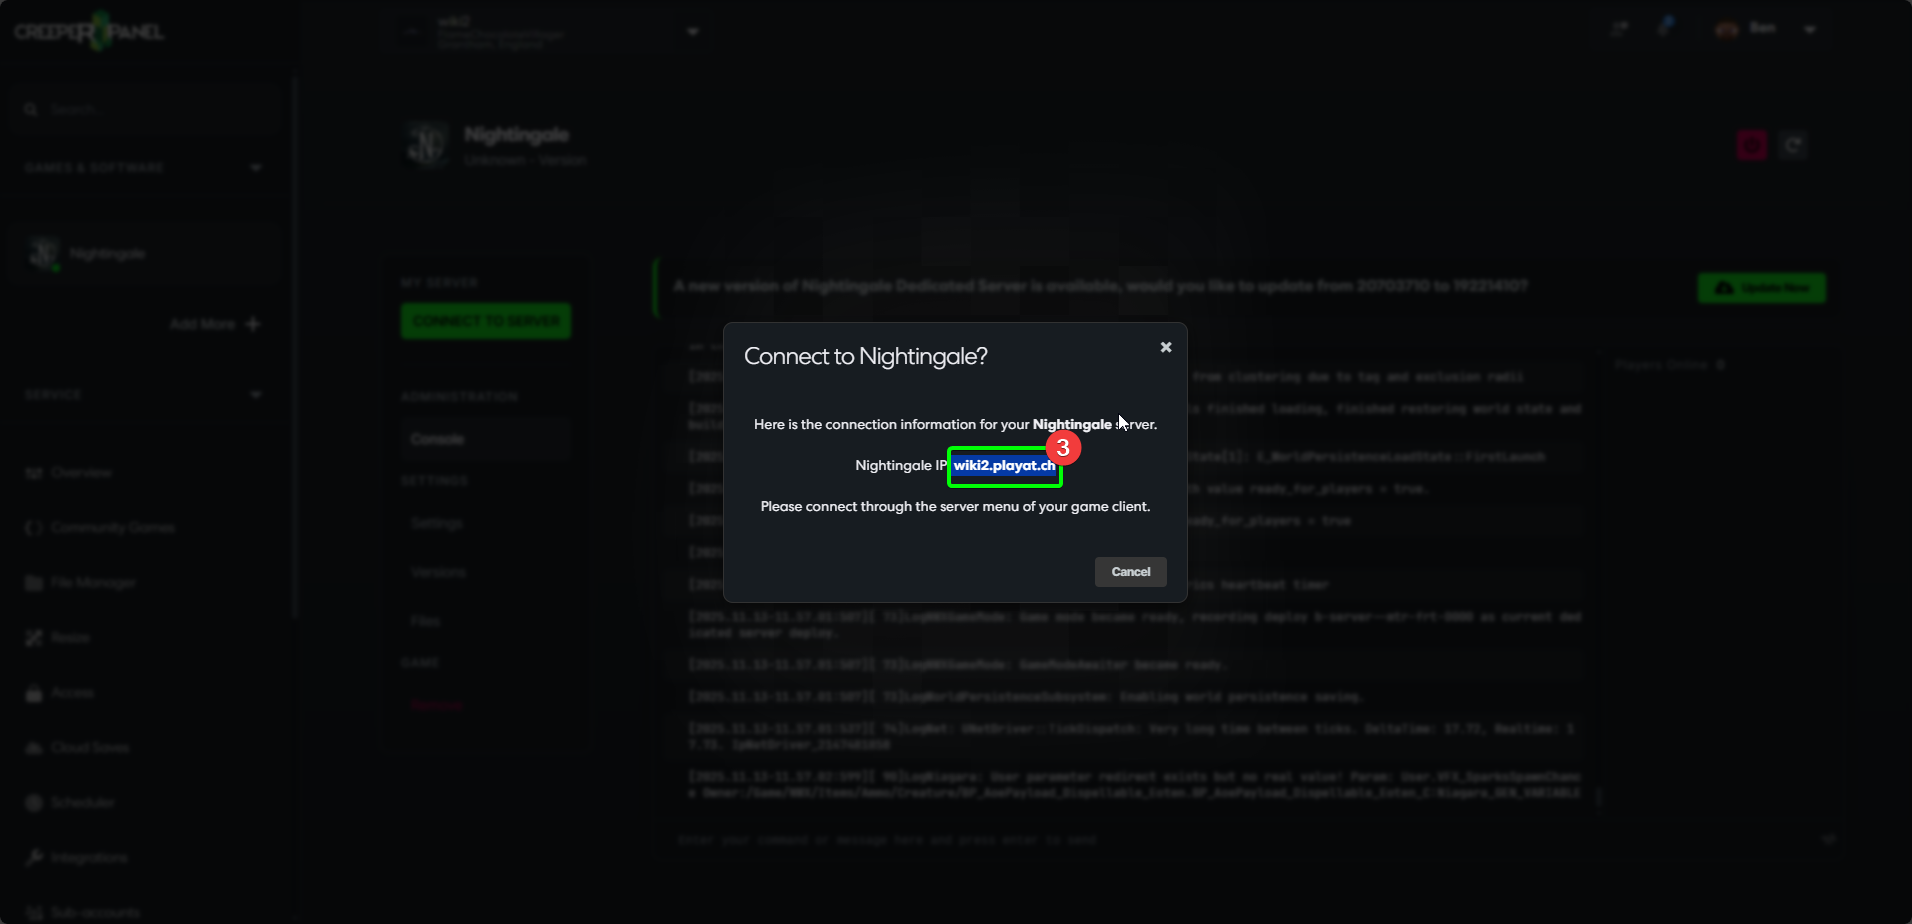
Copy the connection information in the pop-up. When you have done so, feel free to close the pop-up.
-
Load Nightingale from your preferred launcher, and select
Play. -
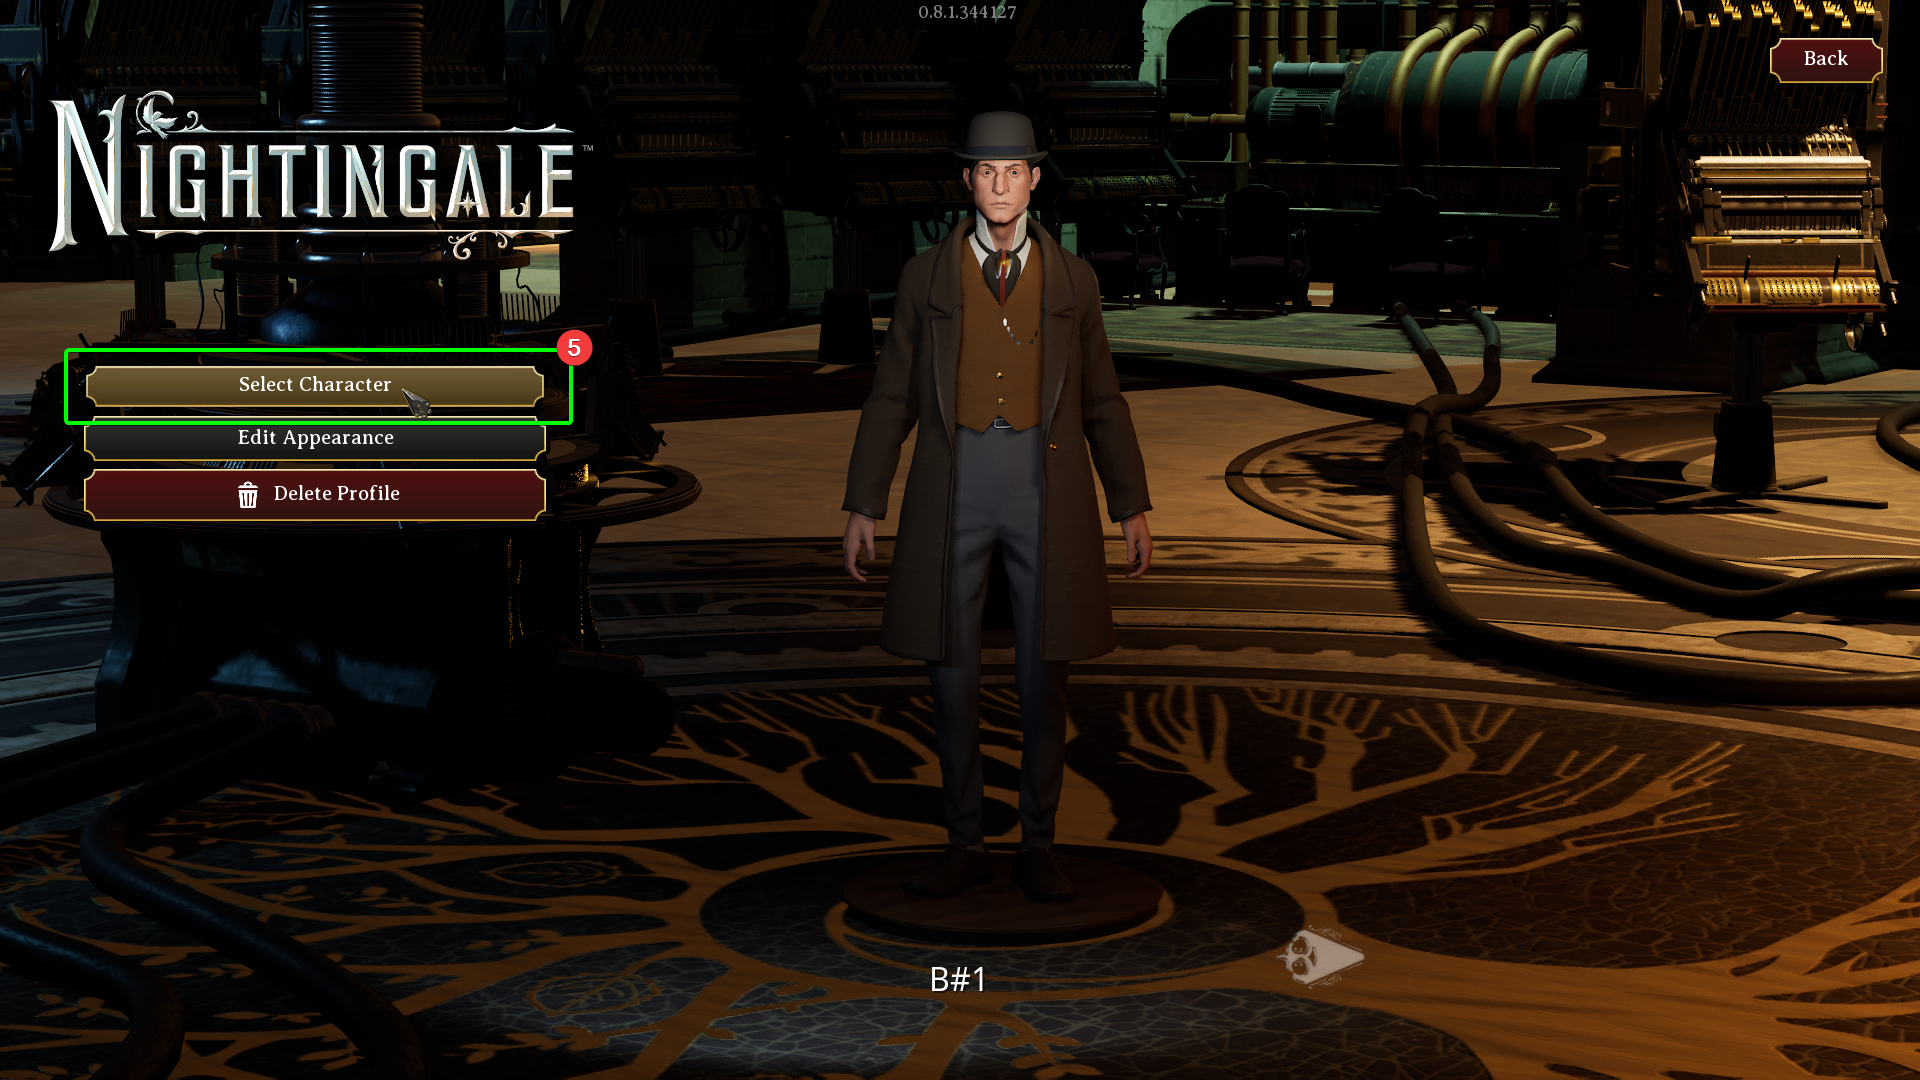
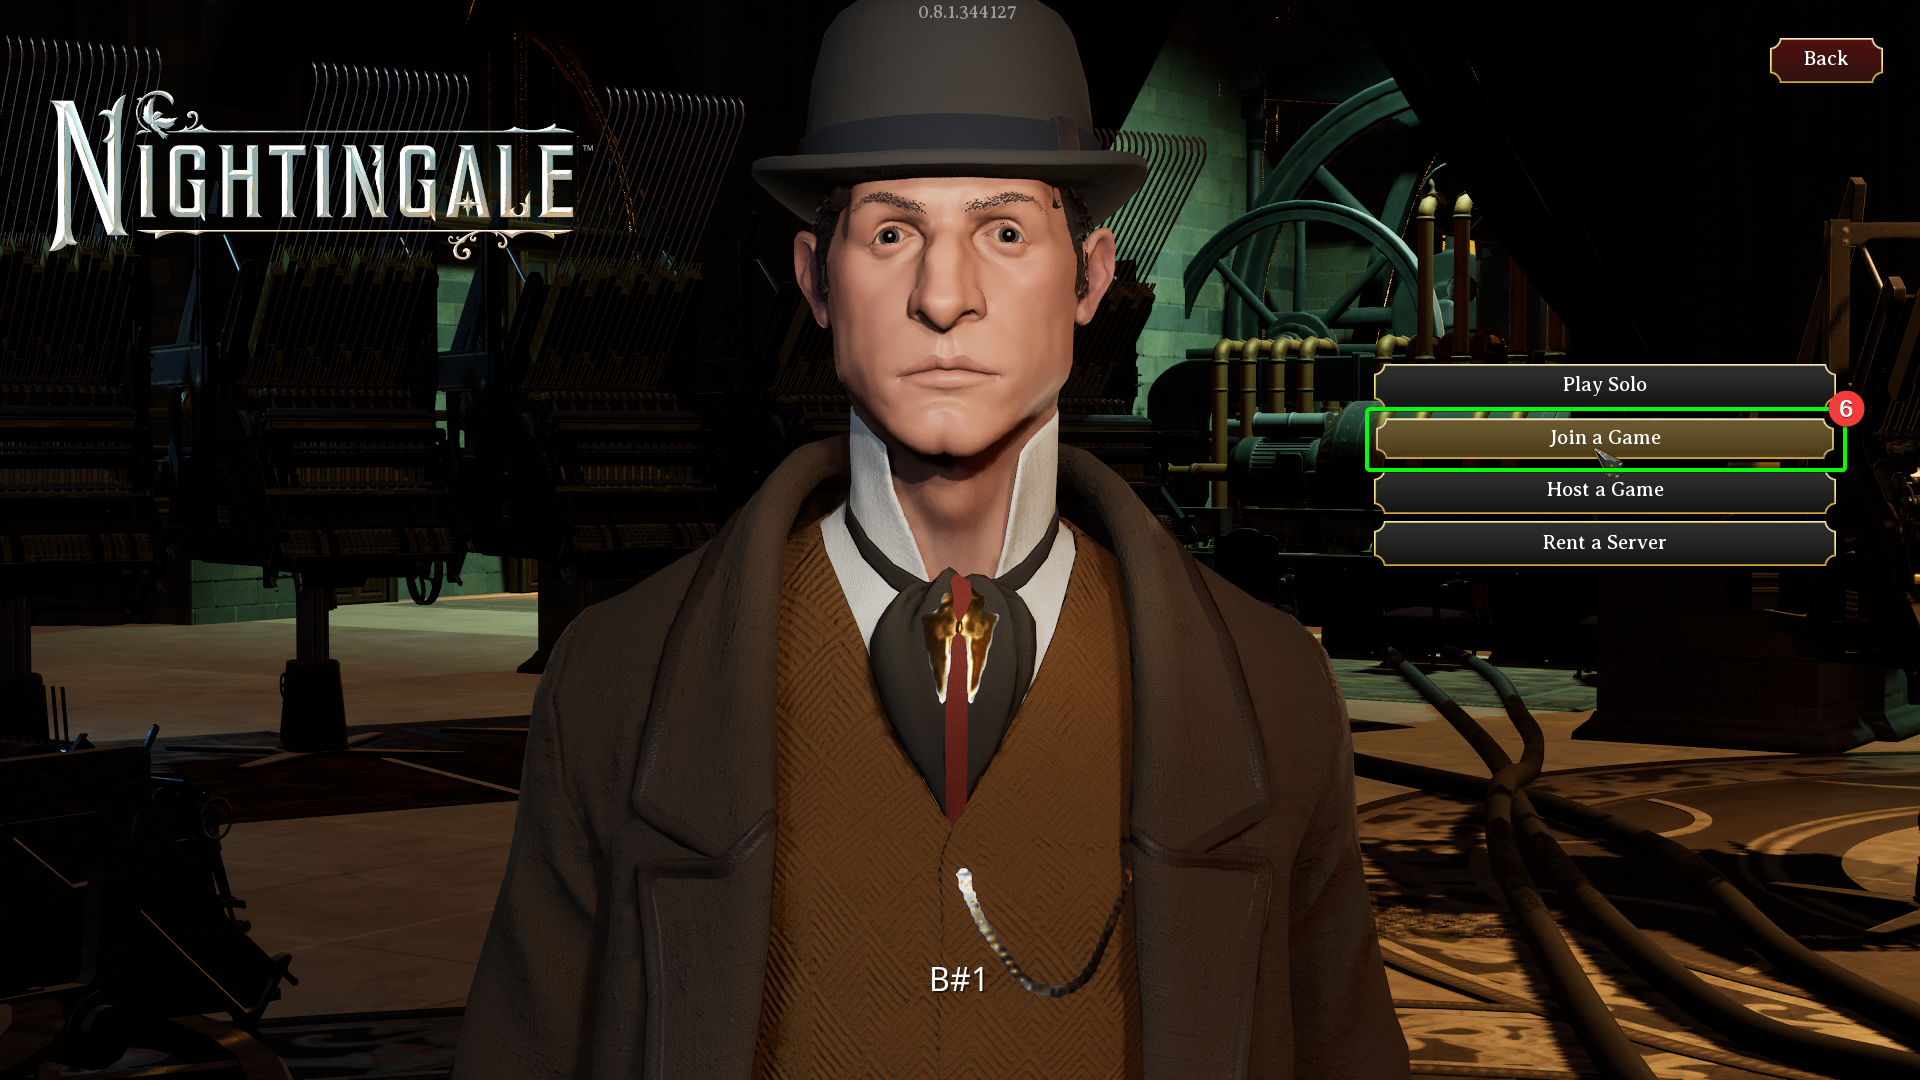
Select the character you wish to use on the next screen.
-
Select
Join Gamefrom the list available.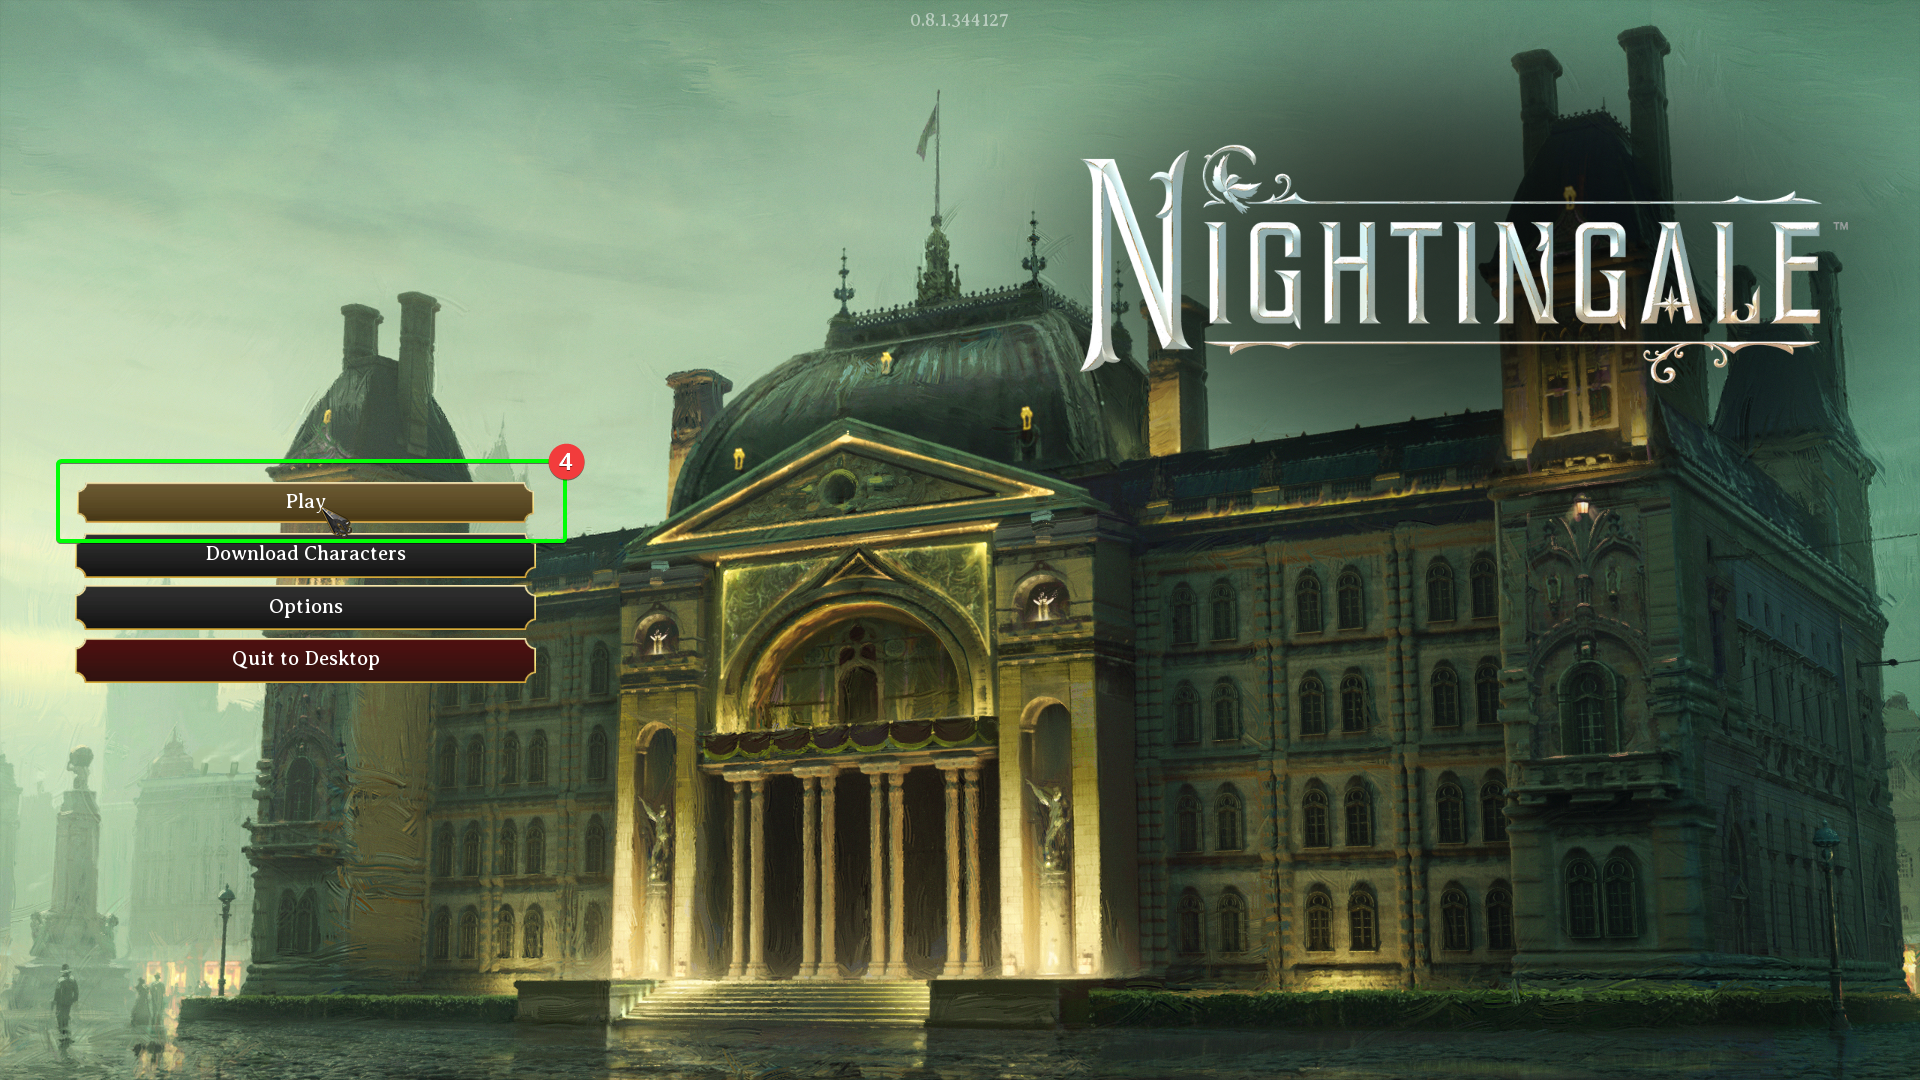
-
Select IP/LAN from the connection type list.
-
Enter either your server's IP address or hostname, for example:
wiki2.playat.ch -
If you have set a password for your server, enter it here. If you don't have a password set, leave this field empty.
-
Press
Playto connect to your server!
You should not need to change your port settings; leaving it set to 7777 should be fine.