Adding add-ons to your Minecraft: Bedrock server
Use Addons in the CreeperPanel to find add-ons on CurseForge, upload your own packs, or import eligible Marketplace purchases from Minecraft for Windows.
An add-on can include both a Behaviour Pack, which changes how the game works, and a Resource Pack, which changes its appearance or sounds. These appear as separate entries in the installed list.
Before you start
- Make a backup of your world.
- Stop your Minecraft: Bedrock server before installing, enabling or removing packs.
- Open Games & Software, select Minecraft: Bedrock, then select Addons.
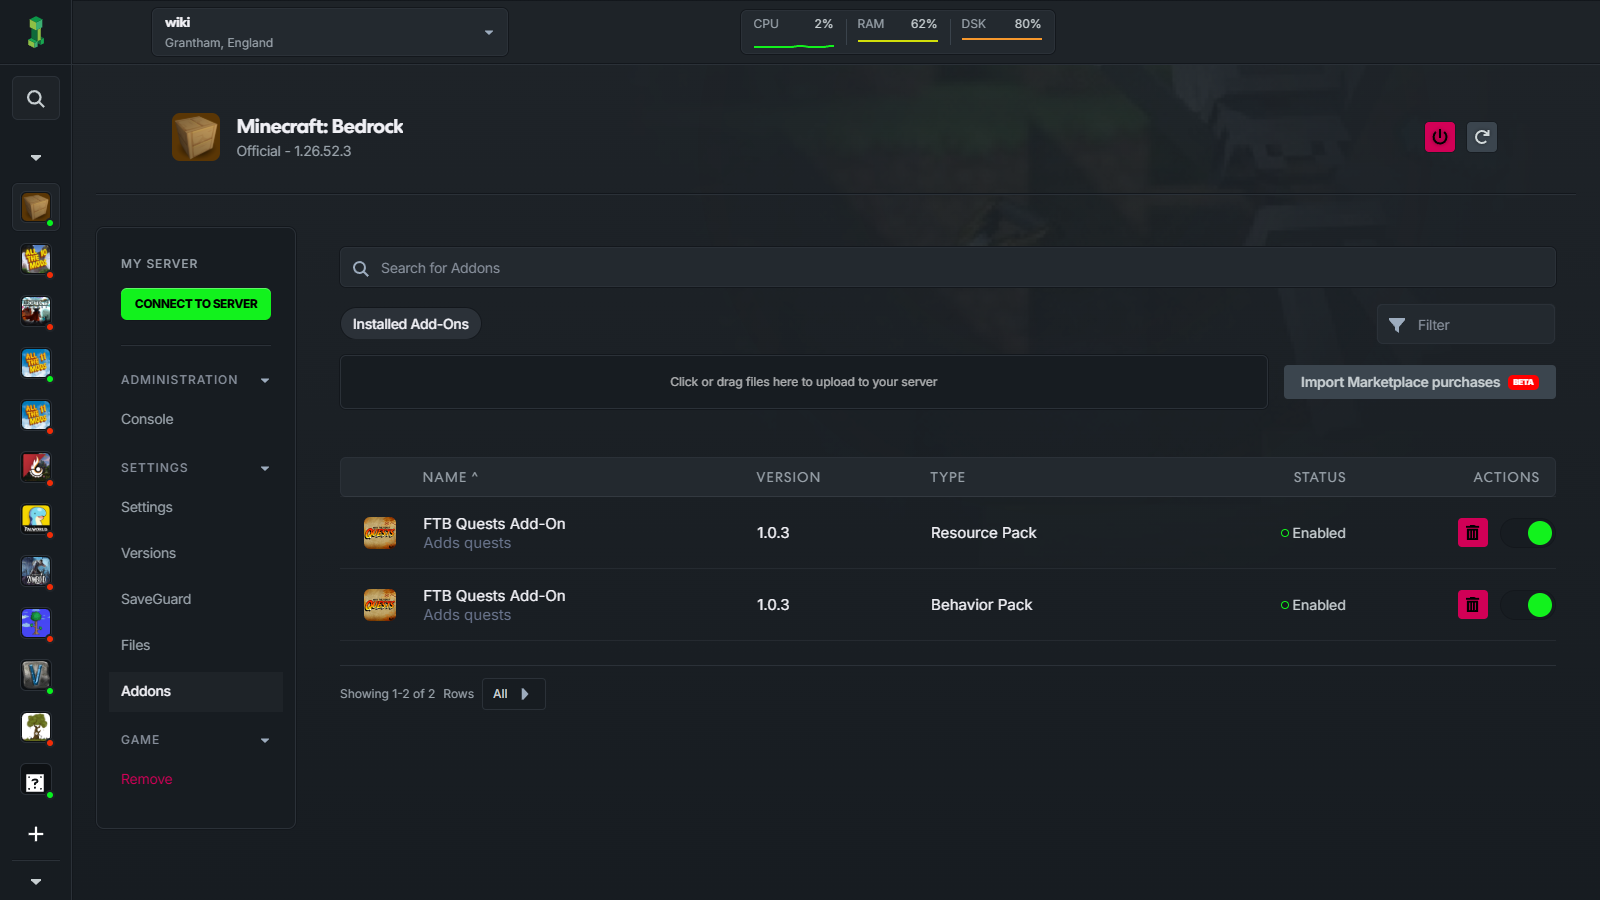
Find add-ons on CurseForge
- Enter the add-on's name in Search for Addons.
- Find the result you want. Select Info to open its project page and check its requirements and supported Minecraft versions.
- Select Install and wait for installation to finish.
- Return to Installed Add-Ons, enable the required packs, then start your server.
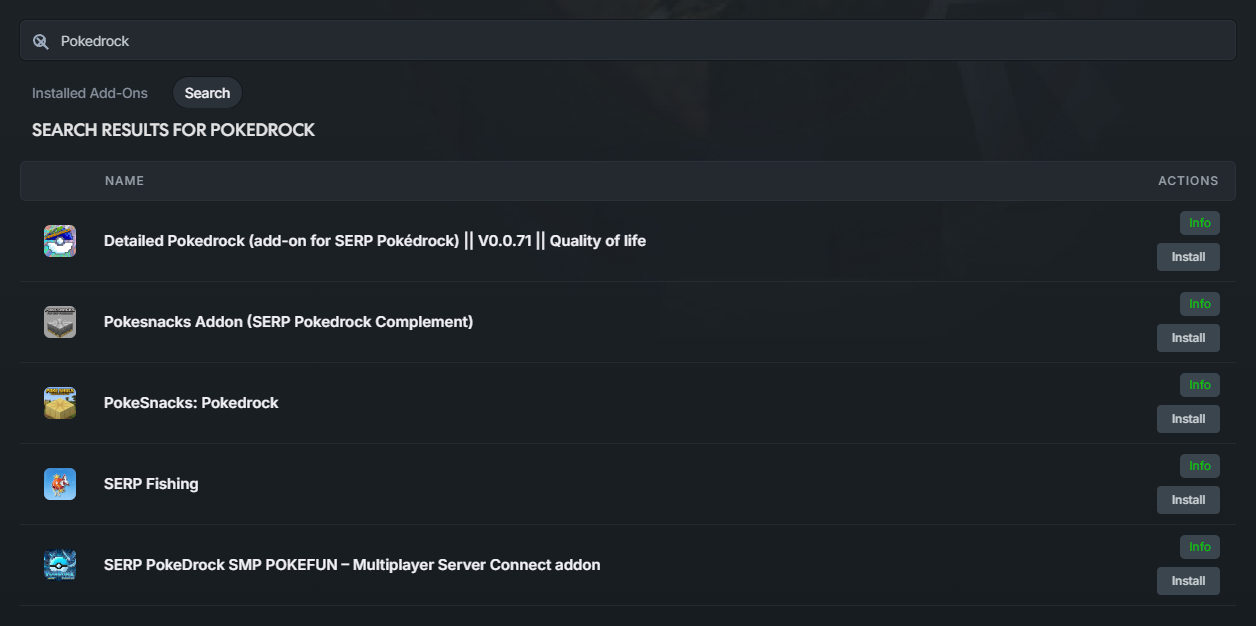
Some add-ons need other packs or particular world settings. Follow the creator's instructions and install any required dependencies too.
Upload an add-on file
If you already have a Bedrock .mcaddon or .mcpack file:
- Open Installed Add-Ons.
- Click the upload area to choose your file, or drag the file onto it.
- Wait for the packs to appear in the installed list.
- Enable the required packs, then start your server.
You do not need to rename the file or extract it yourself. A .mcaddon can contain several linked packs; a .mcpack may contain just one part of an add-on.
For Marketplace purchases, use the import option below.
Import Marketplace purchases
You will need Minecraft for Windows on the PC you are using to open the panel, your downloaded add-ons, and the Microsoft account that purchased them. Not every Marketplace item is available to import.
Choose your Minecraft folder
- Open Minecraft for Windows and download the purchased add-ons you want from the Marketplace.
- In the panel's Addons page, select Import Marketplace purchases.
- Choose the matching Installation option. Use Minecraft for Windows for the current installation, or Older Windows installation if that is where your game data is stored.
- Read the confirmation and linked Minecraft terms. Confirm them if you agree and have permission to use the add-ons on your server.
- Select Copy path, then Choose Minecraft folder. Paste the path into the folder picker's address bar, select the Minecraft folder and confirm the browser's file-selection prompt.
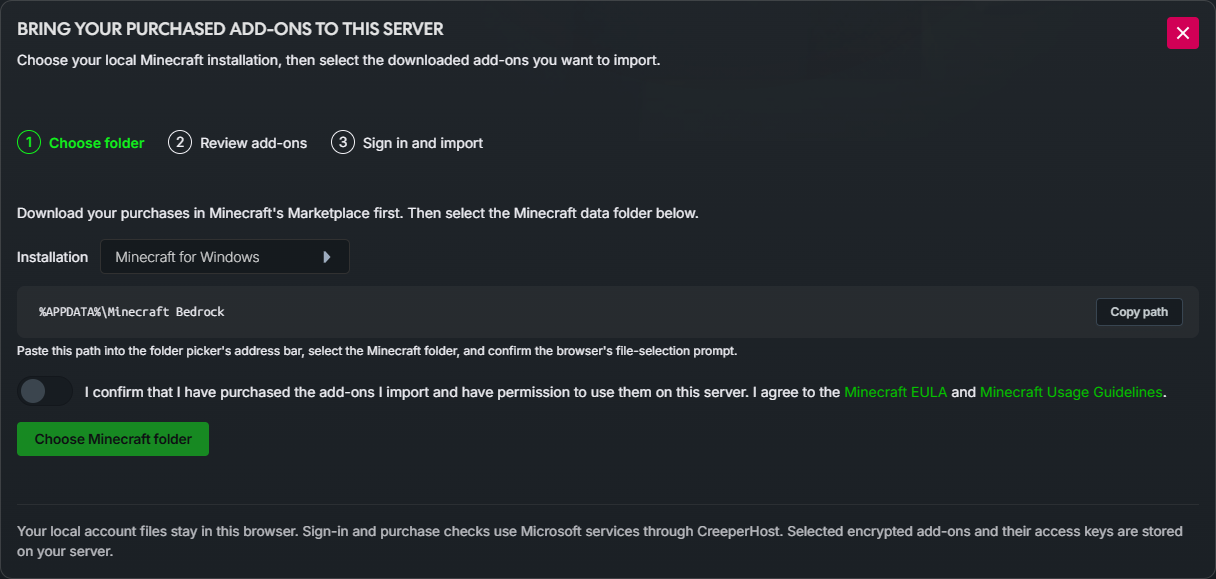
Choose the Minecraft data folder shown by the panel, rather than an individual pack or world folder.
Select add-ons and sign in
- Review the available add-ons and select the ones you want. Linked packs are imported together.
- Select Sign in to import.
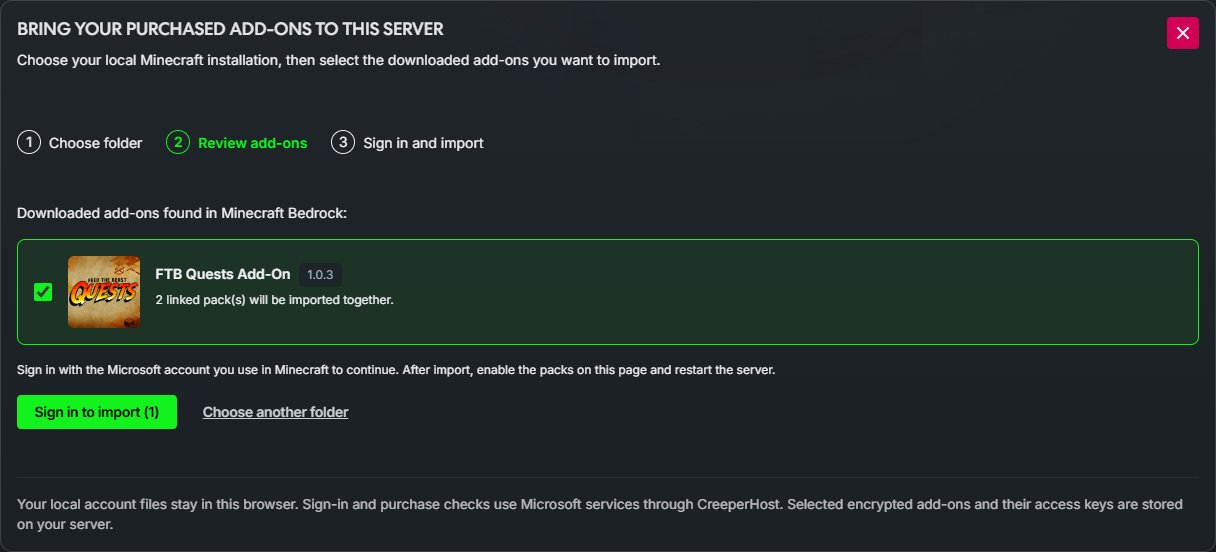
- Select Open Microsoft sign-in and enter the code displayed in your panel.
- Sign in with the Microsoft account that purchased the add-ons. Check that Microsoft identifies CreeperHost LTD as the requesting app.
- Return to the panel and wait for the checks and import to finish.
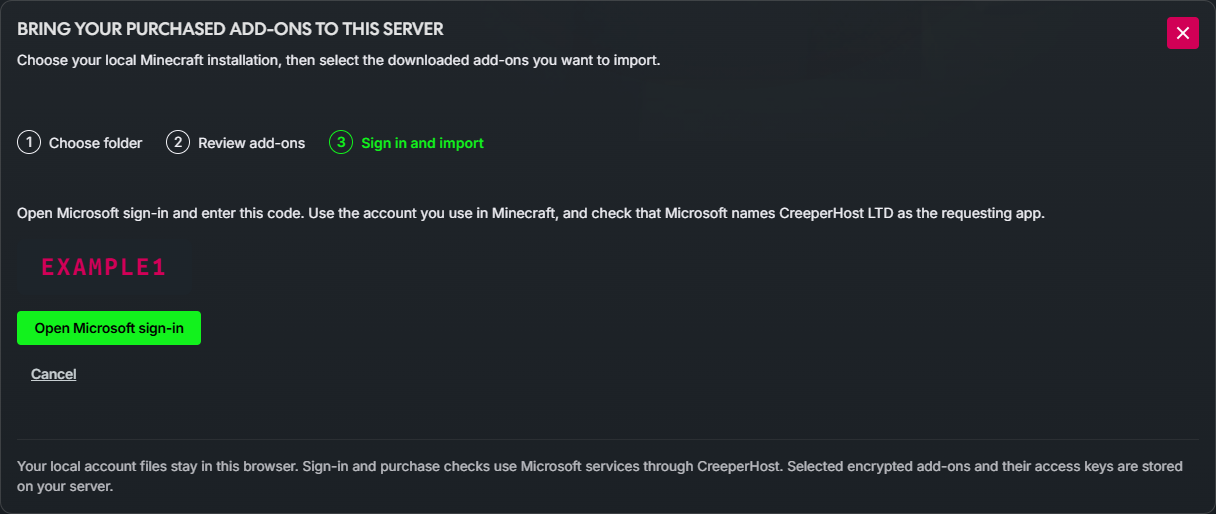
The code in this screenshot is an example. Use the code shown in your own panel.
Enable the imported packs
Select Back to add-ons. Use the switches beside the imported behaviour and resource packs to enable them, then start your server. If it is already running, restart it to load the changes.

Join the server to check that the add-on works as expected. Accept the server's resource-pack download if Minecraft prompts you, and follow any setup instructions supplied by the creator.
If something does not work
- No add-ons appear: open Minecraft, check that your purchases have downloaded, then choose the matching installation and folder again.
- Sign-in does not finish: cancel the import and choose your Minecraft folder again to start a fresh attempt.
- A pack is installed but has no effect: check that its required behaviour and resource packs are enabled, restart the server, and check the creator's version and setup requirements.
- The server reports an error: check the console for the pack name and error message. Stop the server before disabling the affected pack or restoring your backup.