Valheim
Installing ValheimPlus
To install ValheimPlus on your server follow steps provided below. Before continuing please make sure you have stopped your server if its currently running.
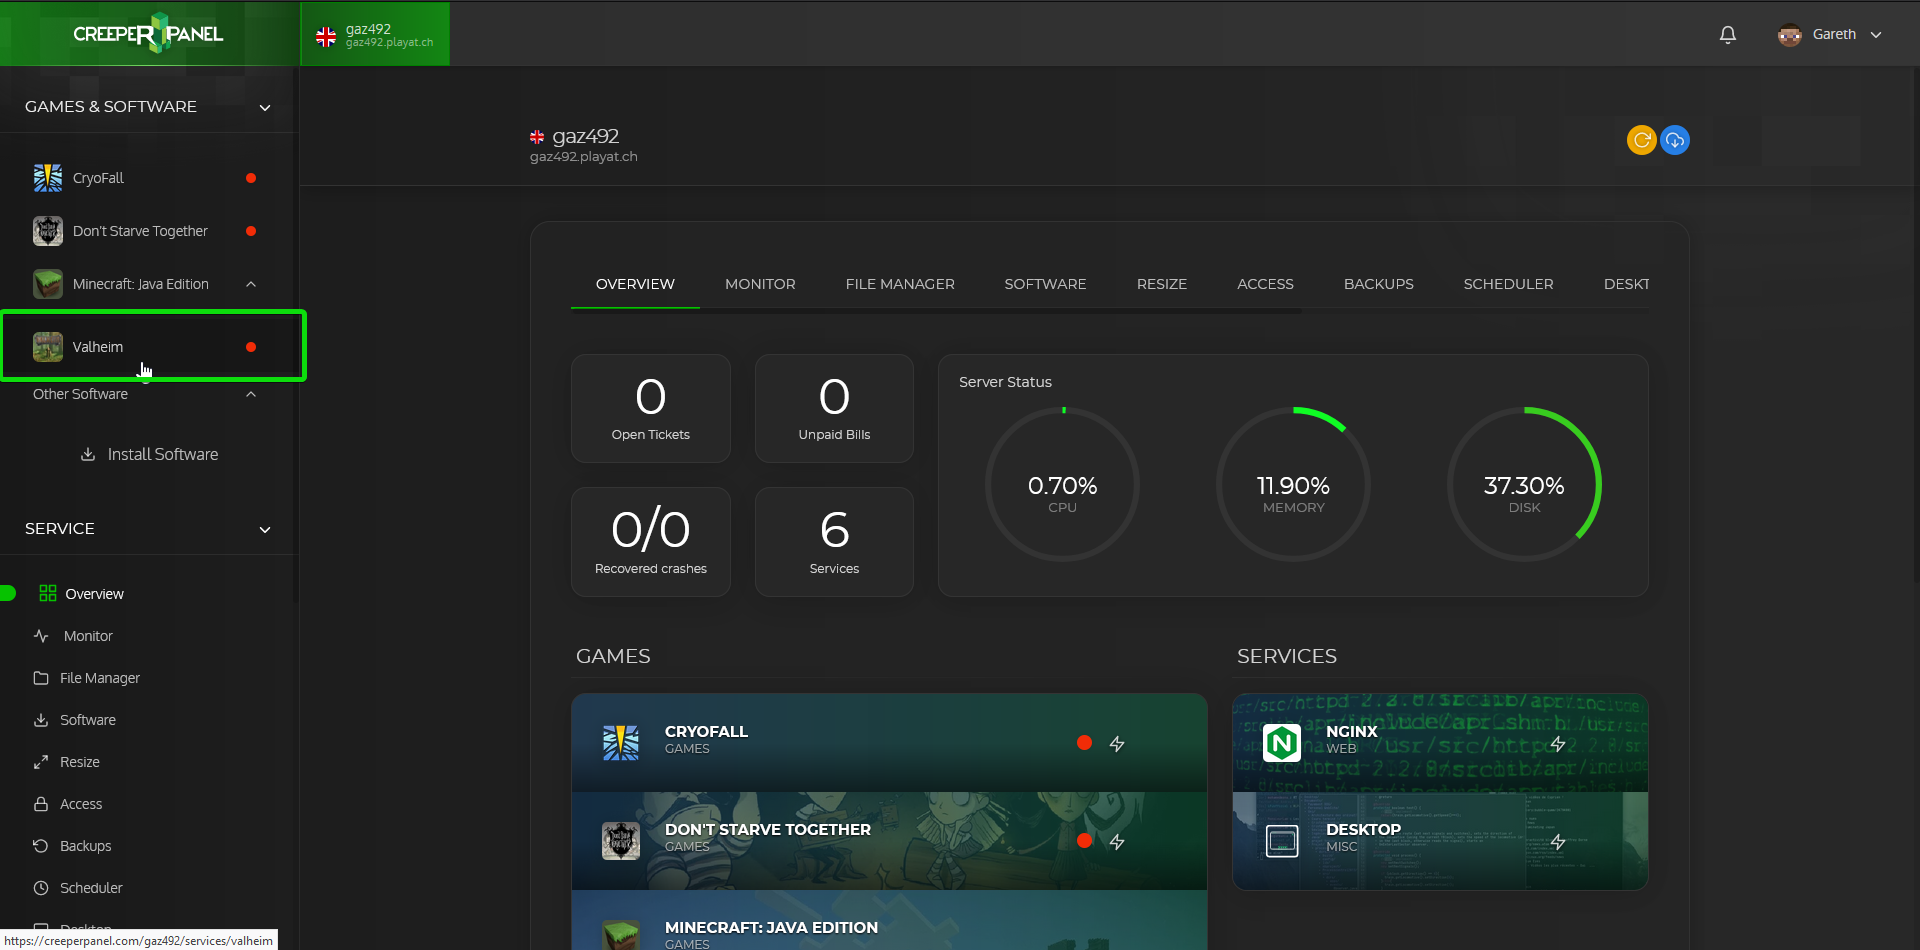
Step 1
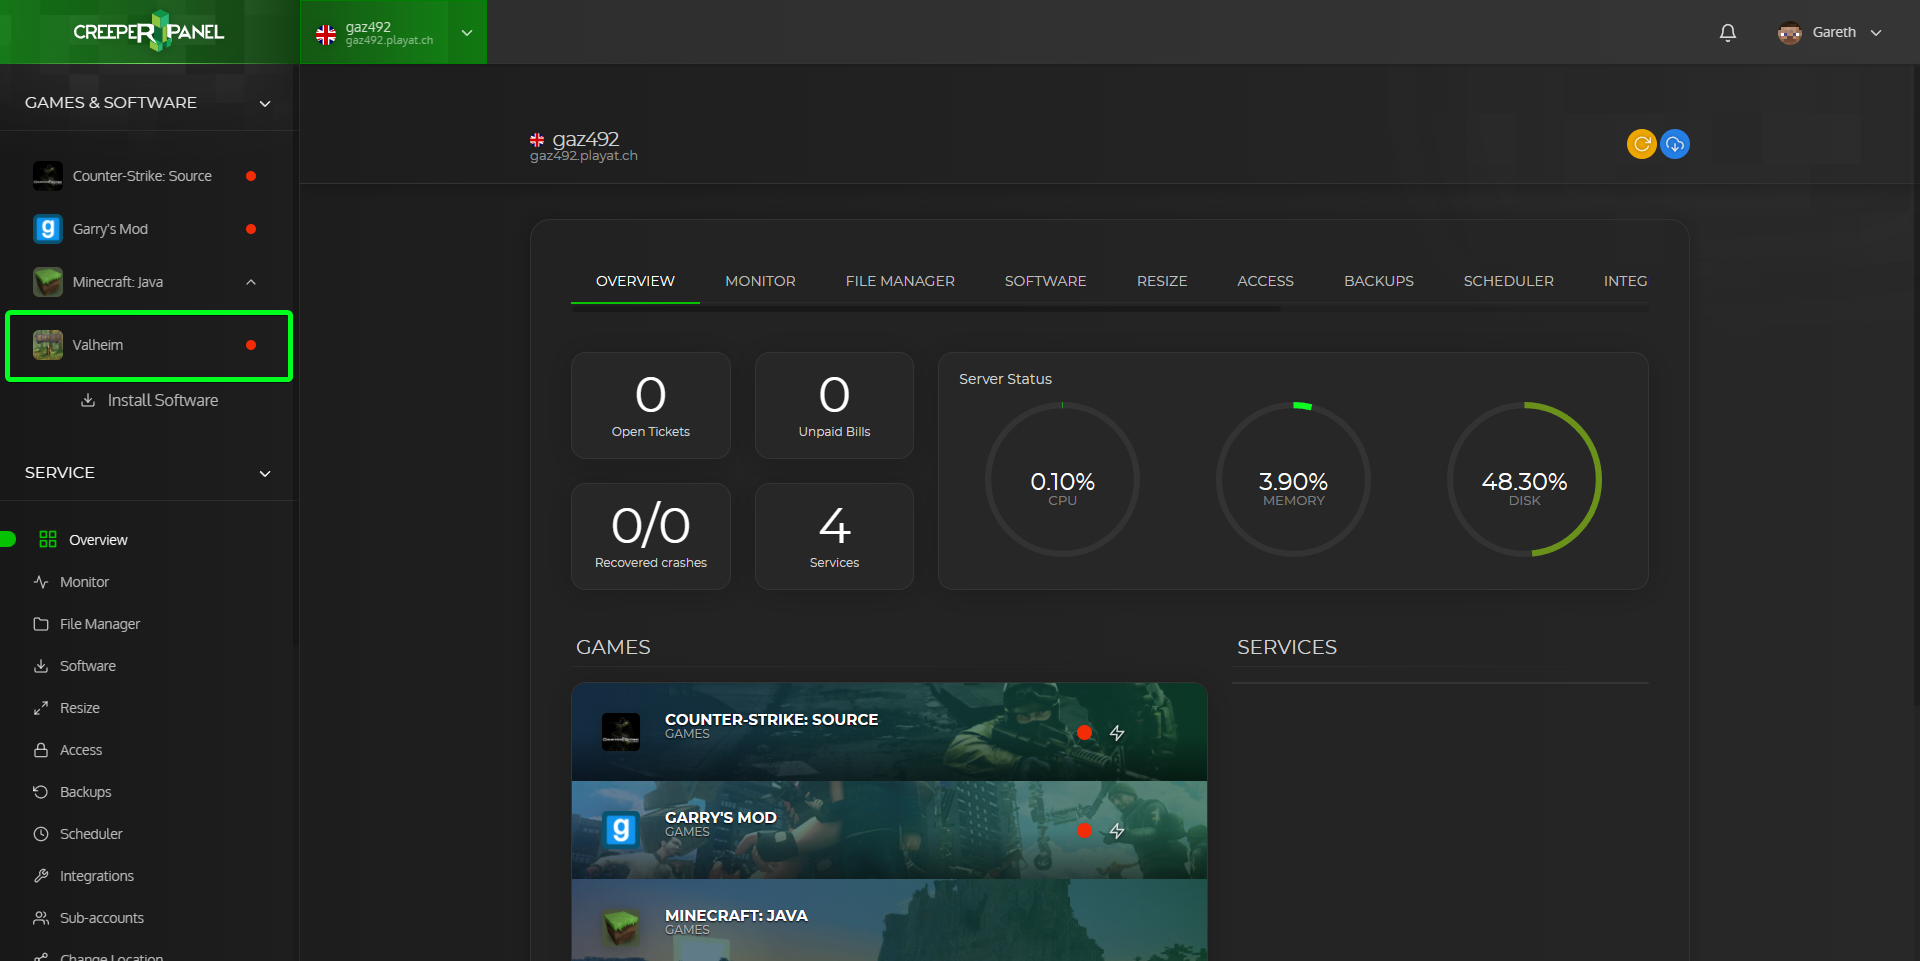
Click on Valheim in the sidebar of the panel, or if you are yet to install Valheim please follow our guide on additional software on your service first (link goes here)
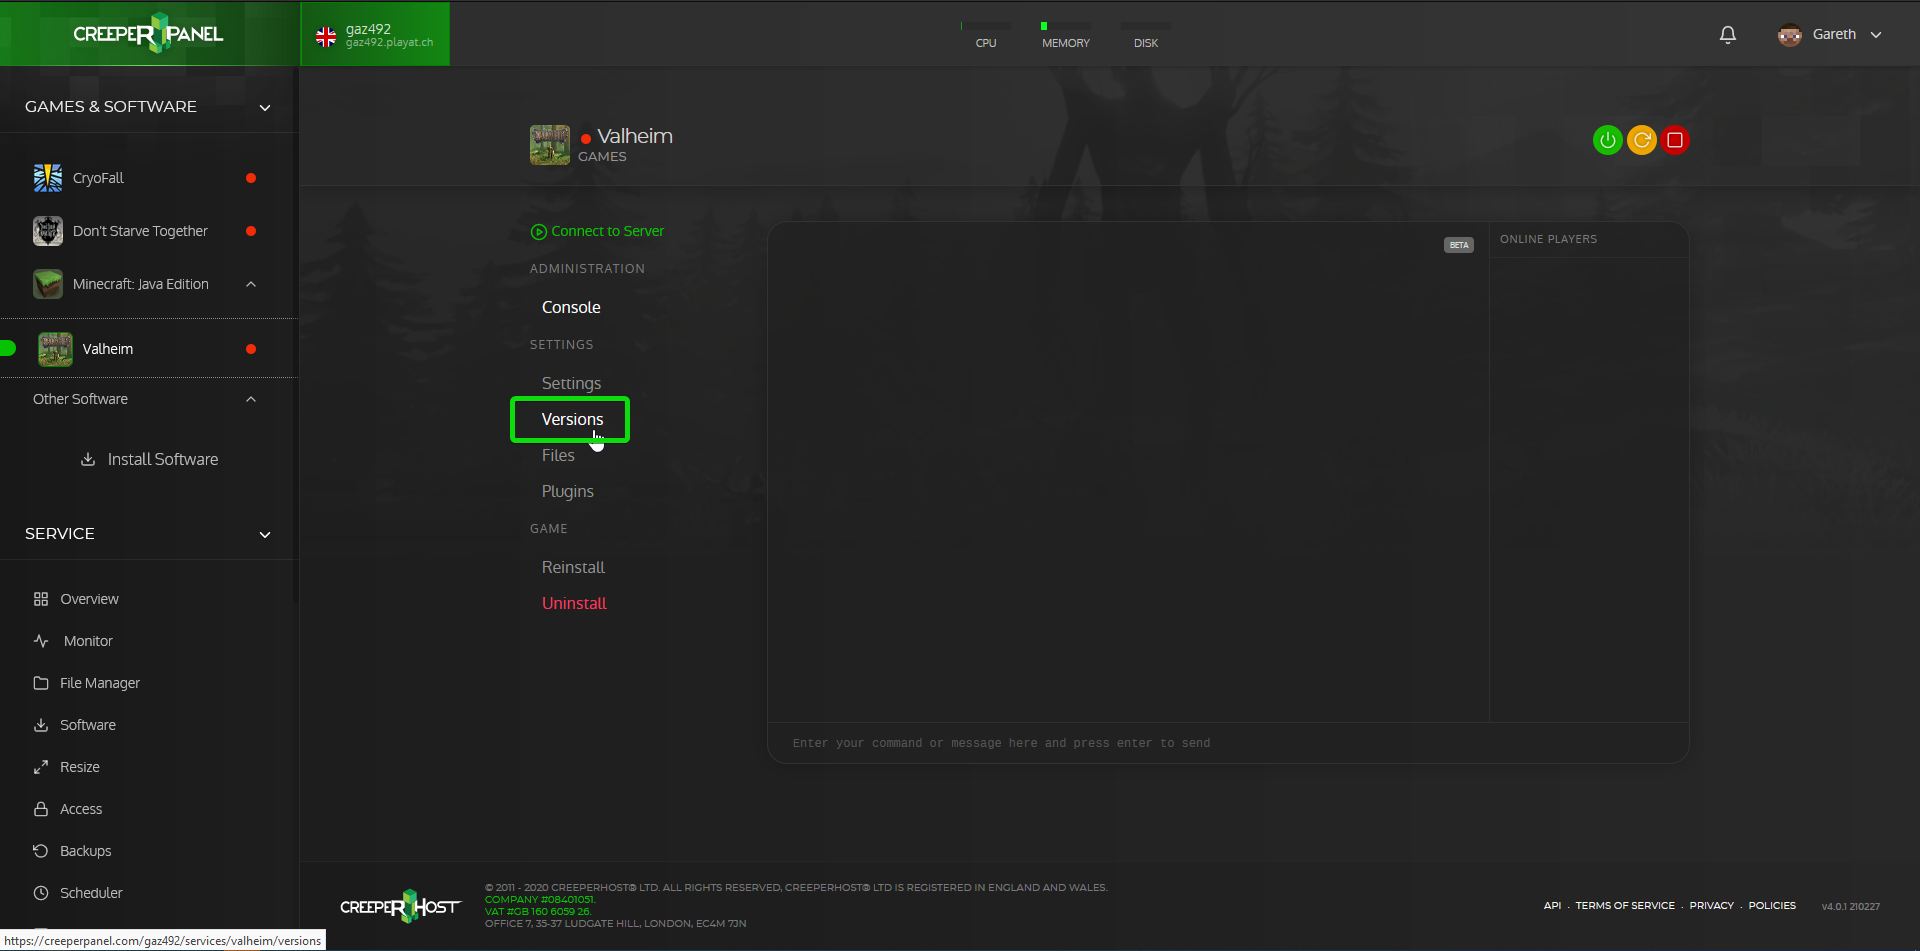
Step 2
Click on the Versions link
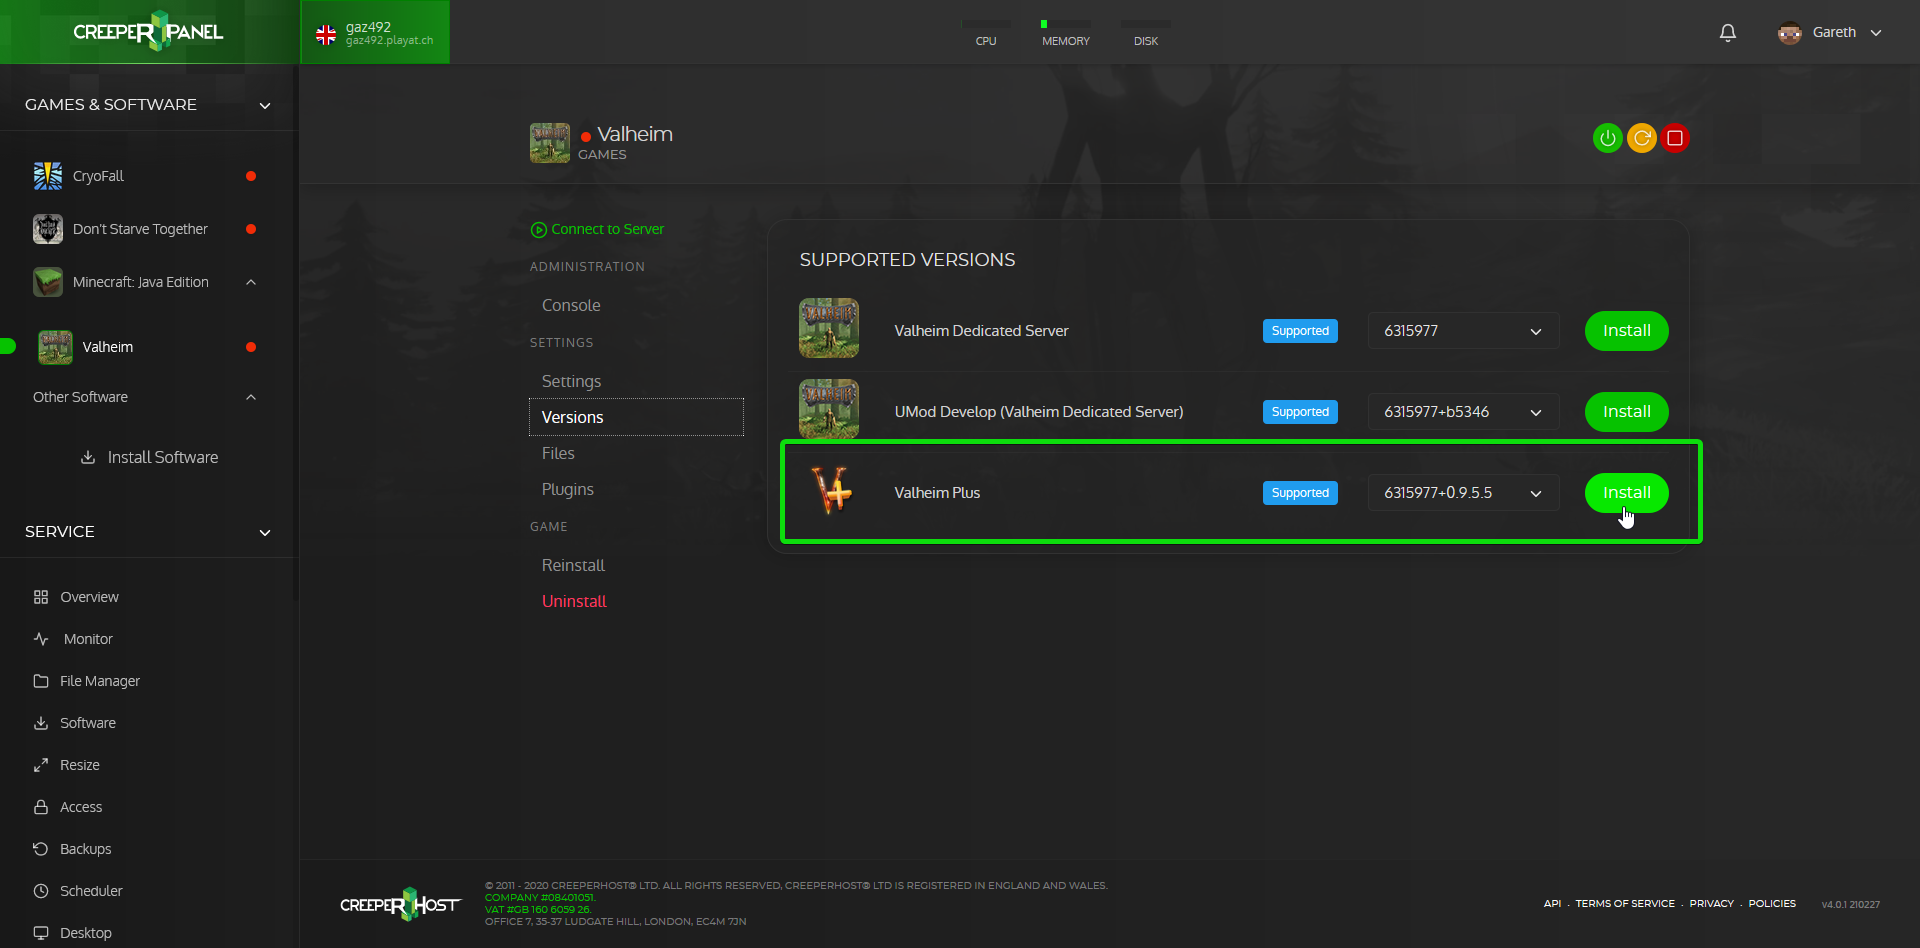
Step 3
On the versions, page select the appropriate version of ValheimPlus you wish to install then click on the Install button and wait for the notification saying it has been successfully installed.
You can now start your server backup or if you wish to change the settings for ValheimPlus follow the guide below to find the configs.
Changing ValheimPlus configs
Step 1
Click on Files
Step 2
Double click on the BeplnEX > config folders
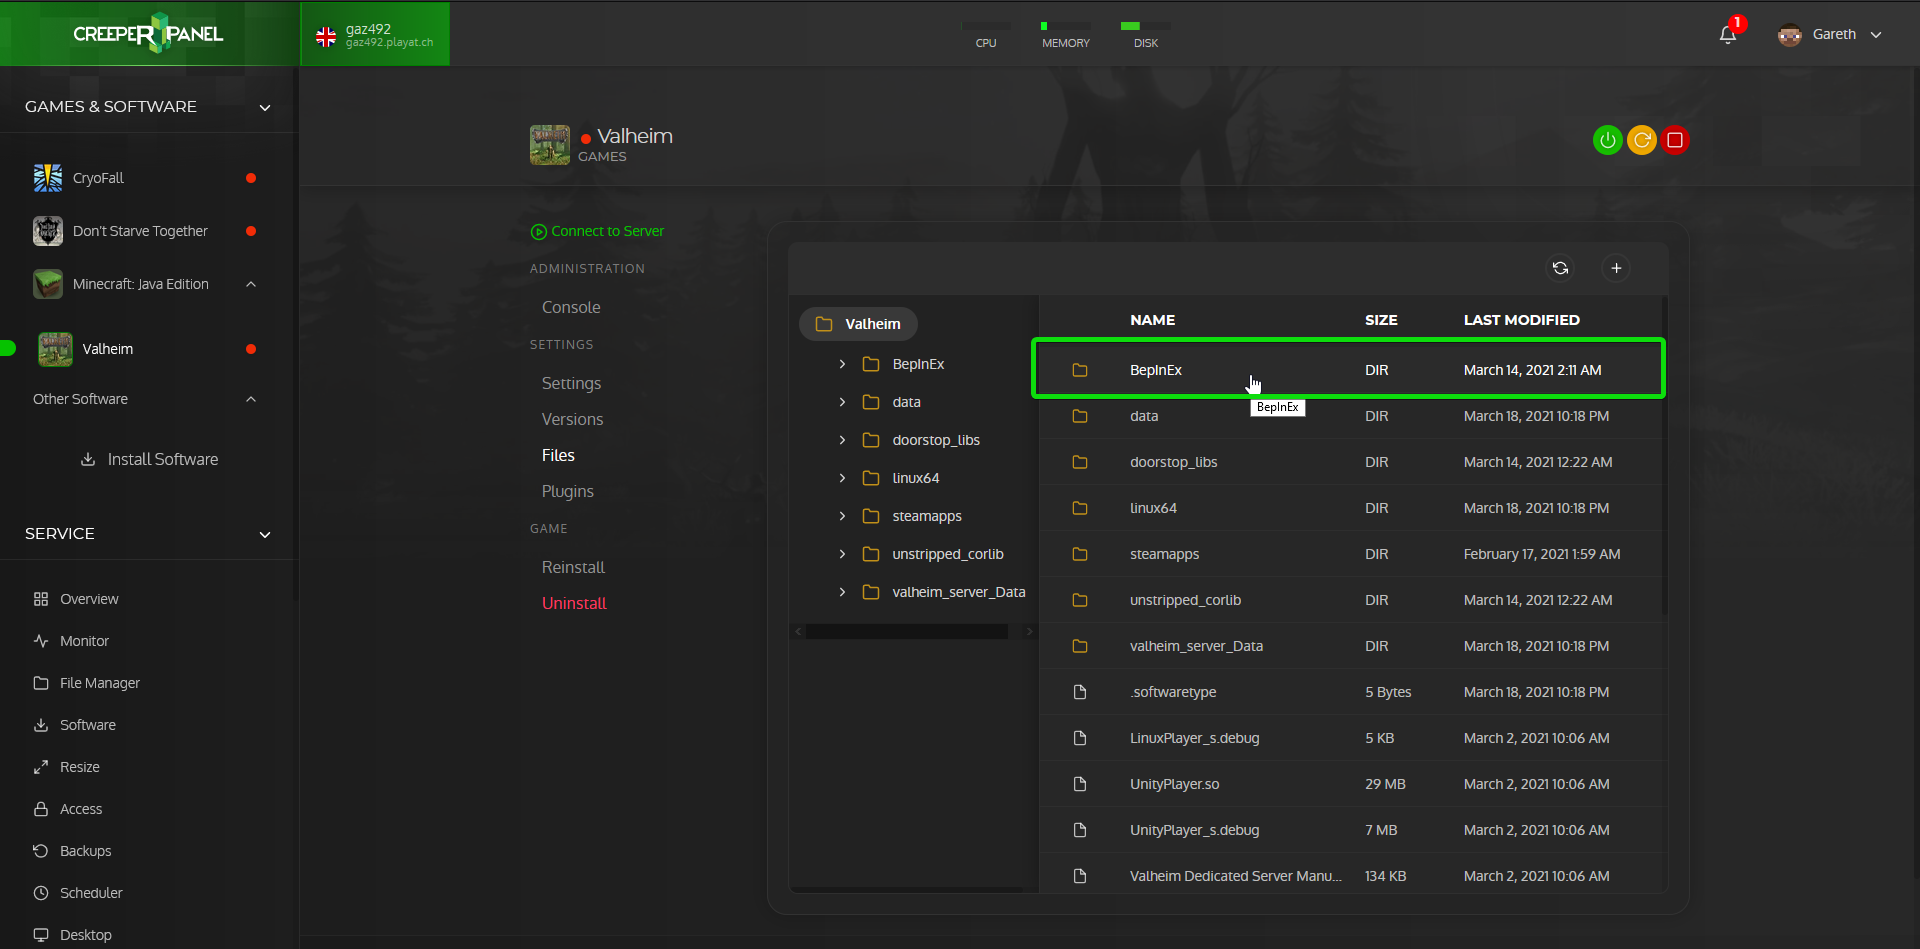
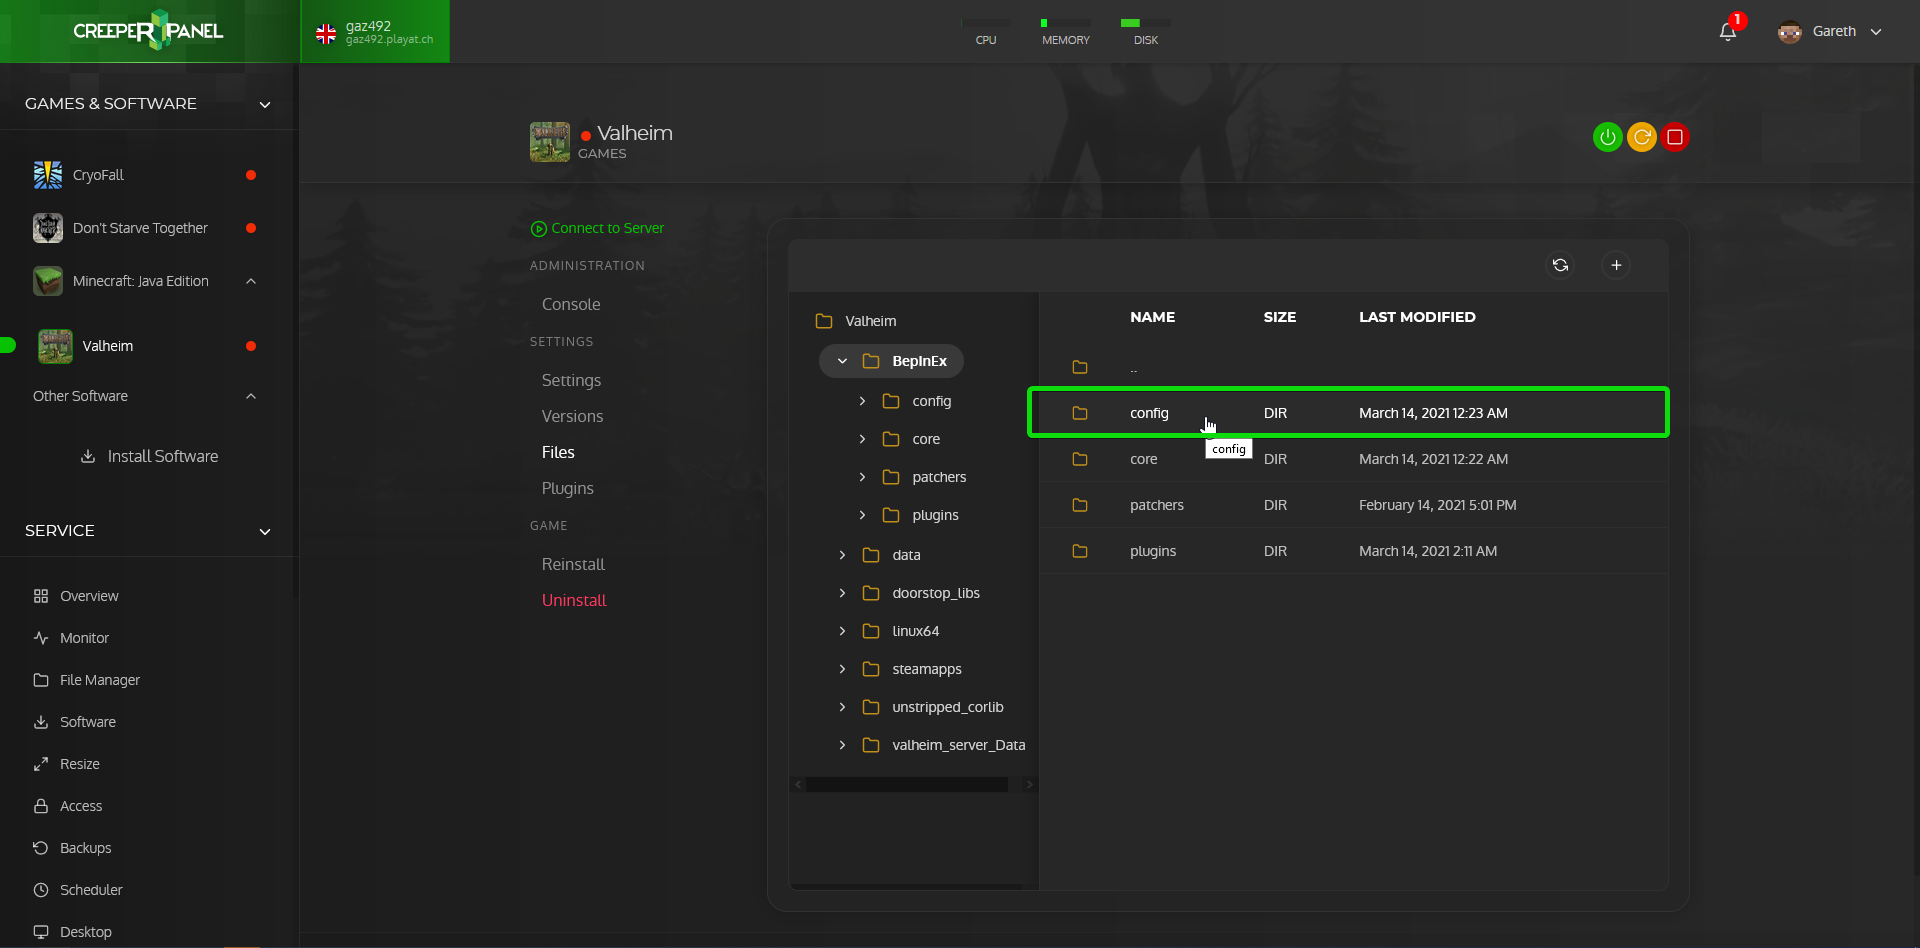
This will now open a folder that contains the ValheimPlus config that you can edit by double-clicking on to open the built-in editor.
Adding admins
Click on Valheim in the sidebar of your panel
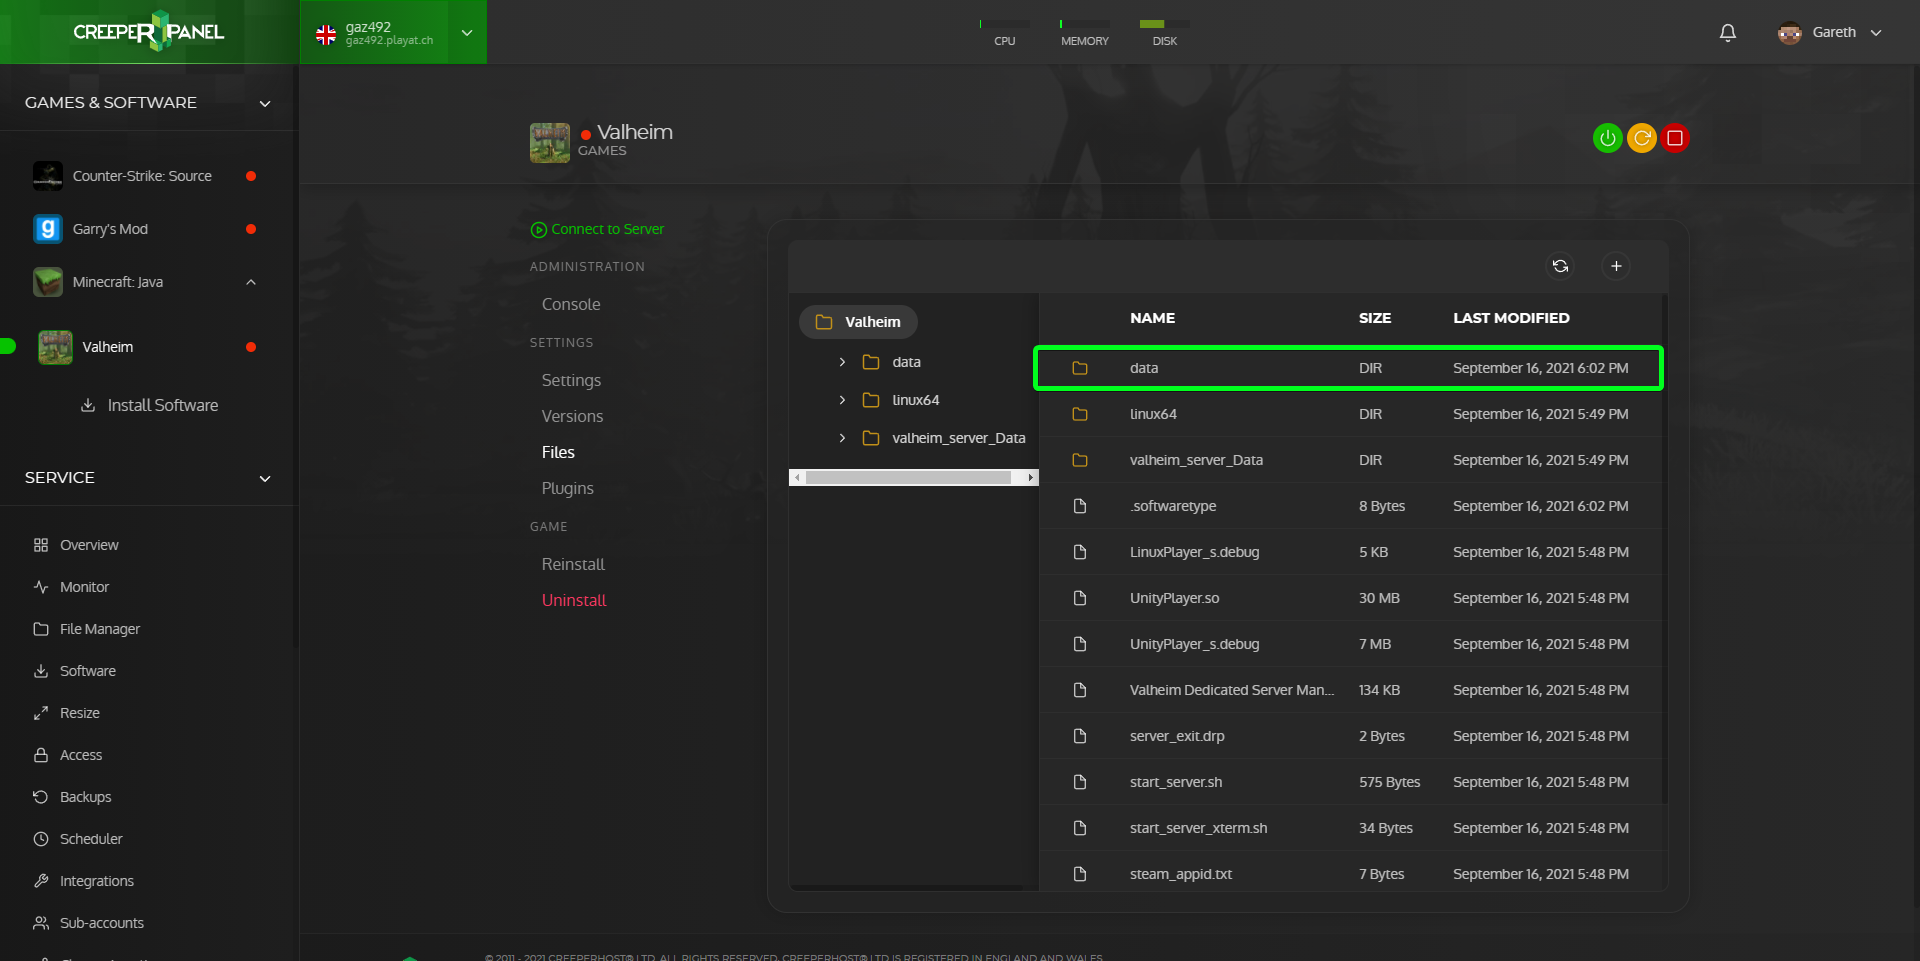
Once on the console page for Valheim, click on Files

Now double click on the data folder
You should now see a list of text files, to add admins double click on the adminlist.txt file to open it in the panel editor
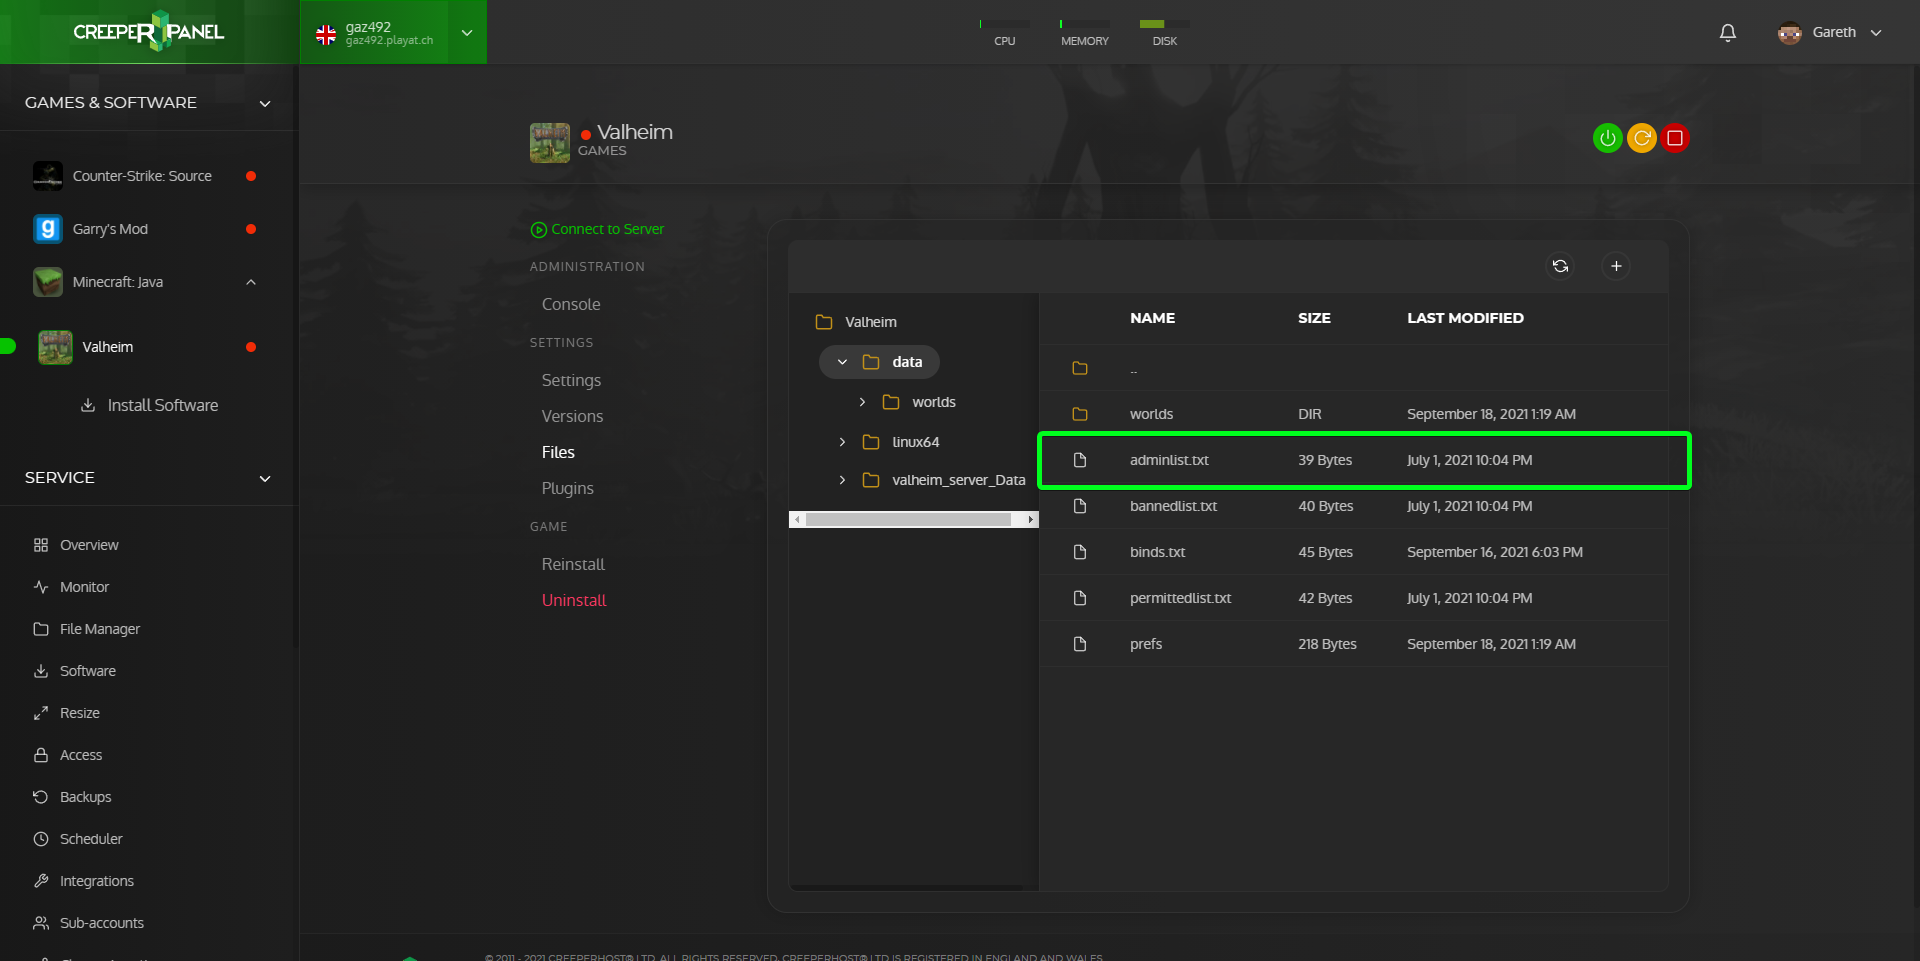
With the adminlist.txt file open add the Steam64ID of the player you wish to set as an admin (only add one ID per line)
If you are unsure on how to get the Steam64ID of a player please take a look at our guide on finding a SteamID at https://www.creeperhost.net/wiki/books/steam/page/how-to-find-a-players-steamid
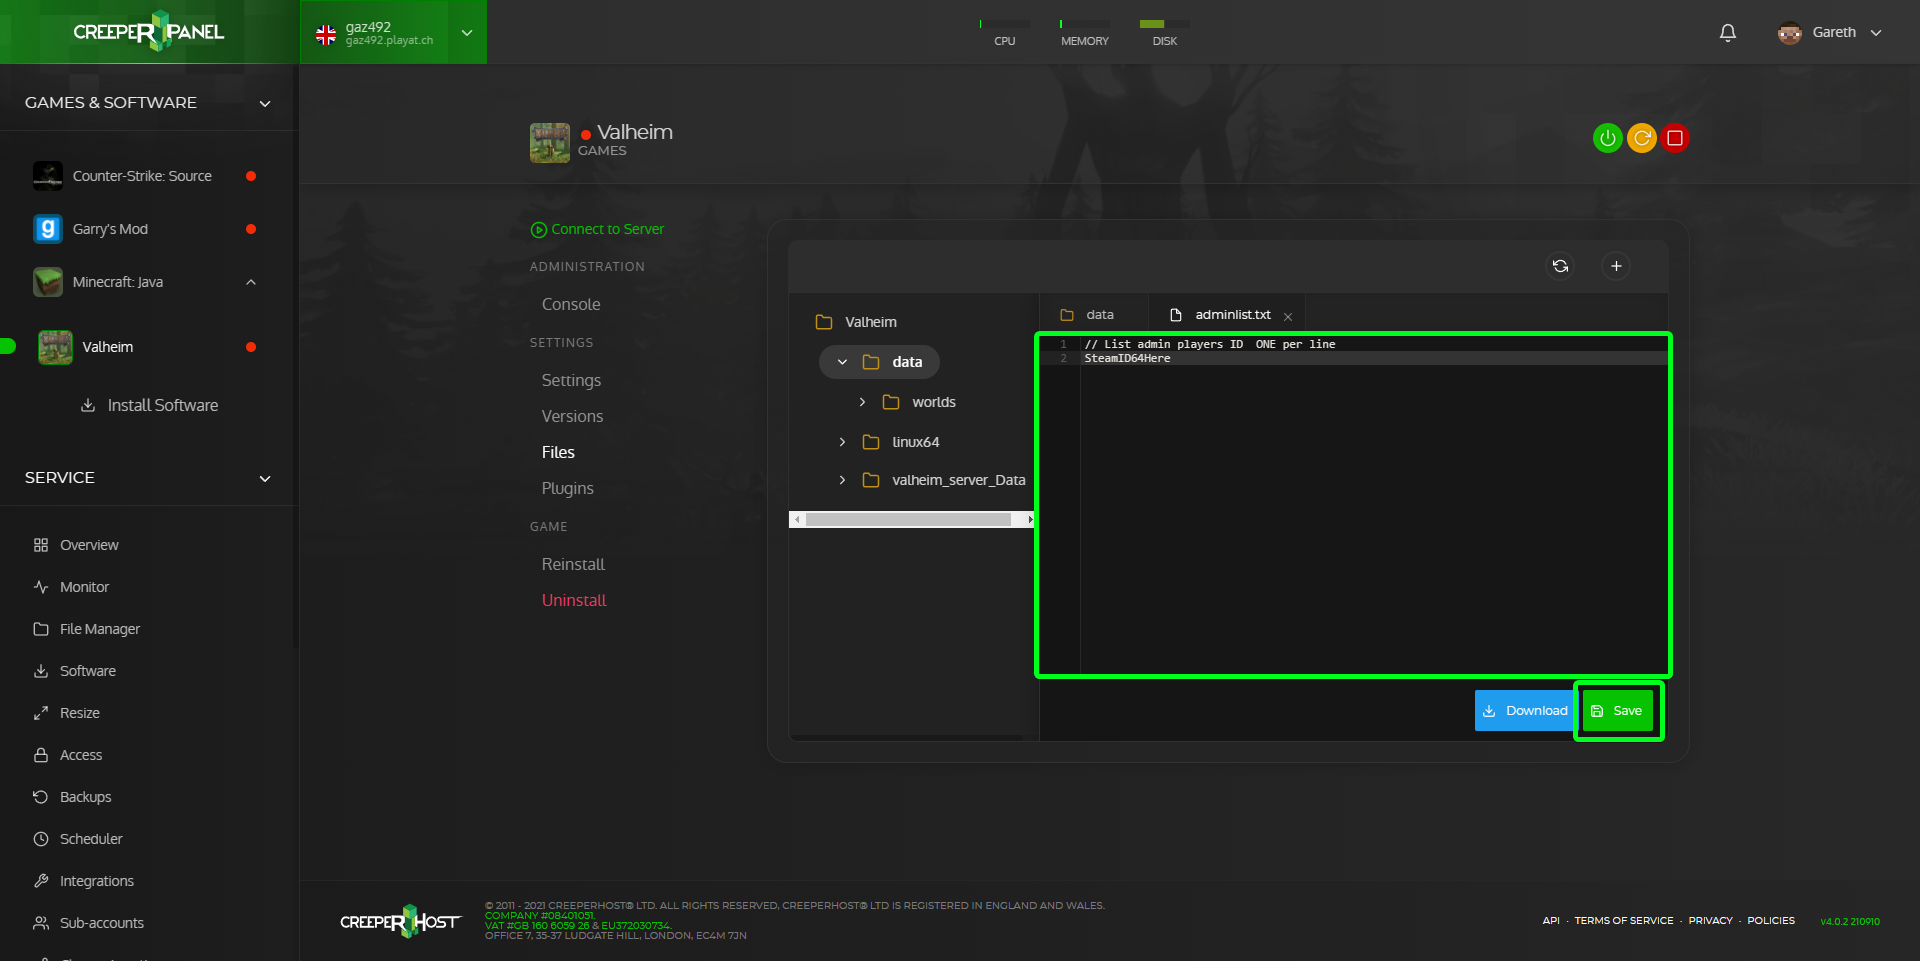
Once you have added the IDs of those you want to set as an admin click save and restart your server.
Enabling and opening the console
Inorder to open the console in Valheim you will need to enable the console by following the steps below
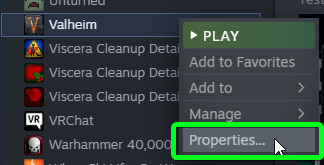
1. Open steam and right click on Valheim and click on Properties
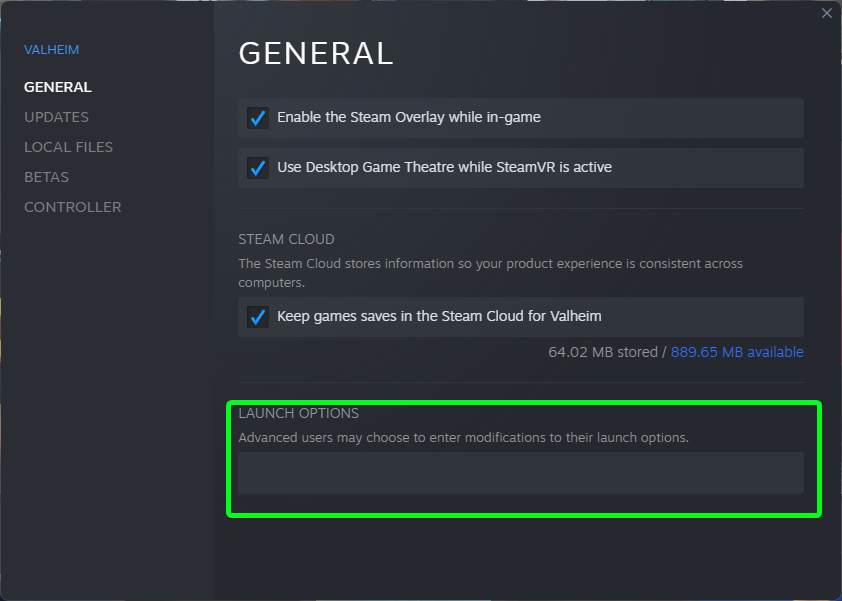
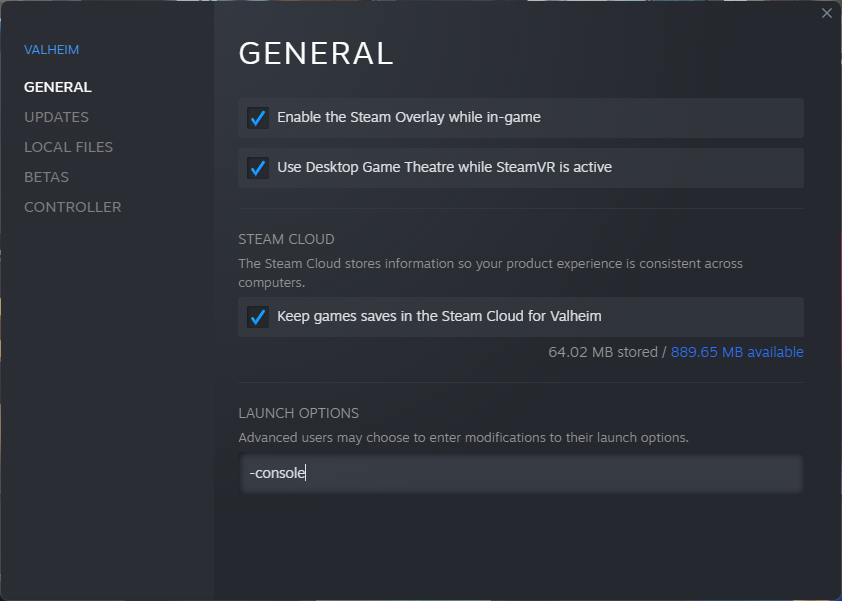
2 In the Launch Options add -console then close the properties window.
3. Start Valheim and connect to your server.
4 Once connected press F5 on your keyboard and it should open the console where you can issue commands.
Kick/Ban and unban players
To kick/ban and unban player you will first need to make sure you are an admin and that you have enabled the console on your client. You can find a guide on enabling the console at https://www.creeperhost.net/wiki/books/valheim/page/enabling-and-opening-the-console and a guide on becoming an admin at https://www.creeperhost.net/wiki/books/valheim/page/adding-admins
Some commands require the Steam64ID of the player, you can use the following guide to find their ID
https://www.creeperhost.net/wiki/books/steam/page/how-to-find-a-players-steamid
Kicking a player
1. Login to your server and press the F5 key on your keyboard to open the console.
2. Type the command kick <Steam64ID> and press enter
You can also use the player name to kick the player kick <playerName>
3. You should now get a message that the player has been kicked and they should no longer be connected.
Banning a player
1. Login to your server and press F5 to open the console
2. Type the following command replacing <Steam64Id> with the steam id of the player you wish to ban ban <Steam64Id>
If the player is currently connected to the server you can use their name ban <playerName>
3. Press enter and you should see a message saying the user has been banned.
Unbanning a player
1. Login to your server and press the F5 key to open the console
2. Enter the command unban <Steam64Id> and press enter
3. You should now get a message saying the player has been unbanned
Viewing banned players
1. Login to your server and press F5 to open the console
2. Type banned into the console and press enter
3. You should now see a list of all the banned players