# Additional Information
Miscellaneous guides
# Operator Levels
Level 3 OPs can use the /op command, if they use this command then they will be able to give anyone access to OP level 4 as this is what Minecraft defaults to.
Operator levels allow the server administrator to control the level of access each operator has.
By default, if you use the /op command or another method listed in our adding operators guide it will use level 4 which grants full access the server commands list.
There are 4 levels that can be assigned to an operator, each grants access to different sets of commands. Each level will also inherit access to the commands from the level below.
| **Level** | **Details** |
| Level 1 | OPs can bypass the spawn protection |
| Level 2 | OPs can use all singleplayer cheat command with the exception of `/publish` and `/debug`. They are also given access to command blocks. |
| Level 3 | OPs can use most multiplayer-exclusive commands, including` /debug`, and commands that manage players (`/ban`, `/op`, `/deop`, `/kick`). |
| Level 4 | OPs can use all commands including `/stop`, `/save-all`. `/save-on`, `/save-off` |
# Finding your instance ID
If you are using sFTP to upload files to your Minecraft server it will be necessary for you to find the ID of the instance you want to upload files to.
This guide will show you 2 methods of getting the instance ID.
---
First, you will need to navigate to the instance you want to get the ID of, you can take a look at the following guide if you are unsure how to find your instance [**https://www.creeperhost.net/wiki/books/minecraft-java-edition/page/finding-your-instances**](https://www.creeperhost.net/wiki/books/minecraft-java-edition/page/finding-your-instances)
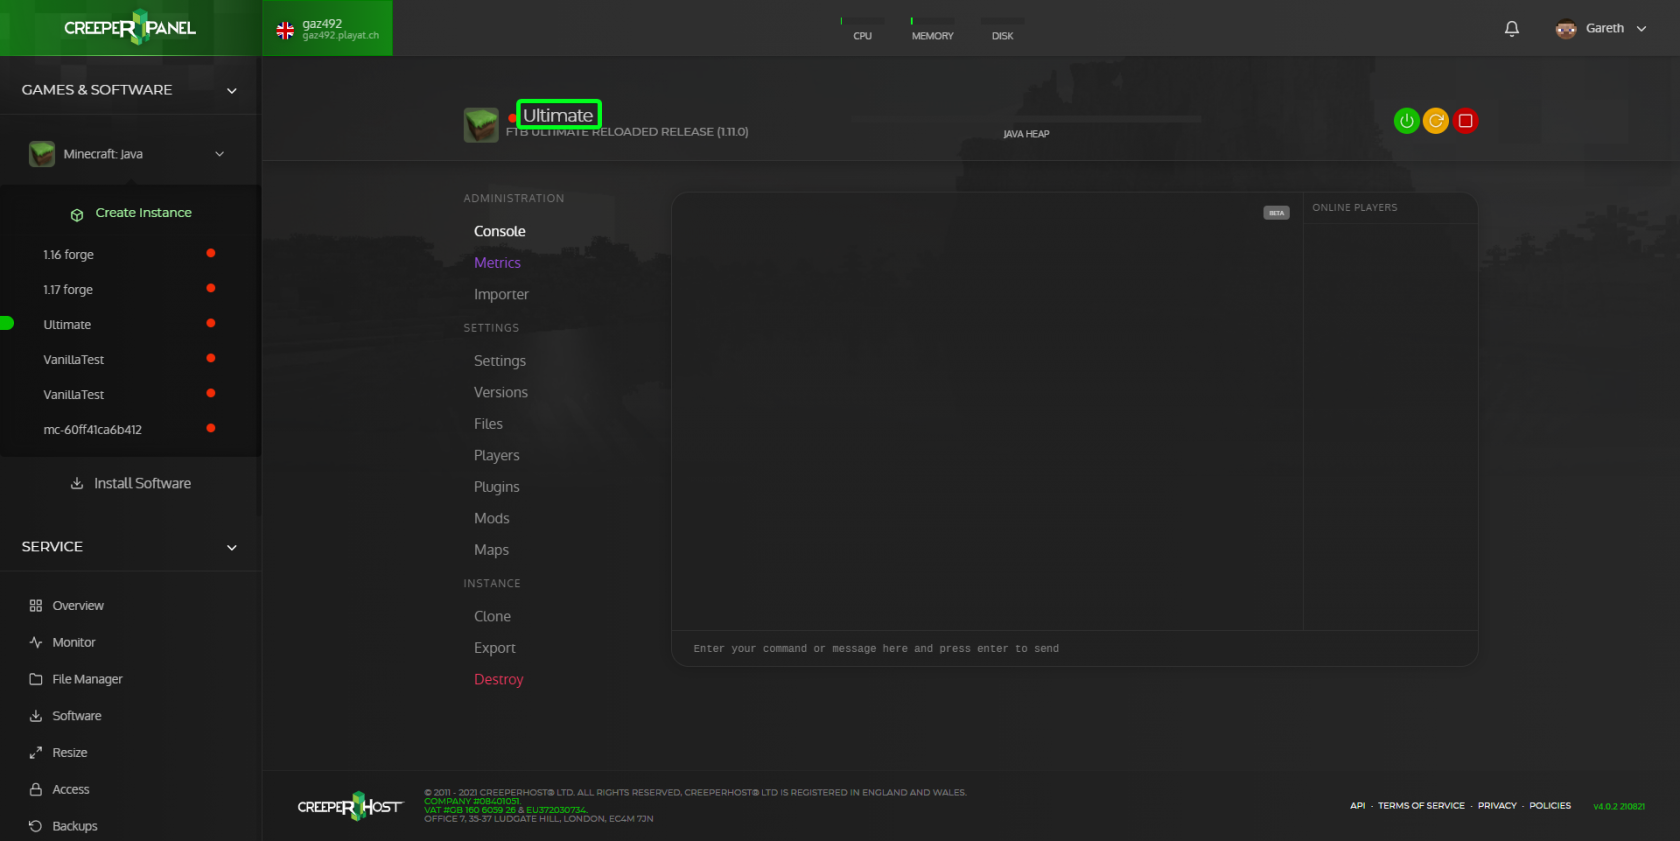
#### Method 1
Once you have selected the instance you want to fetch the ID of click on the instance name such as the one highlighted in the image below. This will copy the instance ID to the clipboard of your computer.
[](https://www.creeperhost.net/wiki/uploads/images/gallery/2021-09/IKvQodj6N4iqxJHc-msedge_2021-09-02_02-40-54.png)
You can now paste it in notepad or elsewhere if you need to refer back to it.
#### Method 2
After selecting the instance you want to get the ID of, you can find the ID in the URL bar of your browser.
The id of your instance will look similar to the one highlighted in the image below.
[](https://www.creeperhost.net/wiki/uploads/images/gallery/2021-09/UfF6qBBzYb4WneJA-msedge_2021-09-02_02-44-15.png)
# Cloning your instance
Cloning an instance can be useful if you want a quick backup that you can easily go back to before you update your server, make any significant changes or want to test something.
To create a clone of your instance, you will first need to go to the console page of your instance, then in the sub-navigation for the instance near the bottom you should see a link named clone.
Clicking this will bring up a confirmation box stating that cloning an instance will make a complete clone of the instance and will increase the storage space use by the amount the instance your cloning is using.
Upon clicking the clone button, it will start to make a copy of the instance and once it's done, you will be taken to the newly clones instance. Depending on the size of the instance you are cloning, it may take a while for it to clone.